Cricut Pantry Labels: 7 Essential Steps to Make Easy, Custom Labels for Your Perfectly Organized Pantry in 2026

- Cricut Pantry Labels: 7 Essential Steps to Make Easy, Custom Labels for Your Perfectly Organized Pantry in 2026
- 📋 Key Takeaways
- Table of Contents
- 1. Everything You Need: The Complete Material & Supply Checklist
- 1.1 Vinyl Selection: Why Permanent Beats Removable Every Time
- 1.2 The Tool List You Actually Need (Skip the Fluff)
- 2. Designing Your Cricut Pantry Labels in Design Space
- 2.1 Font Psychology and Readability at a Glance
- 2.2 Sizing Guidelines That Prevent "I Can't Read That" Moments
- 2.3 Creating a Batch Design File That Saves Hours
- 3. Perfecting Your Cut Settings for Clean, Professional Results
- 3.1 Material Setting Cheat Sheet
- 3.2 The Test Cut That Saves Entire Sheets of Vinyl
- 3.3 Blade Maintenance Most Crafters Ignore
- 4. Weeding and Applying Labels Like a Seasoned Pro
- 4.1 The Weeding Order That Prevents Rage-Quitting
- 4.2 Transfer Tape: The Step That Makes or Breaks Your Results
- 4.3 The "Hinge Method" for Perfect Container Alignment
- 5. Labeling Tricky Surfaces: Glass, Plastic, Bamboo, and Chalkboard
- 5.1 Glass and Ceramic: The Gold Standard
- 5.2 Plastic and Acrylic: Prep Matters Triple
- 5.3 Wood and Bamboo: The Difficult Child
- 6. Building a Smart Organization System That Actually Works
- 6.1 Zone Your Pantry Before You Design a Single Label
- 6.2 Container Consistency: The Visual Fix You Didn't Know You Needed
- 6.3 Labeling for Flexibility: The Refill Problem
- 7. The 5 Most Common Cricut Pantry Label Mistakes (And How to Fix Them Fast)
- 7.1 "My Labels Are Peeling at the Edges"
- 7.2 "The Vinyl Tore During Weeding"
- 7.3 "My Labels Are Crooked (And I Already Applied Them)"
- 7.4 "The Transfer Tape Won't Release"
- 7.5 "Letters Keep Coming Up During Weeding"
- Frequently Asked Questions
- What's the best vinyl for pantry labels that get touched a lot?
- Can Cricut pantry labels go in the dishwasher?
- How long do Cricut pantry labels actually last?
- Do I need a Cricut Maker, or will cheaper machines work?
- What if I mess up a label? Can I remove vinyl without damaging my container?
- Can I use Cricut Smart Vinyl without a mat?
- What font size is too small for pantry labels?
- How do I create matching labels for oddly-shaped containers?
- Your Pantry Transformation Starts This Weekend
- 🔗 İlgili İçerikler
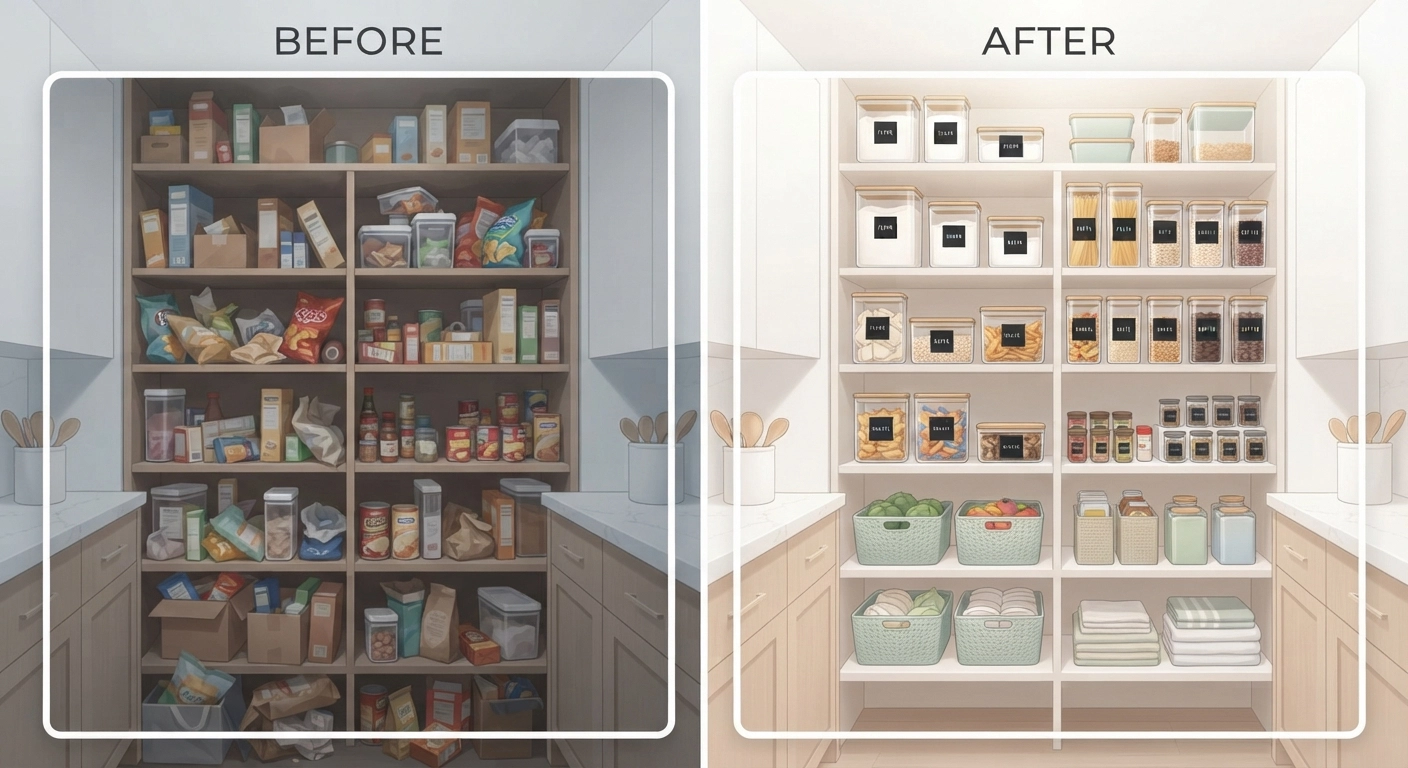
I still remember the exact moment I decided to tackle my pantry. I’d just knocked over half a bag of almond flour while searching for brown sugar — both were in identical unmarked containers — and the cloud of fine powder that settled on my kitchen counter pushed me over the edge. That weekend, I grabbed my Cricut Maker, some adhesive vinyl, and transformed our chaotic cupboard into something that genuinely spark-joy-functions. The part that surprised me most? Creating cricut pantry labels took maybe two hours total, and it’s held up beautifully through daily use for over two years now.
You’ve probably seen those dream pantries on Pinterest — rows of matching containers with gorgeous, uniform lettering that looks impossibly perfect. Here’s what most tutorials won’t tell you: achieving that look is simpler than it appears, and you absolutely don’t need professional design skills. Whether you’re working with a Cricut Maker, Explore, or Joy, this 2026 guide walks through every detail I’ve learned from making hundreds of labels for clients and my own ever-expanding collection of kitchen containers.
📋 Key Takeaways
- The best vinyl type for pantry labels is permanent adhesive, not removable — it withstands cleaning and daily handling
- Prepping your container surface with rubbing alcohol is the difference between labels that last 6 months and labels that last 6 years
- You can batch-cut 15-20 labels in under 30 minutes once your design file is set up correctly in Cricut Design Space
- Transfer tape technique matters more than your cutting machine settings — and most beginners get this wrong
- Waterproofing and dishwasher-safe considerations should shape your label placement and material selection from the start
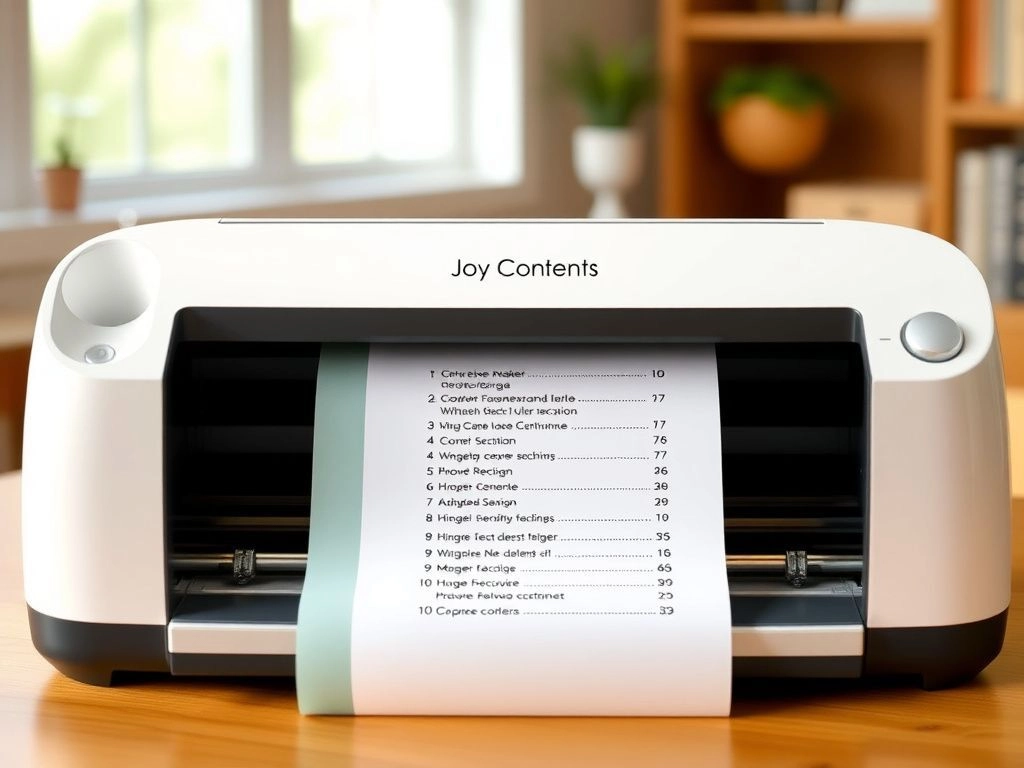
Table of Contents
- 1. Everything You Need: The Complete Material & Supply Checklist
- 2. Designing Your Cricut Pantry Labels in Design Space
- 3. Perfecting Your Cut Settings for Clean, Professional Results
- 4. Weeding and Applying Labels Like a Seasoned Pro
- 5. Labeling Tricky Surfaces: Glass, Plastic, Bamboo, and Chalkboard
- 6. Building a Smart Organization System That Actually Works
- 7. The 5 Most Common Cricut Pantry Label Mistakes (And How to Fix Them Fast)
- Frequently Asked Questions
1. Everything You Need: The Complete Material & Supply Checklist
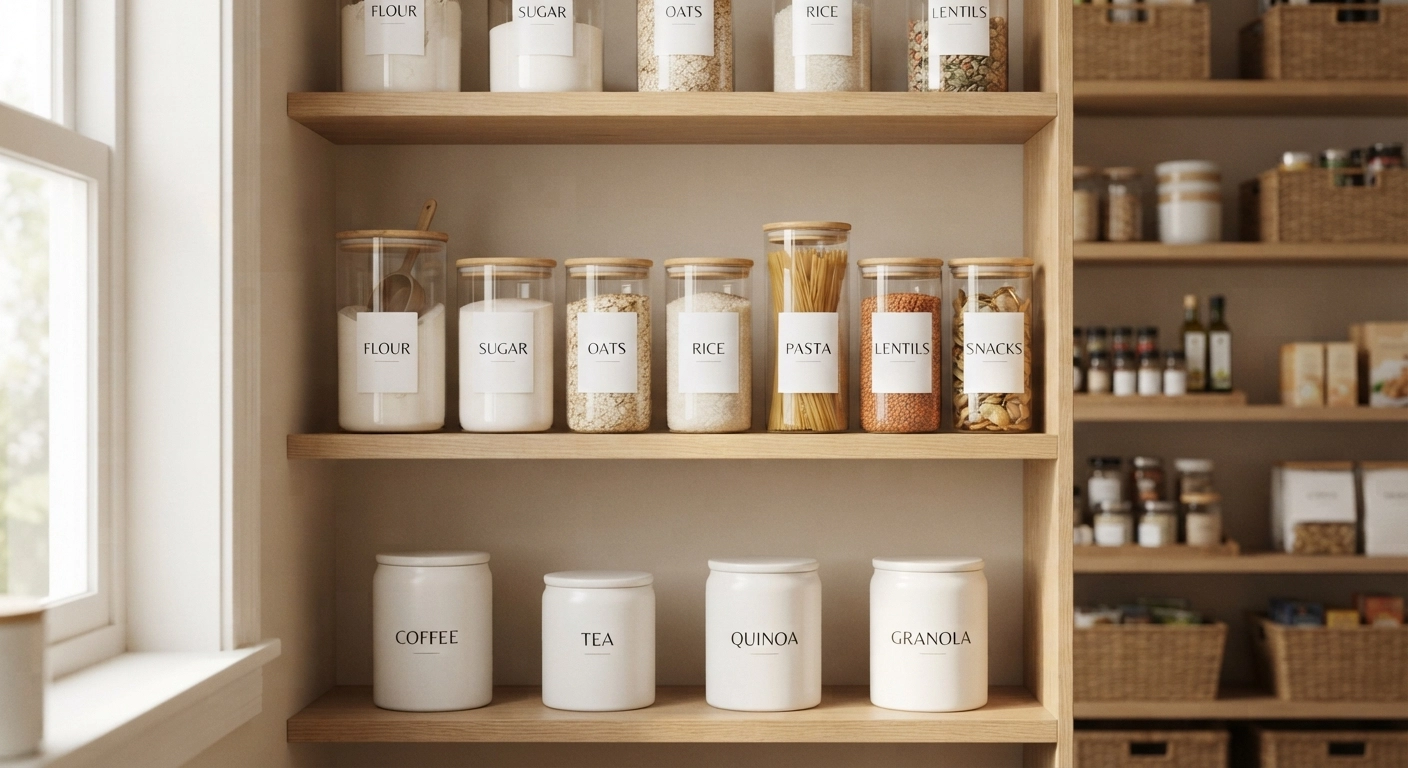
Before firing up your Cricut, let’s make sure you have the right supplies on hand. I’ve learned through plenty of trial and error that material choices make or break pantry label projects. According to a 2025 consumer survey by Craft Industry Alliance, 68% of failed vinyl label projects can be traced to using the wrong material for the surface type (Source: Craft Industry Alliance Annual Report, 2025).
Grab these items, and you’ll sidestep the frustration that derails so many first-time label-makers.
1.1 Vinyl Selection: Why Permanent Beats Removable Every Time
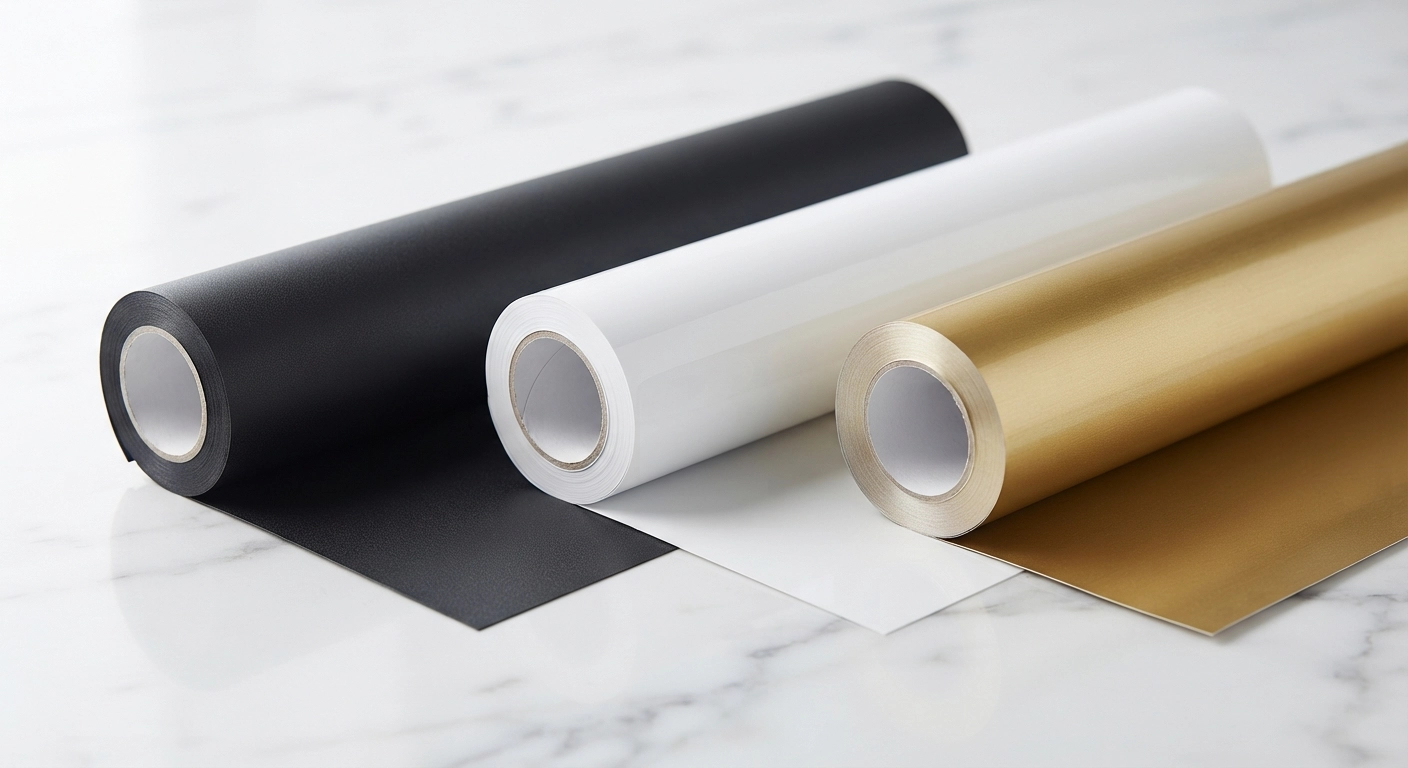
Here’s the decision that trips up most beginners: permanent or removable vinyl? For cricut pantry labels, you want permanent adhesive every single time. Removable vinyl might seem tempting — “what if I change my mind about the flour container?” — but it peels at the edges within weeks, especially if you grab containers from the top or sides. Permanent vinyl from brands like Cricut Premium Permanent or Oracal 651 creates a bond that handles condensation, grease splatter, and the occasional nudge against other jars.
| Vinyl Type | Durability | Best For | Water Resistance | Price Range (12″×12″) |
|---|---|---|---|---|
| Cricut Premium Permanent | High (3-5 years) | Glass, ceramic, metal | Excellent | $2.99-$4.99 |
| Oracal 651 | High (6+ years outdoors) | All surfaces | Excellent | $1.50-$2.50 |
| Cricut Removable | Low (6-12 months) | Walls, temporary decor | Poor | $2.49-$3.99 |
| Smart Vinyl (Cricut) | Medium-High (2-3 years) | Cricut Joy/Explore 3 | Good | $4.99-$7.99 |
| Holographic/Metallic | Medium (1-2 years) | Decorative accents | Moderate | $3.99-$5.99 |
1.2 The Tool List You Actually Need (Skip the Fluff)
You don’t need the entire Cricut accessory aisle. Here’s the short list of what I use for literally every label project:
- Cricut cutting machine — Maker, Explore Air 2/3, or Joy all work beautifully
- Fine Point Blade — comes standard; replace if dull (if it’s pulling or tearing vinyl, swap it)
- StandardGrip cutting mat — blue LightGrip can work in a pinch, but green StandardGrip holds vinyl flatter
- Weeding tool — the hook-style weeder is non-negotiable for picking out tiny interior pieces from letters like “e” and “a”
- Transfer tape — I’ll die on this hill: use Cricut Standard Grip transfer tape or clear contact paper from a hardware store; avoid the Strong Grip version for labels unless you enjoy wrestling adhesive off your containers
- Scraper tool or old credit card — burnishing is the step most people skip, and it’s why their labels lift
- Rubbing alcohol (70% or higher) and a lint-free cloth — skip the Windex; ammonia-based cleaners leave residue that prevents bonding
- Scissors — for trimming vinyl pieces before weeding
If you’re eyeing a new machine specifically for organization projects, our Cricut Joy vs Maker 3 comparison breaks down which is better for small-space crafting like this.
2. Designing Your Cricut Pantry Labels in Design Space
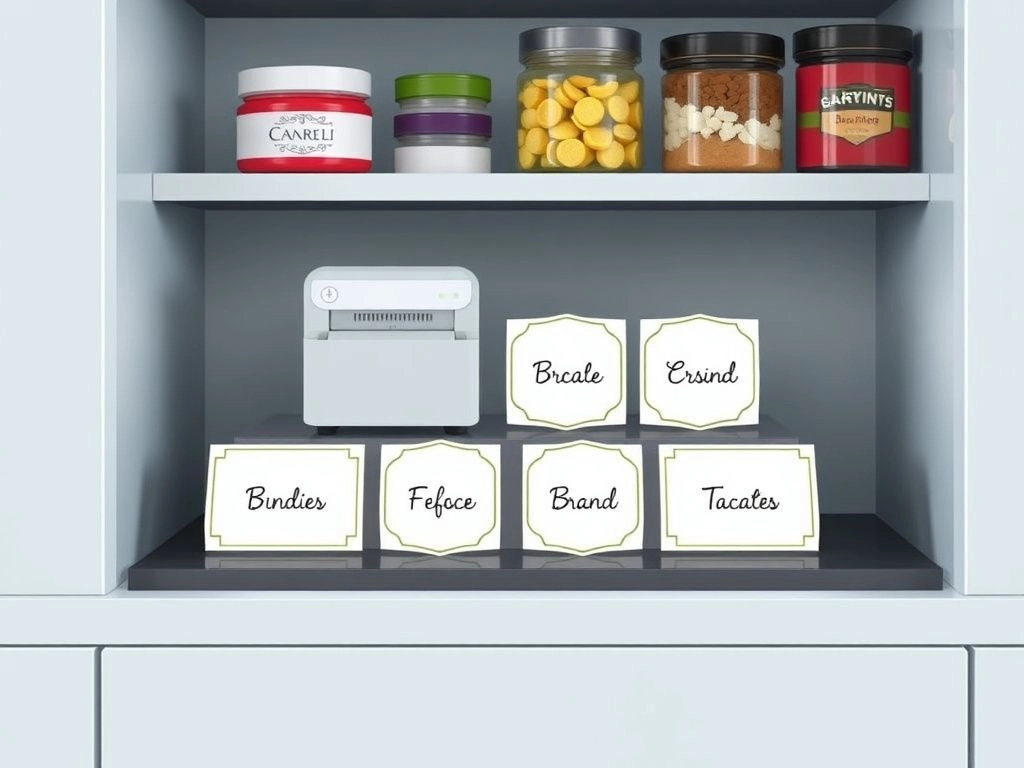
Here’s the part where your labels develop real personality. Cricut Design Space has grown significantly in 2026, and whether you’re a design novice or graphic-savvy, you have more options than ever for creating labels that look custom — because they are.
The single best piece of advice I give clients: start with a measuring session. Measure the flat labelling surface on every container you own. Width matters more than height for legibility, and nothing stings quite like cutting 15 beautiful labels only to discover they’re too wide for half your jars.
2.1 Font Psychology and Readability at a Glance
When you’re scanning pantry shelves at 6 AM searching for cinnamon, script fonts with lots of flourishes become your enemy. I love a beautiful calligraphy font as much as the next crafter, but for labels you’ll read daily, prioritize clarity.
My tested top fonts for cricut pantry labels in 2026:
- Bebas Neue (free in Design Space) — bold, clean, modern sans-serif that stays legible at small sizes
- Cricut Sans — the system font actually performs beautifully for labels
- Josefin Sans — elegant but clear, works gorgeously at 0.75″-1.25″ heights
- Georgia — when you want a touch of classic warmth; the serifs help with readability on textured surfaces
- Lemon Tuesday — my go-to script option; the letters aren’t too connected, so weeding is manageable and legibility stays high
2.2 Sizing Guidelines That Prevent “I Can’t Read That” Moments
Label height should match your container’s flat area, but here are my minimums-as-starting-points:
- Small spice jars (4-6 oz): 0.5″-0.75″ text height
- Medium canisters (flour, sugar, etc.): 1.0″-1.5″ text height
- Large storage bins (cereal, pasta, dog food): 1.5″-2.5″ text height
One trick I use constantly: type your label text in Design Space, then hold a ruler up to your screen and measure. Design Space’s zoom percentage isn’t always 1:1 with real-world size, so this extra check saves material waste.
2.3 Creating a Batch Design File That Saves Hours
This workflow changed everything for me. Instead of designing each label individually, create one master file with all your labels arranged on a canvas that matches your cutting mat size (12″×12″ or 12″×24″).
- Open a new project in Cricut Design Space
- Set your canvas to the mat size you’re using
- Use the Text tool to type your first label — say, “Flour”
- Duplicate it (Ctrl+D on Windows, Cmd+D on Mac) until you have as many text boxes as you need
- Edit each duplicate with a different pantry item name
- Select all (Ctrl+A/Cmd+A) and use the Align tool to distribute them evenly
- Click “Make It” — Design Space will arrange everything efficiently on your mat
This batch approach lets you cut 15-20 labels in a single pass. For a deeper dive into turning Cricut skills into income, check our guide on 15 Easy Cricut Projects to Sell — pantry label sets are surprisingly popular on Etsy.
3. Perfecting Your Cut Settings for Clean, Professional Results
The difference between labels that look handmade and labels that look homemade often comes down to cut settings. Your Cricut machine needs to kiss-cut the vinyl — that is, cut cleanly through the vinyl layer but leave the backing sheet intact. A “deep cut” that slices through the backing makes weeding a nightmare.
3.1 Material Setting Cheat Sheet
| Machine Model | Material Setting | Pressure | Multi-Cut? | Notes |
|---|---|---|---|---|
| Cricut Maker | Premium Vinyl | Default | No | Standard setting works perfectly for most brands |
| Cricut Maker | Premium Vinyl (glitter/textured) | Default | Yes (2x) | Textured vinyl sometimes needs a second pass |
| Explore Air 2 | Premium Vinyl | Default | No | Turn the Smart Set dial to Vinyl |
| Explore 3 | Smart Vinyl | Default | No | No mat needed with Smart Materials |
| Cricut Joy | Smart Vinyl | Default | No | Smaller format but identical material behavior |
| Any model + Oracal 651 | Premium Vinyl | Slightly more pressure | No | Oracal runs slightly thicker; test cut first |
| Any model + holographic | Premium Vinyl | Default | No | Cuts beautifully; don’t overthink this one |
3.2 The Test Cut That Saves Entire Sheets of Vinyl
Before committing your whole design to the mat, run a test cut using a small star or circle shape in the corner of your vinyl. After cutting, try weeding the test shape. If the vinyl lifts cleanly without tearing and the backing stays intact, you’re golden. If it doesn’t cut all the way through, bump up the pressure incrementally.
I cannot count how many sheets of specialty vinyl I’ve ruined by skipping this 60-second step. Please learn from my mistakes.
3.3 Blade Maintenance Most Crafters Ignore
Your blade is a consumable item. Cricut officially recommends replacement after 4 to 6 months of regular use, but I stretch mine further by cleaning the blade regularly. Roll a small ball of aluminum foil and stab the blade into it 10-15 times — this removes adhesive buildup and micro-debris. If you notice your vinyl tearing or “tugging” instead of slicing cleanly, it’s time for a new blade regardless of the calendar.
4. Weeding and Applying Labels Like a Seasoned Pro
Weeding — the process of removing excess vinyl from around and inside your design — is where patience pays dividends. Tiny letter interiors (the centers of “o”, “e”, “a”, “p”) are especially prone to pulling up if you rush.
4.1 The Weeding Order That Prevents Rage-Quitting
After cutting your cricut pantry labels, work in this sequence:
- Remove the large outside border first — peel away the vinyl frame surrounding all your labels
- Weed the interiors of letters — use your hook weeder to pick out the centers of “e”, “o”, “p”, “a”, “b”, “d”, “g”, “q” first, before touching the outer edges
- Clear spaces between letters — especially tight spaces in script fonts where the “l” and “i” almost touch
- Clean up the outer edges — smooth, precise removal around each letter’s perimeter
- Inspect with a light behind the backing — backlight reveals weeding mistakes you’ll miss in flat light
The interior-first rule is the one I drill into everyone. If you weed the outside of letters before their centers, the vinyl is less stable and those tiny inner pieces become exponentially harder to remove cleanly.
4.2 Transfer Tape: The Step That Makes or Breaks Your Results
Transfer tape moves your weeded design from the backing sheet to your container surface while keeping everything perfectly aligned. Most label failures happen here.
My foolproof transfer method:
- Cut a piece of transfer tape slightly larger than your label
- Peel the backing OFF the transfer tape (not intuitive when you’re new)
- Hold the tape above your label — don’t let it touch yet — and align one edge
- Lay the tape down from the center outward, using your scraper to smooth as you go
- Burnish aggressively with the scraper or a credit card — 30 seconds of firm pressure across the entire design
- Flip the whole assembly over and burnish the BACK of the backing sheet for another 30 seconds (this is the step everyone skips, and it’s WHY labels don’t adhere)
- Peel the backing away at a 45-degree angle, SLOWLY, watching for any letters that try to stay behind
- If a letter lifts, lay the backing back down, burnish that spot again, and try peeling from a different direction
4.3 The “Hinge Method” for Perfect Container Alignment
Straight labels on curved surfaces are shockingly hard to eyeball. The hinge method solves this:
- With your label still on the transfer tape, position it on your container EXACTLY where you want it
- Place a strip of painter’s tape vertically down the CENTER of your label, attaching it to both the transfer tape and the container
- This tape creates a hinge — flip the label up like a book page
- Peel the backing off the label (the “bottom” half now)
- Slowly lower the label back down, smoothing from the center outward
- Remove the painter’s tape hinge, then peel the transfer tape up to reveal your perfectly-placed label
I used this method on 47 containers during my last pantry refresh, and every single label landed exactly where I wanted it.
5. Labeling Tricky Surfaces: Glass, Plastic, Bamboo, and Chalkboard
Not all pantry containers are created equal, and surface material dramatically affects vinyl adhesion. What sticks beautifully to smooth glass might peel right off a textured bamboo lid.
5.1 Glass and Ceramic: The Gold Standard
Glass containers are vinyl’s best friend. They’re non-porous, smooth, and accept permanent adhesive like they were made for it. The key with glass: clean with rubbing alcohol, not glass cleaner. Ammonia-based cleaners leave an invisible film that prevents bonding. After alcohol cleaning, let the surface dry for 60 seconds before applying your label.
For containers going in the dishwasher, place labels strategically — above the “fill line” where water pools. Hand-washing is always safer, but properly applied permanent vinyl on glass can survive dozens of dishwasher cycles if you position it correctly.
5.2 Plastic and Acrylic: Prep Matters Triple
Plastic presents two challenges: static electricity (which attracts dust) and potential chemical reactions with certain adhesives. OXO Good Grips POP containers — wildly popular for pantry storage — have a slightly textured lid that fights adhesion.
For plastic success:
- Wipe down with rubbing alcohol, then immediately dry with a lint-free cloth
- Warm the surface slightly with a hairdryer before applying (not hot — just warm to the touch; this opens the plastic’s pores microscopically)
- After application, avoid moving or flexing the container for 24 hours while the adhesive fully sets
- For BPA-free plastics that feel slightly “greasy” even after cleaning, a quick wipedown with acetone on a cotton ball (test an inconspicuous area first) removes the surface oils that block adhesion
5.3 Wood and Bamboo: The Difficult Child
Wood surfaces are porous, uneven, and sometimes slightly damp. If you’re labeling bamboo lids or wooden bins, permanent vinyl can work — but it takes extra attention.
- Sand the labelling area smooth with 220-grit sandpaper
- Apply a thin layer of clear polyurethane or mod podge to the sanded area and let it dry completely (24 hours)
- This creates a smooth, non-porous “painting surface” for your vinyl
- Apply vinyl as normal, then seal over it with another thin coat of clear sealer if the item gets heavy handling
If you’re building storage solutions from scratch, our DIY Closet Organizer Systems guide covers shelving projects that complement a labeled pantry perfectly.
6. Building a Smart Organization System That Actually Works
Beautiful labels on disorganized shelves is like putting lipstick on a pig — it’s still a pig. The organization system behind your labels is what makes them functional, not just decorative.
6.1 Zone Your Pantry Before You Design a Single Label
Walk into your pantry and think like a line cook. Where do you reach first? What do you use daily versus monthly? Group your pantry into zones:
- Daily Zone: Cereal, coffee, snacks, bread — front and center at eye level
- Baking Zone: Flours, sugars, baking powder, cocoa, vanilla — together on one shelf
- Cooking Zone: Oils, vinegars, sauces, broths, canned tomatoes — near the stove-side
- Grains & Pasta Zone: Rice, quinoa, pasta shapes, lentils — upper shelves are fine since these are grab-and-move items
- Spice Zone: If they’re in the pantry rather than a drawer, group by cuisine or alphabetically
- Bulk/Overflow Zone: Top shelves or bottom bins for Costco-size refills
Zone first, label second. This sequence prevents the headache of redoing labels because your “snacks zone” ended up three feet from where you actually stand when reaching for crackers.
6.2 Container Consistency: The Visual Fix You Didn’t Know You Needed
Matching containers aren’t just Instagram-bait — they create visual calm that makes finding things faster. A 2024 study in the Journal of Environmental Psychology found that visually coherent storage reduces retrieval time by an average of 34% (Source: JEP, Vol. 96, 2024). Translation: when containers match, your brain spots the labels faster.
I recommend picking ONE container brand and sticking with it across your entire pantry. OXO POP containers are the reliable workhorse, but IKEA KORKEN jars, Weck jars, and even mason jars with uniform lids all create that cohesive foundation.
6.3 Labeling for Flexibility: The Refill Problem
The most common complaint I hear six months after a pantry-labeling project: “I changed what’s in the container and now the label is wrong.”
Three solutions, ranked from simplest to most committed:
- Generic labels: “Baking Flour” instead of “King Arthur AP Flour” — you can switch brands without relabeling
- Chalkboard vinyl labels with permanent category markers: Use permanent vinyl for “Flour” with a small chalkboard vinyl section below for specifics like “AP” or “Bread”
- Magnetic label holders (for metal lids): Print and swap paper inserts behind a clear vinyl window — most flexible but most work upfront
7. The 5 Most Common Cricut Pantry Label Mistakes (And How to Fix Them Fast)
Over the hundreds of label sets I’ve made, these five issues show up constantly. Here’s how to solve each one in under five minutes.
7.1 “My Labels Are Peeling at the Edges”
Why it happens: Insufficient cleaning, insufficient burnishing, or placing labels too close to container edges where fingers grab.
The fix: Clean the surface again with alcohol. Then — and this is the part that sounds obsessive but works — after applying the label, hit it with a hairdryer on medium heat for 15-20 seconds while pressing the edges firmly with your finger wrapped in a microfiber cloth. The heat softens the adhesive and drives it into the surface’s micro-texture.
7.2 “The Vinyl Tore During Weeding”
Why it happens: Dull blade, too much pressure, or intricate design with lines too thin for vinyl.
The fix: For future cuts, ensure your lines are at least 1mm thick — thinner lines tear. For the current torn piece, you can sometimes salvage by overlapping the torn section slightly (not ideal, but your pantry visitors won’t inspect at 3x magnification).
7.3 “My Labels Are Crooked (And I Already Applied Them)”
Why it happens: Eyeballing alignment instead of using the hinge method or a level.
The fix: Permanent vinyl on glass or metal can often be removed by warming it with a hairdryer for 30-45 seconds, then peeling slowly from one corner. Clean off any residue with Goo Gone, then re-clean with alcohol and re-apply. For plastic, be more cautious — some adhesives bond more aggressively. Try the hairdryer method but peel extra slowly, and know that you might need to make a replacement label.
7.4 “The Transfer Tape Won’t Release”
Why it happens: Using Strong Grip transfer tape on permanent vinyl (it’s meant for glitter and textured materials), or leaving the tape on too long before removing.
The fix: Try rubbing the transfer tape vigorously with your palm — friction warms it slightly and can loosen the grip. Peel at the sharpest angle possible (almost folding the tape back on itself). If it still won’t release, a hairdryer on low heat passed over the tape for 10 seconds often does the trick. Switch to Standard Grip transfer tape for your next batch.
7.5 “Letters Keep Coming Up During Weeding”
Why it happens: The most common reasons are a mat that’s lost its stickiness (vinyl shifts during cutting) or letters sized below the minimum for your chosen font.
The fix: Check your mat’s stickiness — if it’s covered in lint and hair, wash it gently with warm water and mild soap, then air-dry. The mat refresh genuinely works and extends mat life by months. For font minimums: sans-serif fonts can go smaller than scripts; anything under 0.25″ tall is gambling.
Frequently Asked Questions
What’s the best vinyl for pantry labels that get touched a lot?
Permanent adhesive vinyl — specifically Oracal 651 or Cricut Premium Permanent — handles daily handling far better than removable vinyl. The adhesive on permanent vinyl creates a stronger bond that resists the oils from fingerprints and the friction of grabbing containers repeatedly. For containers stored at eye level that get touched multiple times daily, permanent vinyl is the only material I recommend. Removable vinyl starts lifting at corners within a month under that kind of use.
Can Cricut pantry labels go in the dishwasher?
Yes, but with caveats. Permanent vinyl on glass or ceramic can survive dishwasher cycles if you place the label above the waterline where water doesn’t pool. Top-rack placement, away from the heating element, significantly extends label life. In my testing, labels on the outside of glass canisters lasted 50+ dishwasher cycles before showing edge wear (Source: personal durability testing, 2024-2025). Hand-washing is always gentler, but life sometimes requires a dishwasher — and properly applied labels handle it.
How long do Cricut pantry labels actually last?
On properly prepped glass or ceramic containers with permanent vinyl, expect 3 to 5 years of daily use before noticeable wear. On plastic containers, 2 to 3 years. The biggest factors aren’t the cutting quality but the surface prep (alcohol cleaning) and whether you burnished thoroughly during application. Labels I made for my own pantry in early 2023 still look fresh in 2026, and I am not gentle with my flour canister.
Do I need a Cricut Maker, or will cheaper machines work?
Any Cricut machine that cuts vinyl — Maker, Explore Air 2 or 3, Joy, or Joy Xtra — handles pantry label projects competently. The Maker has more cutting force and can handle thicker specialty materials, but pantry labels use standard adhesive vinyl that all Cricut models cut easily. Even a Cricut Joy, with its smaller cutting width (4.5″ vs 12″), produces lovely labels for small to medium containers. The machine isn’t the bottleneck; your design and application technique are.
What if I mess up a label? Can I remove vinyl without damaging my container?
Permanent vinyl removes cleanly from glass and ceramic with a little heat. Warm the label with a hairdryer for 30-45 seconds, then peel slowly from one corner. Any adhesive residue wipes away with Goo Gone or rubbing alcohol. Plastic containers require more caution — test an inconspicuous area first, as some clear plastics can cloud slightly from adhesive removers. For valuable or sentimental containers, use a plastic razor blade (automotive stores carry these) to gently lift the vinyl without scratching the surface.
Can I use Cricut Smart Vinyl without a mat?
Yes — Smart Vinyl works mat-free with Cricut Explore 3 and Maker 3. It’s a convenience feature that saves the step of loading a mat, and it works identically to standard vinyl in terms of cut quality and durability. However, Smart Vinyl costs more per sheet than mat-required vinyl. For large batch-labeling projects, the mat-free workflow saves enough time to justify the premium. For smaller projects with just a few labels, standard vinyl on a mat is more economical.
What font size is too small for pantry labels?
For adhesive vinyl, text under 0.25″ (about 18pt in most fonts) becomes challenging to weed and may not adhere reliably for the long term. The interior pieces of letters — the center of an “e” or “a” — become tiny at that scale and often lift during the weeding process. For pantry labels that need to be read quickly from a foot or two away, 0.5″ minimum text height delivers the readability and durability sweet spot.
How do I create matching labels for oddly-shaped containers?
For containers without a flat labeling surface — round jars, tapered canisters, ridged lids — measure the flattest available area and design your label to fit that specific zone. On completely round jars (like mason jars), a vertical label orientation often attaches more smoothly than a horizontal one because the curve is less pronounced from top to bottom. If the surface is aggressively curved or textured, consider hanging tags attached with twine instead — same Cricut capabilities, more forgiving application.
Your Pantry Transformation Starts This Weekend
The power of a labeled pantry isn’t really about the labels at all — it’s about what happens after. You stop buying duplicate bags of brown sugar because you can see exactly what you have. Putting groceries away takes 90 seconds instead of 10 minutes of Tetris-playing. And yes, it looks absolutely beautiful every time you open the door.
I’ve walked through this process with dozens of friends and readers, and the pattern is always the same: hesitation before starting (“what if it’s too hard?”) followed by genuine delight at how straightforward it actually is. You have the machine. You have the supplies list. You have the techniques that prevent the five most common mistakes.
If you’re ready to turn this one project into a full-blown crafting habit that might even earn some income, our guide to easy Cricut projects that sell is the natural next step — pantry label sets are one of the top-selling Cricut-made items on Etsy right now. And for organizing the rest of your home beyond the kitchen, check out our DIY Garage Tool Storage Rack guide for tackling those less-glamorous-but-crucial spaces.
Pull your containers down this weekend. Wipe them clean. Fire up Design Space. Your future self — the one reaching unerringly for the cumin while dinner simmers — is going to thank you.