- 📋 Key Takeaways
- Table of Contents
- What Is a Brad Nailer?
- Key Specs of a Typical Brad Nailer
- What Is a Finish Nailer?
- Key Specs of a Typical Finish Nailer
- Brad Nailer vs Finish Nailer: 7 Key Differences
- 1. Nail Gauge – The Core of the Difference
- 2. Hole Size and Finish Work
- 3. Holding Power – Glue Is Your Friend
- 4. Splitting – Wood Type and Grain
- 5. Nail Length and What It Means for Joints
- 6. Magazine and Reload Frequency
- 7. Versatility in the Workshop
- When to Use a Brad Nailer: Ideal DIY Projects
- When to Use a Finish Nailer: Heavy-Duty Trim and More
- Brad Nailer vs Finish Nailer for Easy DIY Furniture: The Verdict
- How to Choose the Right Nail Gun: A Step-by-Step Decision Guide
- Question 1: How thick is your material?
- Question 2: Will the nail hole be visible?
- Question 3: Is the joint structural?
- Frequently Asked Questions (FAQ)
- Can I use a finish nailer instead of a brad nailer for furniture?
- What is the difference between a brad nailer and a pin nailer?
- Do I need a compressor for brad and finish nailers?
- Which nailer is best for baseboards?
- Can I use brad nails for crown molding?
- What size brad nailer should I buy for 3/4-inch wood?
- Do I need to use glue with a brad nailer?
- Make the Right Choice and Build Something Great
Picture this: you’re standing in the aisle of your local hardware store, a half-built coffee table blueprint in your pocket, staring at two nail guns that look almost identical. The labels read “brad nailer vs finish nailer” – and you have no idea which one to grab. I’ve been there. My very first solo furniture project was a set of simple pine shelves; I bought a finish nailer because it was on sale. The result? Split wood, nails that barely held, and an afternoon of frustration. That mistake taught me that understanding the difference between these two tools isn’t just technical nitpicking – it’s the difference between a wobbly mess and a piece that lasts for years.
In 2026, with more people turning to DIY furniture to save money and personalize their spaces, choosing the right nailer has never been more critical. In this guide, I’ll break down the brad nailer vs finish nailer debate with zero fluff, real-world experience, and a comparison table that makes the decision crystal clear. By the end, you’ll know exactly which tool belongs in your workshop – and which one you can safely skip for that next bookshelf, cabinet, or bed frame.
📋 Key Takeaways
- Brad nailers use 18-gauge nails that leave nearly invisible holes; finish nailers use thicker 15/16-gauge nails for stronger hold.
- For most DIY furniture projects (like bookshelves, cabinets, and drawer boxes), a brad nailer is the better, cleaner choice.
- Finish nailers shine in heavy trim work, baseboards, and structural applications where holding power is paramount.
- Understanding nail gauge, length, and hole size will save you hours of wood filler and sanding – we’ll break it all down.
- The decision tree at the end will help you pick the right nail gun in under 30 seconds.
What Is a Brad Nailer?
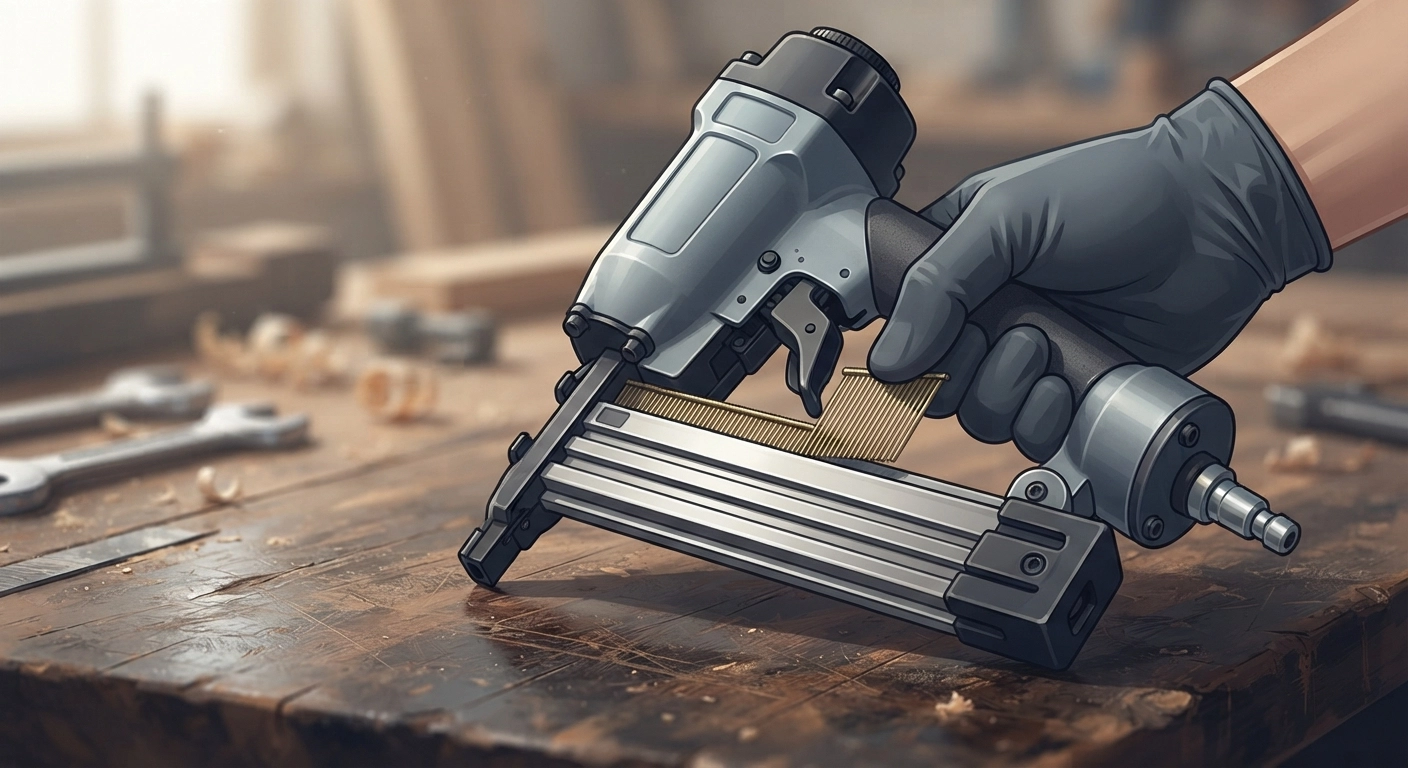
A brad nailer is a compact power tool that drives 18-gauge brad nails – incredibly thin fasteners that range from 5/8 inch to 2 inches in length. These nails have a small head that virtually disappears into the wood, leaving a hole so tiny you can often cover it with a dab of wood filler or even just your finger. Brad nailers are the go-to choice for delicate trim, thin plywood, and most DIY furniture assembly where splitting the wood is a real concern.
When I first started doing easy woodworking projects that sell, I quickly realized that a brad nailer combined with wood glue gives you a bond that’s stronger than screws in many situations – and the clean-up is almost zero. You’ll find these nailers in both pneumatic (air-powered) and cordless (battery) versions, making them incredibly versatile for small workshop spaces and on-the-go builds.
(Image: 18-gauge brad nailer loading brad nails)
Key Specs of a Typical Brad Nailer
- Nail gauge: 18
- Nail length range: 5/8″ – 2″
- Typical magazine capacity: 100 nails
- Best for: Thin trim, paneling, attaching face frames, light furniture assembly
- Hole size: About 0.044 inch diameter – extremely small
What Is a Finish Nailer?
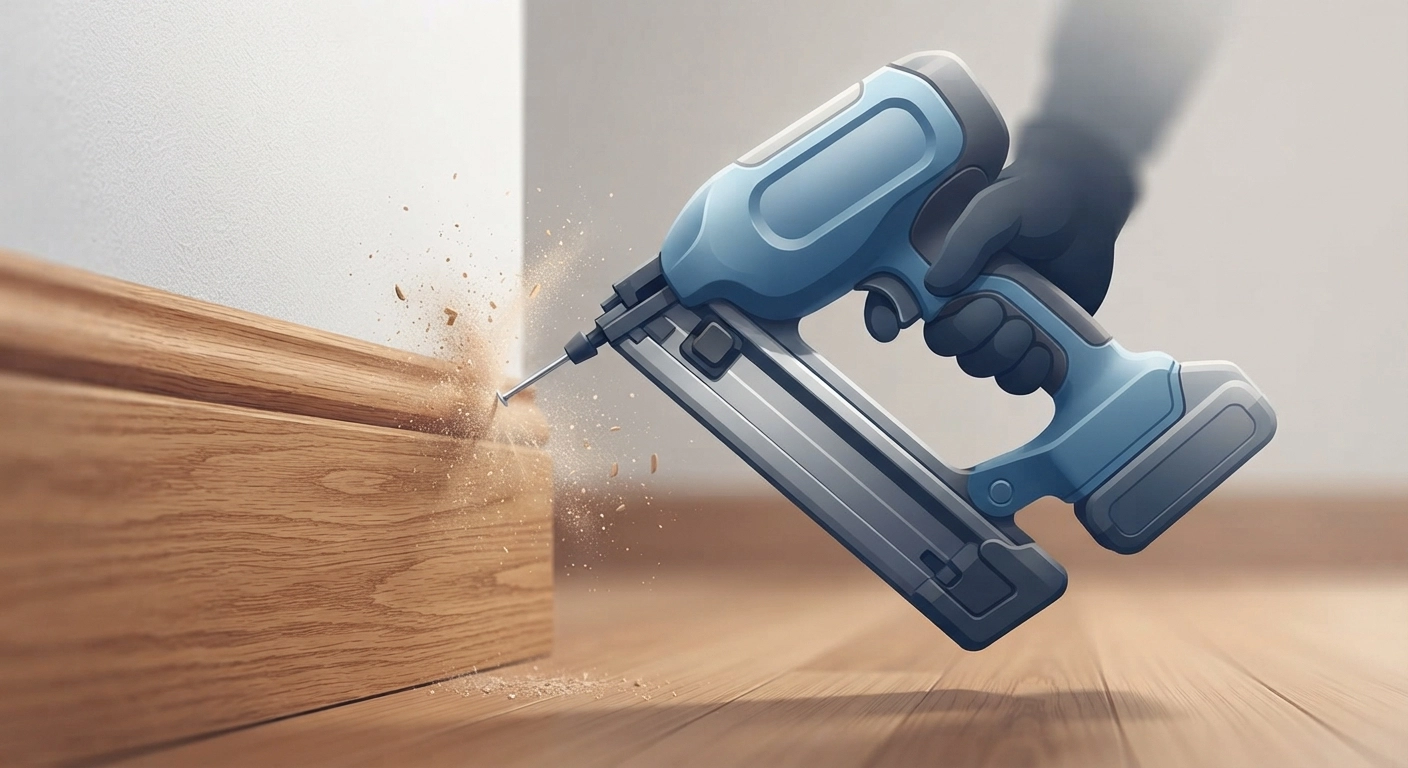
A finish nailer steps up in power and nail thickness. It shoots 15-gauge or 16-gauge nails that are essentially miniature framing nails, ranging from 1 inch to 2-1/2 inches long. The thicker shank and larger head mean two things: much stronger holding power and a more obvious hole that definitely needs wood filler. Finish nailers are designed for heavier trim like baseboards, crown molding, door casings, and any situation where you need the joint to resist a good amount of force.
I’ve seen seasoned DIYers mistakenly use a finish nailer on thin furniture parts, only to see the wood split right down the grain. The reason? Those 15-gauge nails displace a lot more wood fiber. Yet, when you need to secure a stair tread or a beefy window sill, nothing else will do. Understanding this trade-off is exactly where the brad nailer vs finish nailer comparison becomes crucial.
(Image: Finish nailer in action on baseboard)
Key Specs of a Typical Finish Nailer
- Nail gauge: 15 or 16
- Nail length range: 1″ – 2-1/2″
- Magazine capacity: 80–100 nails (varies)
- Best for: Heavy trim, baseboards, stair treads, structural furniture components
- Hole size: 0.063″–0.072″ diameter – about 2-3x larger than a brad nail hole
Brad Nailer vs Finish Nailer: 7 Key Differences
Let’s lay the two tools side by side in the arena where they actually matter: your workshop. I’ve distilled this down to seven distinctions that will immediately tell you which tool to reach for.
| Feature | Brad Nailer | Finish Nailer |
|---|---|---|
| Nail Gauge | 18-gauge (thin) | 15- or 16-gauge (thick) |
| Hole Size | ~0.044″ – easily hidden | 0.063″–0.072″ – needs filler & sanding |
| Holding Power | Moderate – rely on glue for strength | High – often sufficient without glue for trim |
| Risk of Splitting | Very low on most woods | Higher, especially in hardwoods & near edges |
| Typical Nail Length | 5/8″ – 2″ | 1″ – 2-1/2″ |
| Best Material Thickness | 1/4″ – 3/4″ | 3/4″ and thicker |
| Price Range (Pneumatic) | $30 – $100 (Source: Home Depot, 2026) | $70 – $220 |
1. Nail Gauge – The Core of the Difference
Gauge is just a number, but it dictates everything. The lower the gauge, the thicker the nail. 18-gauge brads are roughly the same diameter as a paperclip wire. 15-gauge finish nails are more like a thick coat hanger. This means the brad nailer slips in without much fanfare; the finish nailer demands more respect from the wood. Always match the gauge to your project’s wood density.
2. Hole Size and Finish Work
I can’t stress this enough: for any surface that will be seen and touched, brad nailer holes are a gift. A quick wipe with a damp cloth often swells the wood fiber enough to seal a brad hole. With finish nails, you’re committed to filling, sanding, and painting or staining carefully. If you’re building a painted cabinet, either works, but if you’re staining that beautiful cherry wood, brad nailer is the only way to go.
3. Holding Power – Glue Is Your Friend
Finish nailers win in pure mechanical grip. But here’s a secret from my DIY garage tool storage rack build: a brad nailer plus Titebond wood glue creates a joint stronger than the wood itself. For furniture, the brad nail’s role is essentially a clamp until the glue dries. Finish nails are for applications where you can’t or don’t want to use glue, like exterior trim or temporary braces.
4. Splitting – Wood Type and Grain
Softwoods like pine are forgiving; hardwoods like oak and maple are not. A finish nailer driven too close to the edge of an oak board can turn your $15 board into firewood. Brad nailers are far gentler. If you’re working with exotic woods for an easy IKEA hack that involves butcher block, the brad nailer is your best friend.
5. Nail Length and What It Means for Joints
2-inch brad nails are available, but they’re still thin and can bend if driven into a knot. Finish nails up to 2-1/2 inches give you more penetration for attaching thicker materials. For example, when installing a 1-1/2 inch thick stair tread, you absolutely need that extra half inch to get a solid bite into the stringer.
6. Magazine and Reload Frequency
Brad nails are smaller, so the magazine can hold more (often 100+). Finish nail strips are bulkier, so you’ll reload more often. It’s a minor point, but if you’re doing production work, those seconds add up.
7. Versatility in the Workshop
The brad nailer handles 90% of what a DIY furniture maker needs: attaching shelf pin strips, nailing picture frame backing, assembling drawer boxes, and even upholstery. The finish nailer is more of a specialist – vital for heavy trim but otherwise sitting idle. For a beginner spending their first $50, I’d point them straight to a quality brad nailer.
When to Use a Brad Nailer: Ideal DIY Projects
If your project involves pieces of wood 3/4 inch or thinner, or you care deeply about the final appearance, reach for the brad nailer. Here’s a list of projects where it absolutely shines:
- Bookshelves and display cabinets: Attaching face frames, toe kicks, and shelf edging – fast and clean.
- Drawer box assembly: Combine with glue for drawers that never pull apart.
- Picture frame making: The tiny holes vanish behind the mat.
- Wainscoting and beadboard: Perfect for attaching thin panels to walls or frames.
- Upholstery trim: Small decorative strips that won’t tolerate large holes.
- Craft projects: When you’re making DIY closet organizer systems for small spaces, brad nails hold thin dividers without damage.
I’ve built everything from a farmhouse table to small jewelry boxes using only a brad nailer and glue. It’s that capable.
When to Use a Finish Nailer: Heavy-Duty Trim and More
When the wood gets thick and the stakes get high, the finish nailer steps onto the stage. Think three-dimensional structural loads – like a door frame that has to support a heavy door, or a stairway that takes daily pounding.
- Baseboard installation: 2-1/2 inch nails lock baseboards into studs behind drywall.
- Crown molding: The extra holding power prevents gaps from developing over time.
- Stair treads and risers: Code often requires thicker fasteners; finish nails hold up.
- Exterior trim (when paired with galvanized nails): Porch railings and siding strips need serious grip.
- Furniture structural elements: Chair frames, bed rails, and large table legs where a brad nailer would be underpowered.
- Any project where glue is not practical: Tight miters on prefinished material, for instance.
If you’re looking to build heavy duty shop fixtures like the DIY garage tool storage rack we covered, a finish nailer may be overkill (glue and screws are better), but for wrapping a room in trim, it’s the undisputed champion.
Brad Nailer vs Finish Nailer for Easy DIY Furniture: The Verdict
Let’s cut to the chase: for 85% of the furniture projects a home woodworker tackles, the brad nailer is the clear winner. The smaller fastener preserves the wood’s integrity, requires almost no aesthetic clean-up, and when paired with modern wood glues, creates joints that exceed the strength of the surrounding wood. (Source: Fine Woodworking, 2025 glue joint strength tests).
However, if you’re building something that will bear significant human weight – like a bunk bed, a heavy-duty workbench, or a sofa frame – you should use a finish nailer for the primary connections, or better yet, screws and construction adhesive. The one nuance: if you’re using prefinished plywood or melamine where glue won’t adhere well, a finish nailer’s mechanical hold becomes invaluable, though you’ll have to fill those holes.
Think of the two tools as teammates. I keep both in my workshop, but the brad nailer gets used ten times more often. The finish nailer comes out only for those big, heavy jobs.
How to Choose the Right Nail Gun: A Step-by-Step Decision Guide
Still not sure? Answer these three questions, and you’ll have your answer in seconds.
Question 1: How thick is your material?
- 1/4″ – 3/4″: Brad nailer is safest.
- 3/4″ and thicker: Both can work, but if it’s also load-bearing, choose finish nailer.
Question 2: Will the nail hole be visible?
- Yes, and I’m staining: Brad nailer – no contest.
- Yes, but I’ll paint: Either works, but brad nailer saves filler time.
Question 3: Is the joint structural?
- Lightweight shelf or drawer: Brad nailer + glue.
- Chair frame, stair tread, heavy door: Finish nailer or screws.
If you can only afford one tool, get a brad nailer. If you later find yourself fighting a baseboard, rent or borrow a finish nailer. That one-tool-first philosophy has saved countless DIYers from owning a tool they rarely use.
Frequently Asked Questions (FAQ)
Can I use a finish nailer instead of a brad nailer for furniture?
Yes, but you’ll likely regret it. The larger nail holes require significant filling and sanding, and the increased splitting risk can ruin small or delicate pieces. If your furniture uses very thick hardwood and is painted, it’s acceptable, but still not ideal for most fine furniture.
What is the difference between a brad nailer and a pin nailer?
A pin nailer uses even thinner 23-gauge headless nails, leaving almost invisible holes. It’s used for delicate trims and temporary holding. A brad nailer (18-gauge) has a small head that provides more grip; a pin nailer relies more heavily on glue. For furniture, brad nailer is the smarter middle ground.
Do I need a compressor for brad and finish nailers?
Not necessarily. Both are available in cordless (battery) versions, which are perfect for small shops and even site work. Pneumatic models require an air compressor but are typically less expensive and longer-lasting for heavy use.
Which nailer is best for baseboards?
Finish nailer. Baseboards are usually 3/4″ thick or more and need the longer, thicker nails to penetrate drywall and secure tightly into the wall studs. 2-inch finish nails are the standard.
Can I use brad nails for crown molding?
For small, lightweight crown installed in a low-traffic area, yes. But for standard 3-5/8″ crown, a finish nailer is recommended to prevent future separation. Many pros use both: brads on the inner edge, finish nails on the thicker outer edge.
What size brad nailer should I buy for 3/4-inch wood?
Look for a brad nailer that accepts 2-inch nails. You’ll want to use a nail length about twice the thickness of the piece you’re attaching, so a 1-1/4 to 1-1/2 inch brad for 3/4″ stock. But having the capacity for 2 inches gives you flexibility for thicker joints.
Do I need to use glue with a brad nailer?
Highly recommended. The brad nail’s primary role in furniture is to clamp the joint while the glue dries. Without glue, brad nails alone have limited shear strength and can pull out under moderate stress.
Make the Right Choice and Build Something Great
Understanding the brad nailer vs finish nailer difference doesn’t just save you money – it saves your projects from disaster. Remember: thinner wood, visible surfaces, and glue‑friendly joints beg for a brad nailer. Heavy trim, baseboards, and structural elements demand a finish nailer. Now that you’ve got the knowledge, it’s time to put it to work.
If you’re excited to start building, check out our list of woodworking projects that sell – many of them are perfect for your new nail gun skills. And for keeping that shiny new tool ready for action, our DIY garage tool storage rack guide will have you organized in an hour. Go make those shavings fly!