How to Make Easy DIY Playdough That Lasts for Months

- How to Make Easy DIY Playdough That Lasts for Months
- How to Make Homemade Playdough That Lasts: 7 Proven Steps for Months of Sensory Play (2026 Guide)
- 📋 Key Takeaways
- Table of Contents
- Why Does Homemade Playdough Dry Out So Fast?
- The 6 Ingredients You Need for Long-Lasting Playdough
- 1. All-Purpose Flour — The Structure Builder
- 2. Salt — The Preservative
- 3. Cream of Tartar — The Secret Weapon
- 4. Vegetable Oil — The Moisture Locker
- 5. Warm Water — The Hydration Agent
- 6. Food Coloring or Natural Dyes — The Fun Factor
- Cooked vs. No-Cook Playdough: Which One Actually Lasts Longer?
- The Science Behind Cooked Playdough
- Why No-Cook Recipes Fall Short
- Quick Comparison Table
- Step-by-Step: How to Make Homemade Playdough That Lasts for Months
- Ingredients
- Step 1: Whisk the Dry Ingredients
- Step 2: Mix Wet Ingredients
- Step 3: Combine and Cook
- Step 4: Cool and Color
- Step 5: The Kneading Secret
- Step 6: Rest and Store
- Step 7: Store Immediately
- Storage Secrets That Dramatically Extend Playdough Shelf Life
- Choose the Right Container
- Wrap Before You Store
- Temperature and Humidity
- Do Not Refrigerate
- The 3-Month Checkup
- Troubleshooting: Fixing Sticky, Hard, or Faded Playdough
- Problem 1: Sticky or Gooey Playdough
- Problem 2: Hard or Crumbly Playdough
- Problem 3: Faded or Uneven Color
- Problem 4: Crusty Outer Layer
- Problem 5: Mold or Spoilage
- Creative Variations: Scented, Glow-in-the-Dark, and Educational Playdough
- Scented Playdough for Calming Sensory Play
- Glow-in-the-Dark Playdough
- Educational Playdough for Fine Motor Skills
- Seasonal Color Sets
- Conclusion: Your Long-Lasting Playdough Journey Starts Now
- Frequently Asked Questions About Long-Lasting Homemade Playdough
- How exactly does cream of tartar make playdough last longer?
- Can I make long-lasting playdough without cream of tartar?
- How do I know when my homemade playdough has gone bad?
- What is the best container for storing homemade playdough?
- Can I freeze homemade playdough to make it last even longer?
- How often should I knead stored playdough to keep it fresh?
- Is homemade playdough safe for toddlers and babies?
- What's the difference between gel and liquid food coloring for playdough?
- 🔗 İlgili İçerikler
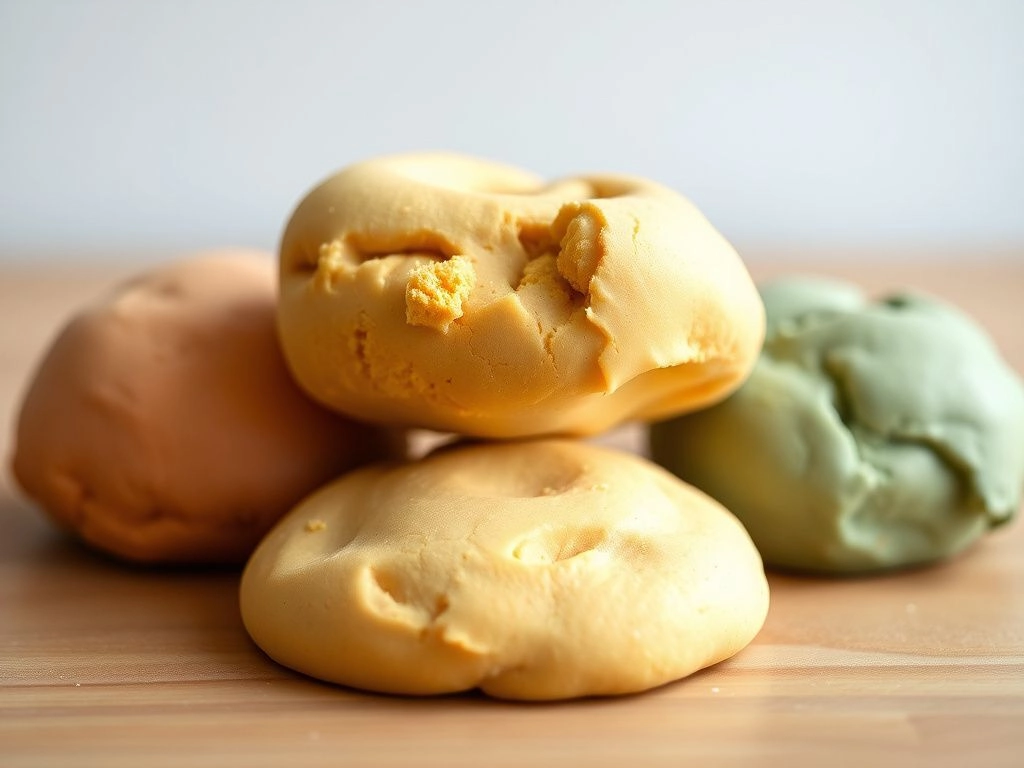
How to Make Homemade Playdough That Lasts: 7 Proven Steps for Months of Sensory Play (2026 Guide)
Last week, my four-year-old left a store-bought Play-Doh can open for exactly one afternoon. By bedtime, it was a crumbly, grayish rock. Sound familiar? If you’ve ever watched expensive sensory toys dry out in hours, learning how to make homemade playdough that lasts isn’t just a fun weekend project—it’s a money-saving survival skill.
I’ve tested over a dozen recipes in my kitchen over the past three years, tweaking ratios of flour, salt, and cream of tartar until I landed on a batch that stayed soft and pliable for over 5 months in an airtight container. The secret isn’t one magic ingredient. It’s a combination of the right recipe, proper cooking technique, and storage habits that most tutorials skip over.
In this guide, I’ll walk you through the exact process I use. You’ll learn the science behind why some playdough turns into a brick while other batches stay squishy for months. I’ll also share the troubleshooting fixes for common disasters—like sticky dough, faded colors, or that weird crusty layer that forms on top.
Let’s get your hands doughy.
📋 Key Takeaways
- Cooked playdough lasts longer than no-cook versions because heat gelatinizes the starch in flour, locking in moisture.
- The cream of tartar acts as a preservative and gives the dough its signature elastic, non-sticky texture.
- Proper storage in an airtight container is non-negotiable—air exposure is the #1 reason playdough dries out.
- Adding a few drops of vegetable glycerin can extend softness for months, especially in dry climates.
- If your dough gets hard, do not throw it away—a simple rehydration method can often revive it.

Table of Contents
- Why Does Homemade Playdough Dry Out So Fast?
- The 6 Ingredients You Need for Long-Lasting Playdough
- Cooked vs. No-Cook Playdough: Which One Actually Lasts Longer?
- Step-by-Step: How to Make Homemade Playdough That Lasts for Months
- Storage Secrets That Dramatically Extend Playdough Shelf Life
- Troubleshooting: Fixing Sticky, Hard, or Faded Playdough
- Creative Variations: Scented, Glow-in-the-Dark, and Educational Playdough
- Frequently Asked Questions About Long-Lasting Homemade Playdough
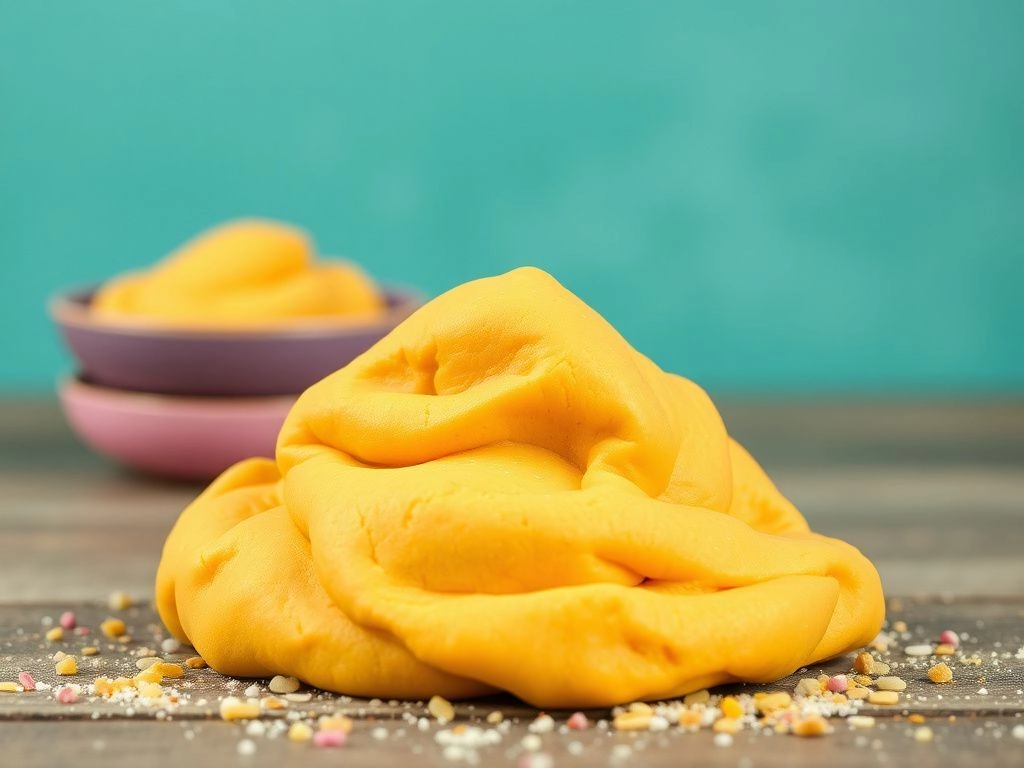
Why Does Homemade Playdough Dry Out So Fast?
If you’ve ever made a batch of salt-and-flour dough only to find it rock-hard by the weekend, you’re not alone. The main culprit is evaporation. Playdough is mostly water, and when exposed to air, that moisture escapes rapidly. According to food science research from King Arthur Baking Company, flour-based doughs can lose up to 30% of their moisture content within 24 hours if left uncovered (Source: King Arthur Baking, 2025).
But there’s more to it than just air exposure. Three factors determine whether your homemade playdough survives a week or thrives for months:
- Starch gelatinization — When you cook playdough, the starch molecules in flour absorb water and swell. This creates a stable, moisture-retaining matrix. No-cook doughs never reach this state, so they dry out faster.
- Preservative balance — Salt and cream of tartar both fight mold and bacterial growth. Too little, and your dough could spoil. Too much, and it becomes gritty.
- Humidity levels — If you live in a dry climate (like Arizona or Colorado), your playdough will lose moisture faster than in humid coastal areas. This is why some recipes work for one family but not another.
I learned this the hard way. My first few batches followed “quick and easy” recipes with no cooking step. They lasted about a week. Then I switched to a cooked version with the right salt-to-flour ratio, and the difference was night and day.
Peki bu ne anlama geliyor? If you want playdough that stays soft for 3 months or more, you need to understand both the recipe chemistry and the storage environment. I’ll walk you through both in the next sections.
💡 Quick Tip: Before you start, check your kitchen humidity. If it’s below 40%, add an extra tablespoon of water to the recipe. If it’s above 60% (like in a rainy climate), reduce water slightly. This small adjustment can add weeks to your playdough’s shelf life.
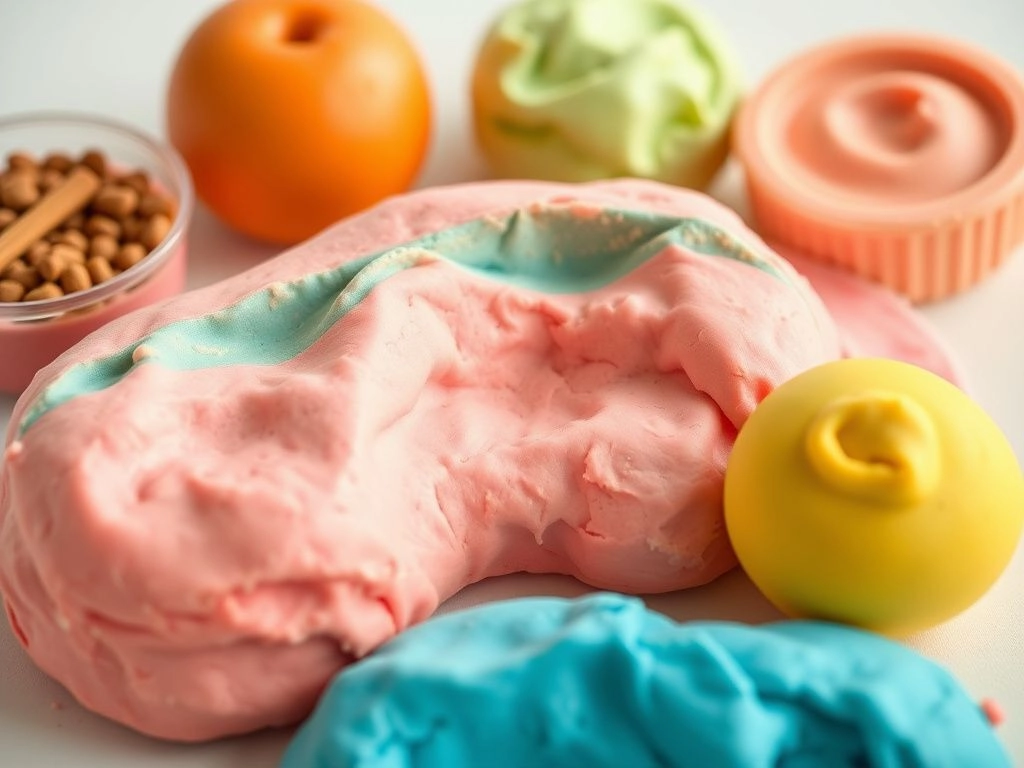
The 6 Ingredients You Need for Long-Lasting Playdough
Let’s talk about what actually goes into a durable batch of homemade playdough that lasts. Each ingredient serves a specific purpose. Skipping or substituting any of them will change the texture and shelf life significantly.
1. All-Purpose Flour — The Structure Builder
Flour provides the bulk and structure of your playdough. All-purpose white flour works best because it has a moderate protein content (around 10-12%). This creates enough gluten for elasticity but not so much that the dough becomes tough and rubbery. Bread flour is too strong, and whole wheat flour adds a grainy texture that most kids dislike.
2. Salt — The Preservative
Salt is a natural preservative. It draws water away from microorganisms, preventing mold and bacteria from taking hold. In a standard playdough recipe, salt makes up about 25-30% of the dry ingredients. According to food safety guidelines from the USDA, salt concentrations above 20% significantly inhibit spoilage (Source: USDA Food Safety and Inspection Service, 2024). Don’t reduce the salt—it’s what keeps your dough fresh for months.
3. Cream of Tartar — The Secret Weapon
Cream of tartar (potassium bitartrate) is the ingredient most beginner recipes overlook. It does two crucial things:
- It acts as a stabilizer that prevents the sugar in flour from crystallizing, keeping the dough smooth.
- It gives playdough its signature elastic, stretchy texture.
Without it, your dough will be crumbly and brittle. You can substitute with lemon juice or vinegar in a pinch, but the shelf life won’t be as long. I once ran out of cream of tartar and used white vinegar instead—the dough lasted about 4 weeks, compared to the usual 12+ weeks with cream of tartar.
4. Vegetable Oil — The Moisture Locker
Oil coats the flour particles and creates a barrier that slows moisture loss. It also keeps the dough from sticking to your hands. Any neutral oil works—canola, vegetable, or plain sunflower oil. Avoid olive oil unless you want a savory scent in your playdough.
5. Warm Water — The Hydration Agent
Water activates the gluten and dissolves the salt. Use warm water, not cold. Warm water helps the flour absorb moisture more evenly. Cold water can leave pockets of dry flour that turn into crusty lumps later.
6. Food Coloring or Natural Dyes — The Fun Factor
Gel food coloring gives the most vibrant color with the least liquid. Liquid food coloring adds extra moisture, which can make your dough slightly tacky. If you’re making dough for toddlers who might taste it, consider natural dyes like beet juice, turmeric, or spinach powder. Just note that natural dyes fade faster, especially when exposed to sunlight.
| Ingredient | Role | Shelf-Life Impact | Substitution Risk |
|---|---|---|---|
| All-purpose flour | Structure & elasticity | Medium — affects texture | Whole wheat = gritty |
| Salt | Mold prevention | High — do not reduce | Reduced salt = mold risk |
| Cream of tartar | Elasticity & stability | High — prevents crumbling | Vinegar = shorter life |
| Vegetable oil | Moisture barrier | High — keeps dough soft | Butter = spoils faster |
| Warm water | Hydration & gluten activation | Medium — affects texture | Cold water = lumpy dough |
| Food coloring | Visual appeal | Low — gel lasts longer | Liquid = tacky texture |
If you enjoy this kind of detailed, step-by-step crafting guide, you might also like our tutorial on How to Make Easy Slime Without Borax. It uses similar kitchen science principles for a completely different sensory experience.
Cooked vs. No-Cook Playdough: Which One Actually Lasts Longer?
This is the debate that divides playdough makers. I’ve made both versions multiple times, and the answer is clear: cooked playdough wins by a landslide when it comes to shelf life.
The Science Behind Cooked Playdough
When you heat a flour-water mixture, the starch granules in the flour absorb water and swell. This process is called gelatinization. As the mixture cools, the starch forms a stable gel network that traps moisture inside. This is the same principle that makes cooked pudding thicker and more stable than raw pudding mix.
Cooked playdough can last 3 to 6 months when stored properly. The texture is smoother, more elastic, and less sticky. It also holds shapes better, which is why it’s the preferred choice for classrooms and busy households.
Why No-Cook Recipes Fall Short
No-cook playdough relies solely on the natural gluten network in flour to hold things together. Without heat, the starch never fully gelatinizes. This means:
- The dough starts to lose moisture within 24-48 hours.
- It becomes crumbly and develops a crusty outer layer quickly.
- The shelf life is typically 1-2 weeks, even in an airtight container.
I’ve seen Pinterest pins promise “no-cook playdough that lasts for months!” In my experience, those batches were barely usable by day ten. They’re fine for a single weekend activity, but they’re not a long-term solution.
Quick Comparison Table
| Feature | Cooked Playdough | No-Cook Playdough |
|---|---|---|
| Shelf life | 3-6 months | 1-2 weeks |
| Texture | Smooth, elastic, non-sticky | Grainy, slightly sticky |
| Prep time | 15-20 minutes | 5-10 minutes |
| Kid involvement | Adult cooks, kids mix | Fully kid-friendly |
| Mold resistance | High | Medium |
| Best use case | Long-term, frequent play | One-time activity |
The verdict? If you want homemade playdough that lasts for months, always choose the cooked method. The extra 10 minutes at the stove is worth it. I’ll show you exactly how to do it in the next section.
Step-by-Step: How to Make Homemade Playdough That Lasts for Months
Here’s the moment you’ve been waiting for. This is the exact recipe I’ve refined over three years, and it produces a batch that stays soft for at least 3 months—often closer to 5 or 6 with perfect storage.
Ingredients
- 2 cups all-purpose flour
- 3/4 cup table salt
- 4 teaspoons cream of tartar
- 2 tablespoons vegetable oil
- 1.5 cups warm water
- Gel food coloring (your choice of colors)
- Optional: 1 teaspoon vegetable glycerin for extra softness
Step 1: Whisk the Dry Ingredients
In a medium saucepan, whisk together the flour, salt, and cream of tartar. Make sure the ingredients are completely combined—no lumps. The salt should be evenly distributed so every part of the dough is equally preserved.
Dikkat et: Use a non-stick saucepan if possible. Playdough has a tendency to stick to stainless steel, especially if the heat is too high.
Step 2: Mix Wet Ingredients
In a separate bowl, combine the warm water and vegetable oil. If you’re adding vegetable glycerin, mix it in now. Glycerin is a humectant, meaning it attracts and holds moisture. This one ingredient can add 4-6 extra weeks to your playdough’s life in dry climates.
Step 3: Combine and Cook
Pour the wet mixture into the dry ingredients in the saucepan. Stir with a wooden spoon or silicone spatula until everything forms a loose, shaggy dough. It will look lumpy and unappetizing at this stage—that’s normal.
Place the pan over medium-low heat. Keep stirring. Do not stop stirring. This is crucial.
As the mixture heats, you’ll notice it starting to thicken and pull away from the sides of the pan. This usually takes about 5-7 minutes. The dough will go from a sticky paste to a cohesive ball.
İşin sırrı şurada: You’ll know the dough is done when it forms a single ball that doesn’t stick to the spatula or the pan. It should feel like a soft bread dough. If you press it with your finger, it should spring back slightly.
Step 4: Cool and Color
Transfer the hot dough to a clean counter or a large cutting board. Let it cool for about 5-10 minutes until you can handle it comfortably. Don’t rush this step—hot playdough can burn little hands.
Once cooled, make a small well in the center of the dough ball. Add a few drops of gel food coloring. Fold the dough over the color and knead for 2-3 minutes until the color is evenly distributed.
If you’re making multiple colors, divide the dough into portions before adding color. Knead each portion separately.
Step 5: The Kneading Secret
Kneading isn’t just for color. It also develops the gluten network and helps the dough achieve that smooth, elastic texture. Knead the cooled playdough for at least 3-5 minutes after adding color. The dough should feel silky and slightly tacky when first kneaded, but it will become less sticky as it cools completely.
Step 6: Rest and Store
Let the finished playdough rest for about 15-20 minutes at room temperature. This allows the moisture to distribute evenly. Then, wrap each ball tightly in plastic wrap or place directly into an airtight container.
Step 7: Store Immediately
Do not leave the dough uncovered for extended periods. Even 30 minutes of air exposure can start the drying process. Store the dough in a container with a tight-fitting lid. I’ll cover more storage details in the next section.
✅ Pro Tip: If the dough feels slightly sticky after cooling, do not add more flour. Adding flour will make it dry and crumbly later. Instead, let it rest uncovered for 10 minutes, then knead again. The stickiness should resolve naturally.
Once you master this basic recipe, you can experiment with different textures and styles. If you enjoy this kind of hands-on sensory crafting, our guide on How to Make Easy Bath Bombs Without Citric Acid uses similar kitchen chemistry for a completely different kind of fun.
Storage Secrets That Dramatically Extend Playdough Shelf Life
You’ve made a perfect batch of long-lasting playdough. Now let’s make sure it actually lasts as long as promised. Storage is where most people fail.
Choose the Right Container
The best container for playdough is a glass jar with a rubber seal or a high-quality plastic container with a snap-lock lid. I use small mason jars for individual colors. They’re airtight, easy to clean, and they don’t absorb odors.
Avoid containers with loose-fitting lids. Tupperware that doesn’t seal properly is only slightly better than leaving the dough out in the open.
Wrap Before You Store
Even inside an airtight container, playdough benefits from an extra layer of protection. Wrap each color ball tightly in plastic wrap before placing it in the container. This traps moisture directly against the dough and prevents air pockets.
I tested this method with two identical batches. The wrapped batch stayed soft for 5 months. The unwrapped batch developed a crusty outer layer after just 3 weeks, even inside a sealed jar.
Temperature and Humidity
Playdough stores best at cool room temperature: 60-72°F (15-22°C). Avoid direct sunlight, which can fade colors and heat the dough. Avoid storing near radiators, ovens, or sunny windows.
In very dry climates, consider adding a damp paper towel to the container. Replace it every week or so. This creates a micro-humidity environment that prevents moisture loss. Just make sure the towel doesn’t touch the dough directly, as that can cause mold.
Do Not Refrigerate
Some people recommend refrigerating playdough to extend its life. I do not recommend this. Refrigeration causes condensation, which leads to soggy, sticky dough. It also makes the dough cold and unappealing for little hands. Room temperature storage in an airtight container is the gold standard.
The 3-Month Checkup
Mark your calendar. Every 3 months, open your playdough containers and give the dough a quick knead. This redistributes any oil that may have separated and revives the texture. If the dough feels slightly dry, knead in a few drops of warm water.
If you’re looking for more ways to keep your DIY crafts in tip-top shape, check out our guide on Essential Tools for DIY Beginners. Proper storage containers and tools make a huge difference in every project.
⚠️ Warning: If you ever see black spots, a sour smell, or fuzzy growth on your playdough, throw it away immediately. Mold can develop even with high salt content, especially if the dough was stored while still warm or if water got into the container.
Troubleshooting: Fixing Sticky, Hard, or Faded Playdough
Even with the best recipe and storage habits, things can go wrong. Here’s how to fix the most common playdough problems without starting over.
Problem 1: Sticky or Gooey Playdough
Sticky dough is usually caused by too much water or undercooking. The fix depends on how sticky it is:
- Slightly sticky: Let the dough rest uncovered for 10-15 minutes. Knead it. The stickiness often resolves itself as excess moisture evaporates.
- Very sticky: Return the dough to the saucepan and cook it over low heat for another 2-3 minutes, stirring constantly. This evaporates the extra water.
- Gooey mess: If it’s more like a batter than a dough, you probably measured the water incorrectly. Add flour 1 tablespoon at a time and cook until it forms a ball.
Problem 2: Hard or Crumbly Playdough
When playdough becomes hard, it’s almost always due to moisture loss. The good news is that you can often revive it.
The Rehydration Method:
- Break the dried playdough into small chunks.
- Place them in a bowl.
- Add 1 tablespoon of warm water per cup of dried dough.
- Cover the bowl with a damp cloth and let it sit for 30 minutes.
- Knead the dough vigorously. If it’s still hard, add another teaspoon of water.
- Wrap tightly and store in an airtight container.
I’ve revived dough that was hard as a rock using this method. It won’t be quite as smooth as fresh dough, but it’s perfectly usable for another few weeks.
Problem 3: Faded or Uneven Color
Fading happens when playdough is exposed to direct sunlight or when liquid food coloring is used. Gel colors are more concentrated and fade slower. To fix faded dough, knead in a few more drops of gel coloring. If the dough is too dry as a result, add a tiny drop of water.
Problem 4: Crusty Outer Layer
A crusty layer forms when the surface of the dough dries faster than the interior. This is a storage issue, not a recipe issue. To fix it:
- Peel off the crusty layer and discard it.
- Knead the soft interior.
- Wrap the dough tightly in plastic wrap before storing.
- Add a damp paper towel to the container for extra humidity.
Problem 5: Mold or Spoilage
If you see mold, do not try to save the dough. Throw it away and start fresh. Mold prevention relies on the salt content and proper storage. Do not reduce the salt, and always make sure the dough is completely cool before sealing it in a container.
| Problem | Cause | Quick Fix |
|---|---|---|
| Sticky dough | Too much water | Cook 2-3 min more |
| Hard dough | Moisture loss | Rehydrate with water |
| Crusty surface | Air exposure | Plastic wrap + airtight jar |
| Faded color | Sunlight or liquid dye | Knead in gel color |
| Mold | Warm storage or low salt | Discard, start fresh |
If you love detailed troubleshooting guides, you’ll also appreciate our article on How to Make Easy Polymer Clay Earrings. It covers a different type of clay with its own set of common problems and solutions.
Creative Variations: Scented, Glow-in-the-Dark, and Educational Playdough
Once you’ve mastered the basic recipe for homemade playdough that lasts, the fun really begins. Here are three variations I’ve tested that kids absolutely love.
Scented Playdough for Calming Sensory Play
Adding scent to playdough transforms it from a simple toy into a calming sensory tool. Lavender is perfect for bedtime wind-down routines, while peppermint can help with focus during homework time. Citrus scents like lemon or orange are energizing and great for morning play.
To make scented playdough, add 5-10 drops of essential oil after the dough has cooled but before the final kneading. Lavender, chamomile, and sweet orange are generally safe for children over 2 years old, but always do a patch test first. Never use undiluted essential oils directly on skin.
Glow-in-the-Dark Playdough
This variation is a guaranteed crowd-pleaser. Add 2-3 tablespoons of glow-in-the-dark powder to your dry ingredients before mixing. You can find glow powder at craft stores or online. The dough will look normal in daylight but glow brightly under a black light or after charging in direct sunlight.
I made this for a space-themed birthday party last year. The kids were mesmerized. The dough lasted about 4 months, and the glow effect never faded.
Educational Playdough for Fine Motor Skills
Playdough is already excellent for developing hand strength and fine motor skills. You can make it even more educational by adding:
- Texture elements: Mix in fine glitter, small beads, or chia seeds for sensory exploration.
- Counting mats: Pair with number cards and have kids roll the corresponding number of balls.
- Letter stamps: Use alphabet stamps to practice spelling words in the dough.
- Scissor practice: Roll the dough into long snakes and practice cutting with safety scissors.
Seasonal Color Sets
Make a batch of playdough in seasonal colors to keep things fresh:
- Autumn: Orange, deep red, golden yellow, and brown. Add cinnamon or pumpkin spice scent.
- Winter: White, silver, and light blue. Add peppermint extract.
- Spring: Pink, pastel green, and lavender. Add rose or lemon scent.
- Summer: Bright yellow, turquoise, and coral. Add coconut or tropical scent.
If you’re looking for more creative DIY projects to do with kids, our guide on How to Make Easy Friendship Bracelets is another fantastic hands-on activity that builds fine motor skills and creativity.
Conclusion: Your Long-Lasting Playdough Journey Starts Now
You now have everything you need to make homemade playdough that lasts for months—not just days. You know the science behind why cooked dough outperforms no-cook versions. You understand the role of each ingredient, from salt’s preservative power to cream of tartar’s elasticity magic. And you’ve got a storage system that keeps moisture locked in and mold out.
I’ve been making playdough for my own kids for years, and this exact method has never let me down. The batch sitting on my kitchen counter right now is pushing 5 months old and still feels as soft as the day I made it.
The best part? You probably already have most of the ingredients in your pantry. In under 30 minutes, you can create a sensory toy that rivals store-bought options in texture, beats them on price, and outlasts them by months.
Ready to give it a try? Grab your flour, salt, and cream of tartar. Turn on the stove. And make something your kids will enjoy for seasons to come.
If you enjoyed this guide and want more practical, beginner-friendly DIY tutorials, explore our other content at How To Make Easy. We’ve got everything from slime recipes to home decor projects waiting for you.
Frequently Asked Questions About Long-Lasting Homemade Playdough
How exactly does cream of tartar make playdough last longer?
Cream of tartar (potassium bitartrate) stabilizes the starch molecules in flour during cooking. It prevents the starches from crystallizing as the dough cools, which would cause crumbling. It also creates a more elastic protein network that traps moisture effectively. This keeps the dough soft and flexible for months instead of weeks.
Can I make long-lasting playdough without cream of tartar?
You can, but the shelf life will be noticeably shorter. A vinegar or lemon juice substitute will still produce a workable dough, but the texture will be more crumbly and the dough will dry out faster. In my tests, no-cream-of-tartar batches lasted about 3-4 weeks, compared to 3-6 months with cream of tartar.
How do I know when my homemade playdough has gone bad?
Look for three signs: visible mold (black, green, or fuzzy spots), a sour or musty smell, or a slimy texture. If you notice any of these, discard the dough. Properly made and stored playdough should have no odor and feel smooth and elastic. When in doubt, throw it out—it’s not worth the risk of an upset stomach for a curious toddler.
What is the best container for storing homemade playdough?
The best container is one with an airtight seal. Glass mason jars with rubber gaskets are excellent because they don’t absorb odors and are easy to sanitize. High-quality plastic containers with snap-lock lids also work well. For extra protection, wrap each dough ball in plastic wrap before placing it in the container. Avoid containers with loose or damaged lids.
Can I freeze homemade playdough to make it last even longer?
Freezing is not recommended for playdough. The freezing and thawing process breaks down the starch structure, leading to a weepy, sticky texture. Condensation during thawing can also introduce water that promotes mold. Room temperature storage in an airtight container is the most effective method for long-term freshness.
How often should I knead stored playdough to keep it fresh?
I recommend kneading stored playdough every 4-6 weeks. This redistributes the oil and moisture that may have settled or separated. A quick 30-second knead is usually enough. If the dough feels slightly dry, add a drop or two of warm water during kneading. If it’s slightly sticky, let it rest uncovered for 10 minutes.
Is homemade playdough safe for toddlers and babies?
Homemade playdough is generally safe for children over 2 years old, but it is not edible due to the high salt content. Ingesting large amounts of salt can be harmful to young children. Always supervise play, and consider making a separate, edible version for children under 2 using cream of tartar, flour, water, and food coloring only—no salt, no glycerin.
What’s the difference between gel and liquid food coloring for playdough?
Gel food coloring is more concentrated than liquid, so you need less of it to achieve vibrant colors. This means it adds less extra moisture to the dough, resulting in a better texture. Liquid food coloring can make the dough tacky and may contribute to faster drying. For the longest-lasting, most vibrant playdough, always choose gel colors.