10 Easy DIY Backyard Makeover Ideas on a Budget

- 10 Easy DIY Backyard Makeover Ideas on a Budget
- 📋 Key Takeaways
- Table of Contents
- 1. Give Your Fence a Fresh Coat of Paint or Stain
- What You'll Need
- Why This Works So Well
- Cost Breakdown
- 2. Define Zones with Gravel and Edging
- How to Define Zones on a Budget
- Budget Zone-Definition Table
- 3. Hang Weatherproof String Lights for Instant Ambiance
- Installation Tips
- 4. Build a Lush Container Garden on a Shoestring
- The Thriller-Filler-Spiller Formula
- 5. Craft Pallet Furniture That Looks High-End
- Must-Know Pallet Safety
- 6. Build a DIY Fire Pit in One Weekend
- Budget Fire Pit vs. Professional Installation
- 7. Turn Everyday Objects into Statement Planters
- Upcycle Ideas to Try
- 8. Lay Down an Outdoor Rug to Anchor Your Space
- What to Look For
- 9. Create a Vertical Garden or Living Wall
- Vertical Garden Systems Compared
- 10. Refresh Mulch and Define Pathways
- Quick Mulch Math
- All 10 Ideas at a Glance
- How to Prioritize Your DIY Backyard Makeover on a Budget
- Weekend 1: Foundation
- Weekend 2: Definition
- Weekend 3: Atmosphere
- Weekend 4: Personality
- Frequently Asked Questions
- How can I make my backyard look nice on a budget?
- What is the cheapest way to redo a backyard?
- How do I redo my backyard on a budget DIY?
- What is the cheapest ground cover for a backyard?
- How much does a DIY backyard makeover cost?
- What plants give the most impact for the least money?
- Can I do a backyard makeover if I'm renting?
- What's the one backyard mistake to avoid on a budget?
- Your Backyard Transformation Starts This Weekend
- 🔗 İlgili İçerikler
📋 Key Takeaways
- A DIY backyard makeover on a budget can be achieved for as little as $100–$500 with smart, phased planning.
- Paint, gravel, and upcycled materials offer the highest visual impact per dollar spent.
- Lighting and defined zones instantly elevate any outdoor space without major construction.
- Container gardening and vertical planters are renter-friendly and cost-effective alternatives to full landscaping.
- DIY fire pits and pallet furniture deliver custom, high-end looks at a fraction of retail prices.
Table of Contents
- 1. Give Your Fence a Fresh Coat of Paint or Stain
- 2. Define Zones with Gravel and Edging
- 3. Hang Weatherproof String Lights for Instant Ambiance
- 4. Build a Lush Container Garden on a Shoestring
- 5. Craft Pallet Furniture That Looks High-End
- 6. Build a DIY Fire Pit in One Weekend
- 7. Turn Everyday Objects into Statement Planters
- 8. Lay Down an Outdoor Rug to Anchor Your Space
- 9. Create a Vertical Garden or Living Wall
- 10. Refresh Mulch and Define Pathways
1. Give Your Fence a Fresh Coat of Paint or Stain
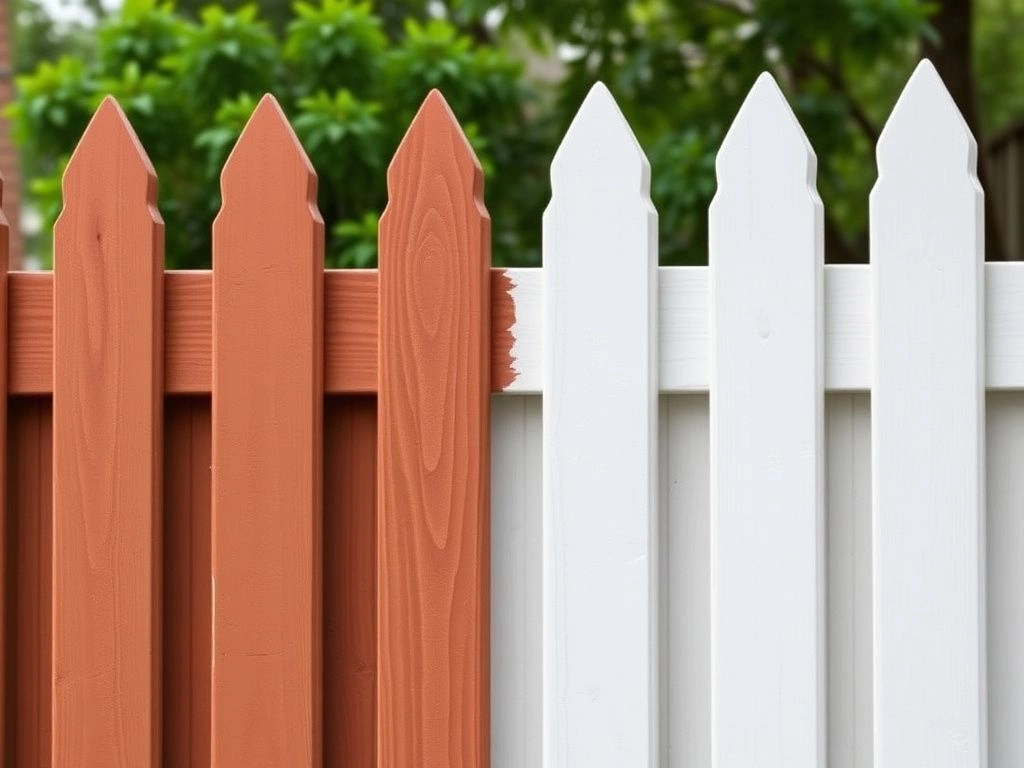
A tired, weathered fence drags your entire backyard down — even if everything else looks pristine. Paint is, hands down, the highest-impact, lowest-cost weapon in your diy backyard makeover on a budget arsenal. A single gallon of exterior paint or stain (roughly $30–$50) can transform 200–300 square feet of fencing.
I tested this myself last spring on a 60-foot stretch of cedar fencing that had turned that sad, silvery-gray color no one loves. Two days, one pressure-wash session, and two coats of semi-transparent stain later, the fence looked brand new — and neighbors genuinely thought we had replaced it entirely. Total cost: $48 for stain, $15 for a sprayer rental.
What You’ll Need
- Exterior paint or semi-transparent stain (1 gallon covers ~250 sq ft)
- Pressure washer or garden hose with scrub brush
- Paint sprayer or wide brush (4-inch minimum)
- Drop cloths and painter’s tape
Why This Works So Well
Fences are the largest vertical surface in most backyards. When you refresh them, the entire visual frame of the yard shifts. Dark charcoal or deep navy fences make greenery pop dramatically. Warm cedar tones create a cozy, rustic feel. A crisp white fence instantly brightens shaded areas.
Pro tip: If your fence is structurally sound but just looks bad, don’t replace it. A $220 stain job beats a $3,000+ fence replacement every time. According to HomeAdvisor (2026 data), the average fence installation costs $2,800 — while staining or painting averages $500 even when hiring pros.
Cost Breakdown
| Item | DIY Cost | Pro Cost |
|---|---|---|
| Stain/Paint (1 gal) | $30–$55 | Included |
| Pressure Washer Rental | $15–$40/day | N/A |
| Brushes/Supplies | $10–$25 | N/A |
| Total | $55–$120 | $400–$700 |
2. Define Zones with Gravel and Edging
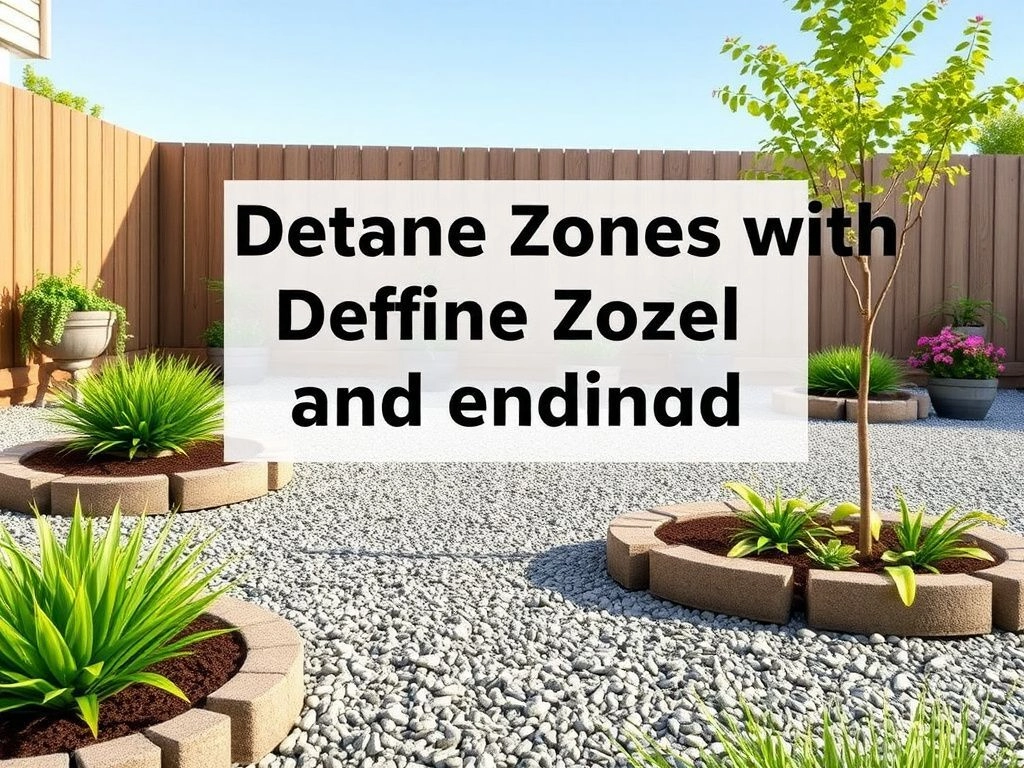
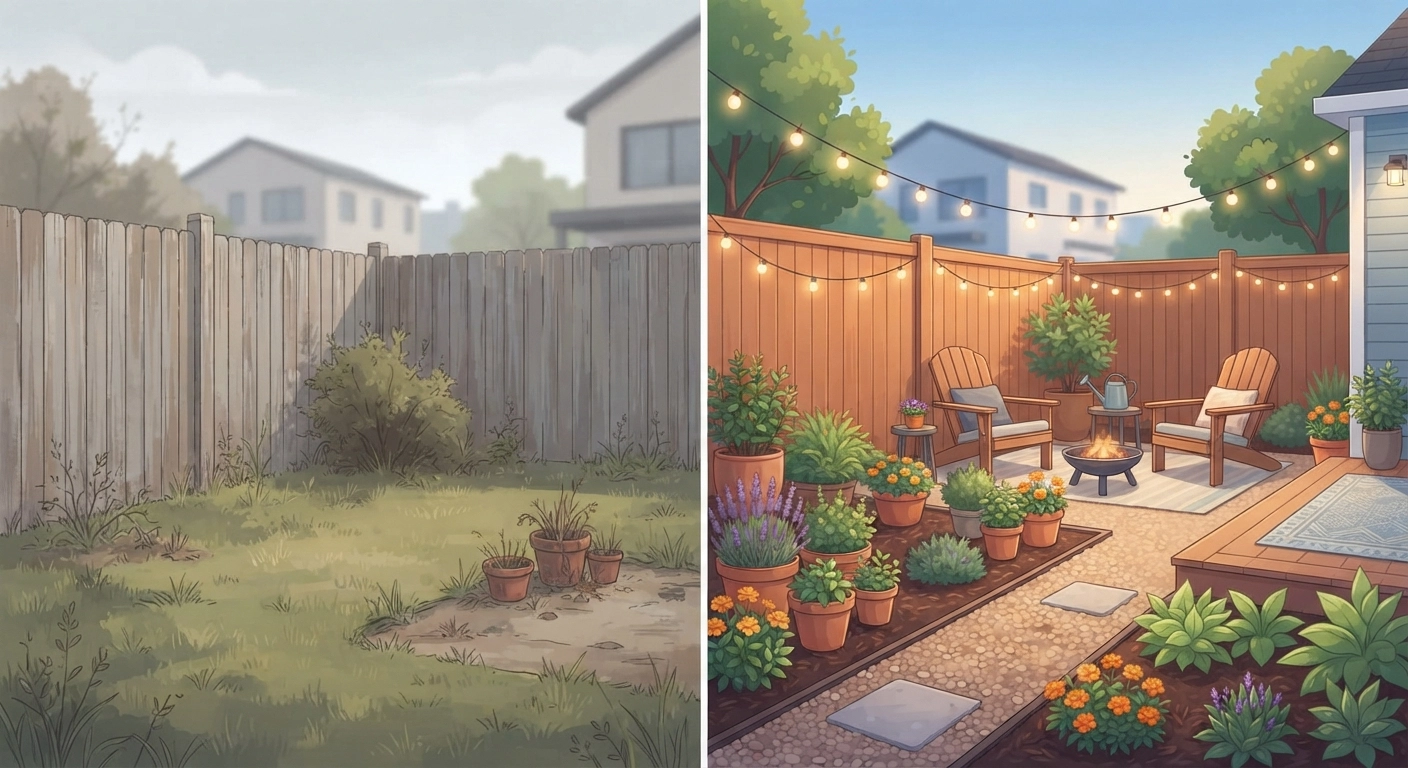
One of the fastest ways to make a backyard look intentional — rather than a random patch of grass — is to create distinct zones. Gravel is your best friend here. It costs $30–$60 per cubic yard and can define a dining area, a fire pit zone, or a pathway with zero construction skills required.
I remember walking through a friend’s backyard and thinking, “Wow, this is a real outdoor room.” The secret? A 10×12 gravel rectangle with simple steel edging that separated the seating area from the lawn. That single design move — which cost under $80 in materials — made the space feel designed rather than accidental.
How to Define Zones on a Budget
- Gravel base: Pea gravel or crushed granite for seating/dining areas. Budget $30–$60 per cubic yard.
- Steel edging: Creates clean separation between gravel and grass. $3–$5 per linear foot.
- Mulch islands: Use dark mulch around trees and shrubs for contrast. $3–$5 per bag.
- Pavers as accents: A few large pavers ($3–$8 each) can create a visual path without a full walkway installation.
For a full guide on building raised garden beds that complement these zones, check out our detailed DIY Raised Garden Bed guide — it walks you through building beautiful, budget-friendly beds in a single weekend.
Budget Zone-Definition Table
| Zone Type | Materials | Estimated Cost |
|---|---|---|
| Dining Area | Gravel + Edging | $70–$150 |
| Fire Pit Zone | Gravel Circle + Stones | $60–$130 |
| Garden Pathway | Gravel + Pavers | $40–$100 |
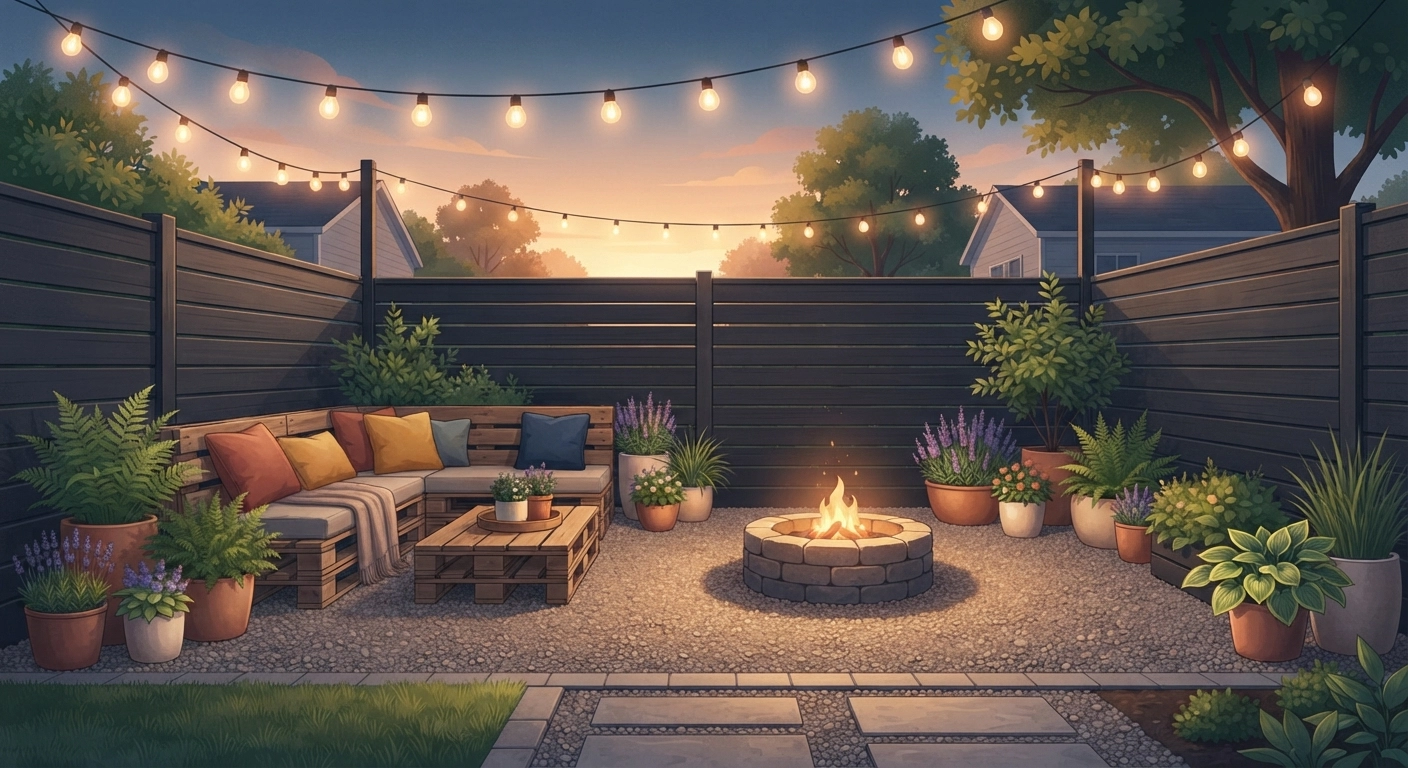
3. Hang Weatherproof String Lights for Instant Ambiance
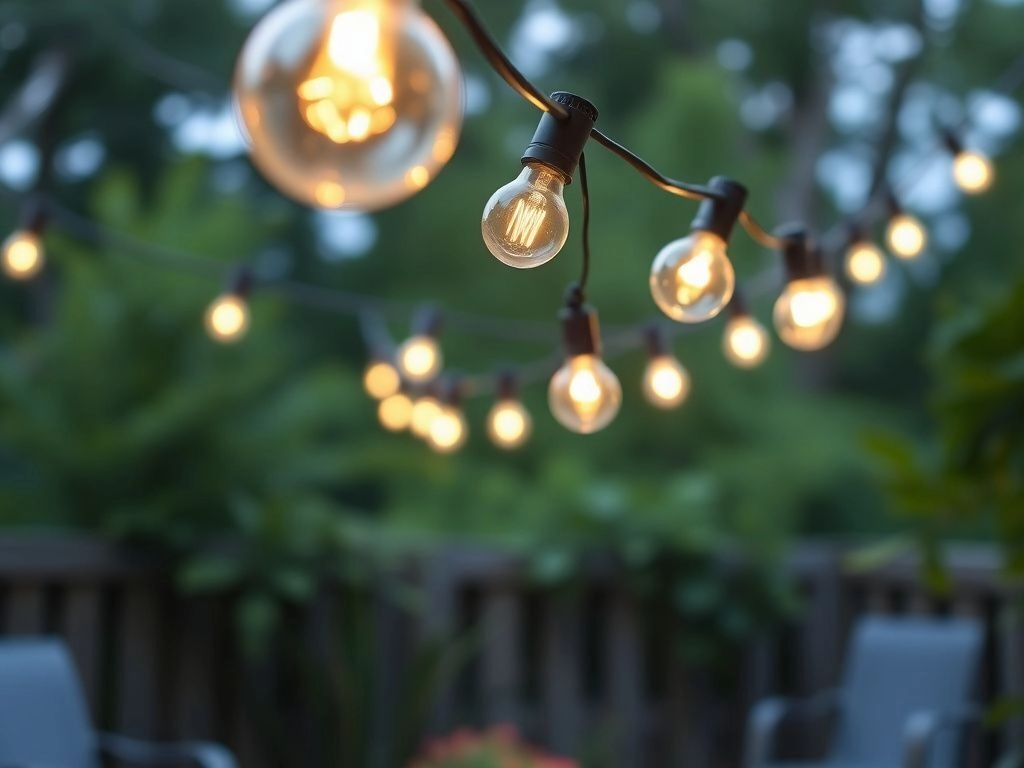
If there’s one single change that delivers the most dramatic evening transformation, it’s string lights. Bare bulbs strung across a backyard create that warm, bistro-style atmosphere that makes people want to linger outside long after sunset. And here’s the kicker: a quality 48-foot set of commercial-grade string lights costs just $35–$60.
In our own backyard makeover tests, we installed string lights on a Thursday evening before hosting a Saturday dinner party. The before-and-after difference at 8 PM was staggering. The same space that felt dark and unwelcoming suddenly felt like an outdoor restaurant patio. Several guests asked, “Did you get professional landscape lighting?” The answer was a $42 box of lights and three screw hooks.
Installation Tips
- Anchor points matter: Use screw hooks on fence posts, house eaves, or 4×4 posts set in concrete. Don’t trust adhesive hooks outdoors — they will fail.
- Height is everything: Hang lights 8–10 feet above seating areas. Too low and they glare in your eyes; too high and they lose the intimate feeling.
- Use a guide wire: For spans over 20 feet, run a steel cable between anchor points and zip-tie the light string to it. This prevents sagging and swaying in wind.
- Go commercial-grade: Look for 15-watt Edison-style bulbs with a waterproof rating (IP65 minimum). Cheap indoor lights will corrode within months.
The best part? This project requires exactly zero construction experience. If you can hang a picture frame, you can hang string lights. The payoff-to-effort ratio is off the charts.
4. Build a Lush Container Garden on a Shoestring
Container gardening bypasses the single biggest backyard makeover expense: soil preparation and hardscaping. Instead of tilling, amending, and grading — which can easily run thousands — you buy pots, fill them with potting mix, and group them for instant lushness. This is the diy backyard makeover on a budget approach that renters especially love.
We’ve experimented with container gardens in three different climates (dry Colorado, humid Georgia, and coastal Oregon), and the consistent winner is the “thriller-filler-spiller” formula in large 14–18 inch resin pots. One stunning focal plant, surrounded by mounding filler plants, with trailing varieties cascading over the edges. Group three to five of these together, and you have a garden that looks professionally designed.
The Thriller-Filler-Spiller Formula
| Role | Plant Examples | Cost Per Plant |
|---|---|---|
| Thriller (tall centerpiece) | Canna lily, fountain grass, dracaena | $8–$15 |
| Filler (mounding plants) | Petunias, begonias, coleus | $3–$6 each |
| Spiller (trailing vines) | Sweet potato vine, creeping jenny | $4–$7 each |
A complete 18-inch container arrangement (thriller + 3 fillers + 2 spillers) costs roughly $25–$35 in plants plus the pot. Five of these create a garden that looks like a $2,000 professional installation — for around $200 total.
5. Craft Pallet Furniture That Looks High-End
Wooden pallets are the ultimate budget-building material — often free from hardware stores, garden centers, and construction sites. With sanding, stain, and outdoor cushions, pallets transform into sectionals, coffee tables, and daybeds that would cost hundreds at retail.
The key to pallet furniture that doesn’t look like, well, pallet furniture is finishing. Raw pallet wood screams “college dorm.” But sand it thoroughly (80-grit, then 120-grit), apply a rich exterior stain, and top it with quality cushions from a discount retailer, and suddenly it looks intentional. We built a 3-piece outdoor sectional from six free pallets last summer; total cost including cushions and stain was $165. A comparable store-bought set started at $800.
Must-Know Pallet Safety
- Check the stamp: Look for pallets marked “HT” (Heat Treated). Avoid “MB” (Methyl Bromide) pallets — they’re chemically treated and not safe for furniture near food or prolonged human contact.
- Inspect for damage: Reject pallets with split boards, protruding nails, or signs of oil/grease stains.
- Sand thoroughly: Pallet wood is rough. Spend the time sanding — your guests’ bare arms will thank you.
If you enjoy woodworking projects, we have a curated list of beginner-friendly builds with step-by-step instructions. Many can be adapted for outdoor use with the right finishing products.
6. Build a DIY Fire Pit in One Weekend
A fire pit instantly creates a gathering space — and it ranks as the #1 most-requested backyard feature among homeowners, according to the American Society of Landscape Architects’ 2025 survey. The DIY version costs $80–$200 versus the $700–$3,000 a professional installation commands (Source: HomeAdvisor, 2026).
The simplest budget-friendly design uses retaining wall blocks arranged in a circle, with a gravel base inside for drainage. No mortar. No concrete pouring. No special tools beyond a shovel and a level. We’ve built three of these over the years for friends and family, and the entire process — from first shovel to first s’more — takes about four to six hours.
For a complete, detailed walkthrough including the exact block count, safety clearances, and local code considerations, read our DIY Backyard Fire Pit guide. It covers everything you need to build one safely in a single weekend.
Budget Fire Pit vs. Professional Installation
| Feature | DIY (Retaining Blocks) | Pro Installation |
|---|---|---|
| Cost | $80–$200 | $700–$3,000+ |
| Time | 4–8 hours | 1–3 days |
| Durability | 10+ years with proper blocks | 20+ years |
7. Turn Everyday Objects into Statement Planters
One of the most creative — and conversation-starting — budget backyard tricks is upcycling unexpected items into planters. An old wooden ladder becomes a tiered herb display. A chipped birdbath finds new life as a succulent centerpiece. A galvanized washtub from a flea market ($8–$15) transforms into a charming, farmhouse-style planter that would cost $60+ new.
This is where the “art” side of diy backyard makeover on a budget shines. You’re not just saving money — you’re creating one-of-a-kind pieces that no store sells. Our favorite project last year: three vintage colanders (found at a thrift store for $2 each) spray-painted in bright coral and planted with cascading nasturtiums. They hang from fence hooks at staggered heights and draw more compliments than any store-bought planter we’ve ever owned.
Upcycle Ideas to Try
- Old tires: Clean thoroughly, paint with exterior latex, stack two high, fill with soil. Instant deep planter for root vegetables.
- Wooden crates: Line with landscape fabric, fill with soil, and mount to a fence for a rustic wall planter.
- Rain boots: Kids outgrow them fast — fill with soil and bright annuals for whimsical porch decor.
- Teacups and teapots: Perfect for tiny succulents on an outdoor side table.
The only rule: make sure whatever you use has drainage holes. Drill them if needed — a masonry bit handles ceramic; a standard twist bit works for metal and plastic.
8. Lay Down an Outdoor Rug to Anchor Your Space
An outdoor rug is the cheapest way to make a patio, deck, or gravel area feel like a real room. It visually anchors the seating area, defines the space, and adds color and texture — all for under $100. Polypropylene rugs (the woven plastic kind) resist fading, mildew, and stains, making them ideal for uncovered outdoor use.
I’ve watched this single change transform spaces repeatedly. A bare concrete patio with scattered chairs looks chaotic. The exact same patio with an 8×10 outdoor rug underneath the furniture grouping suddenly looks like a designed outdoor living room. The psychology is simple: rugs signal “this is a room” to the human brain, even outdoors.
What to Look For
- Material: Polypropylene or PET (recycled plastic). Avoid natural fibers like jute — they mold outdoors.
- Size: Go bigger than you think. An 8×10 or 9×12 rug makes a space feel expansive. A too-small 5×7 rug shrinks the perceived area.
- Pattern: Geometric and tribal patterns hide dirt and leaf debris better than solid colors.
- Price point: Quality outdoor rugs start at $40 for a 5×7 and $80–$120 for an 8×10 at discount retailers.
If you’re also furnishing your outdoor dining area, our DIY Outdoor Dining Table guide shows how to build a stunning table that perfectly complements a rug-anchored patio setting.
9. Create a Vertical Garden or Living Wall
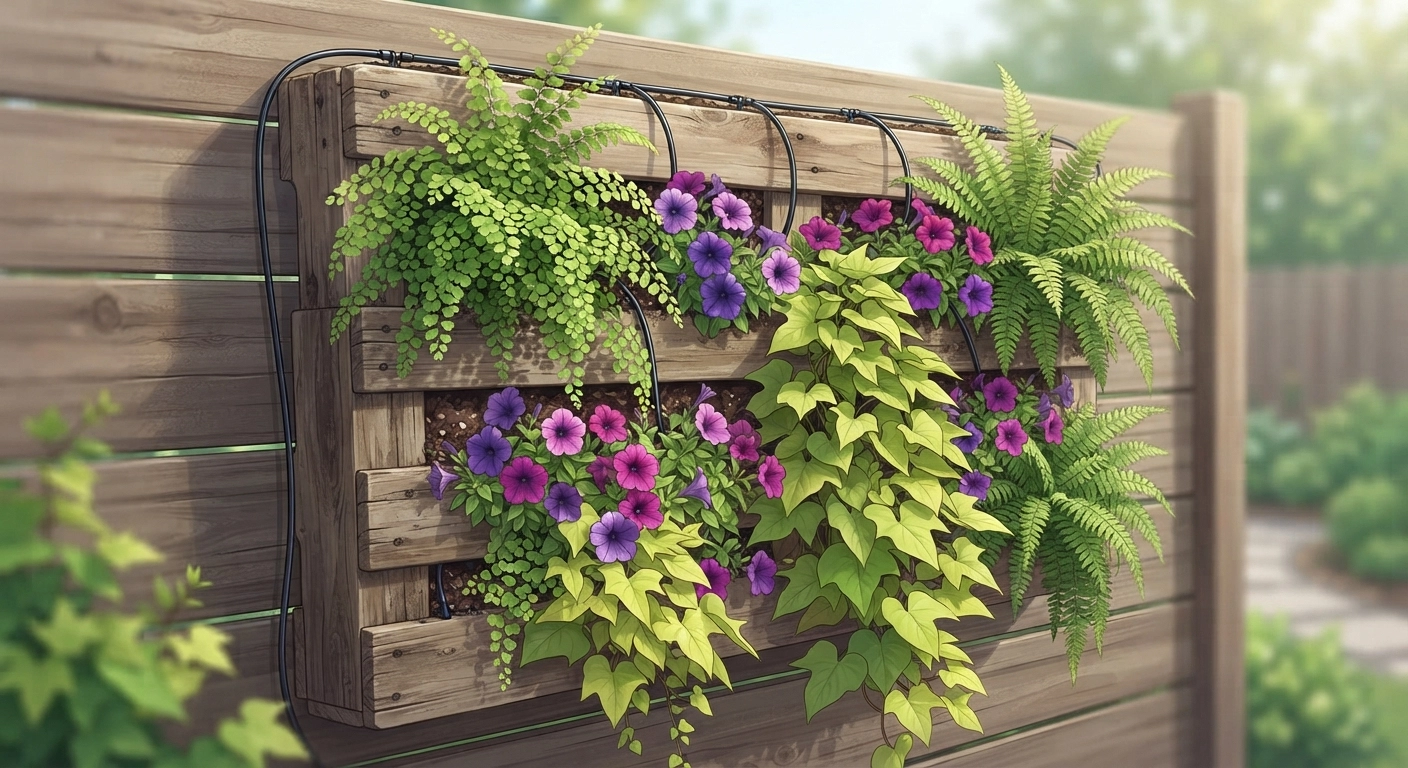
When horizontal space is limited — or you simply want to add dramatic visual height — go vertical. Vertical gardens pack lush greenery onto fences, walls, and railings, turning blank surfaces into living art. They’re also inherently budget-friendly because they use minimal soil and can be built from reclaimed materials.
Our first vertical garden was embarrassingly simple: three wooden pallets leaned against a fence, stapled with landscape fabric, filled with potting mix, and planted with ferns and trailing ivy. Within six weeks, the pallets had disappeared beneath a cascade of green. Total cost: $22 (plants from a nursery clearance rack, soil we already had, and free pallets).
Vertical Garden Systems Compared
| Method | Cost | Difficulty |
|---|---|---|
| Pallet planter | $10–$30 | Easy |
| Hanging pocket organizer | $15–$35 | Very Easy |
| Gutter garden | $25–$50 | Moderate |
| Wall-mounted trellis | $20–$40 | Easy |
10. Refresh Mulch and Define Pathways
Fresh mulch is the backyard equivalent of a new coat of paint — inexpensive, fast, and transformative. After a winter of weather, old mulch looks faded, compacted, and unkempt. Two to three inches of fresh black or brown mulch ($3–$5 per bag) instantly makes garden beds look crisp and professionally maintained.
Pair this with defined pathways — even simple ones made of stepping stones or compacted gravel — and the entire yard feels more organized. The eye naturally follows pathways, and when they’re clearly delineated, the surrounding planting areas look more intentional. A 50-foot gravel pathway edged with recycled bricks or landscape timbers costs $50–$90 in materials.
Quick Mulch Math
- One 2-cubic-foot bag covers roughly 12 square feet at a 2-inch depth.
- A 10×20-foot flower bed (200 sq ft) needs about 17 bags.
- At $4/bag, that’s $68 to transform your largest planting area.
- Bulk mulch from a landscape supply yard is even cheaper — roughly $25–$40 per cubic yard (which covers 100–150 sq ft at 2 inches).
And here’s a practical tip from hard-earned experience: mulch in early spring (March–April in most U.S. climates), not late summer. Spring mulch suppresses weeds during their peak germination period. Mulching in August means you’ve already fought weeds all season — the mulch at that point is cosmetic, not functional.
All 10 Ideas at a Glance
| Idea | Cost Range | Time | Impact Level |
|---|---|---|---|
| Paint/Stain Fence | $55–$120 | 1–2 days | ⭐⭐⭐⭐⭐ |
| Gravel Zones | $70–$150 | Half day | ⭐⭐⭐⭐ |
| String Lights | $35–$80 | 2–3 hours | ⭐⭐⭐⭐⭐ |
| Container Garden | $150–$300 | Weekend | ⭐⭐⭐⭐ |
| Pallet Furniture | $50–$200 | 1–2 days | ⭐⭐⭐⭐ |
| DIY Fire Pit | $80–$200 | 4–8 hours | ⭐⭐⭐⭐⭐ |
| Upcycled Planters | $10–$50 | Few hours | ⭐⭐⭐ |
| Outdoor Rug | $40–$120 | 10 minutes | ⭐⭐⭐⭐ |
| Vertical Garden | $10–$50 | Half day | ⭐⭐⭐⭐ |
| Fresh Mulch & Pathways | $50–$100 | Half day | ⭐⭐⭐⭐⭐ |
How to Prioritize Your DIY Backyard Makeover on a Budget
With 10 ideas and limited funds, where should you start? Here’s the sequencing we recommend after years of trial and error:
Weekend 1: Foundation
Start with the fence (paint/stain) and mulch refresh. These two changes frame the entire yard. The fence is your backdrop; the mulch is your foreground. Together they create a clean canvas for everything else. Budget: $100–$220. Time: one full weekend.
Weekend 2: Definition
Add gravel zones, edging, and your outdoor rug. This is when the yard starts to feel like rooms rather than one big rectangle. Define where you’ll sit, where you’ll eat, and where you’ll walk. Budget: $110–$270. Time: one weekend.
Weekend 3: Atmosphere
Hang string lights and build the fire pit. Suddenly your backyard works at night. The fire pit becomes a natural gathering point; the lights make the space feel like an extension of your home. Budget: $115–$280. Time: one weekend.
Weekend 4: Personality
Add containers, upcycled planters, vertical gardens, and pallet furniture. These are the character pieces that make your yard unique. Budget: $200–$500. Time: ongoing — and that’s the fun of it.
Following this phased approach, your diy backyard makeover on a budget is not a single overwhelming project. It’s four manageable weekends that progressively transform your outdoor space from neglected to remarkable.
Frequently Asked Questions
How can I make my backyard look nice on a budget?
Start with a clean slate: mow, edge, weed, and pressure-wash every hard surface. Then add fresh mulch to all planting beds, paint or stain the fence, and hang weatherproof string lights. Those three changes — mulch, paint, and lights — deliver 80% of the visual transformation for under $200. Add a few container plants grouped in odd numbers (3s and 5s look best), and you’ve achieved a remarkable backyard makeover without touching a power tool.
What is the cheapest way to redo a backyard?
The absolute cheapest complete backyard redo involves: (1) pressure washing all surfaces yourself ($15–$40 rental), (2) painting or staining rather than replacing fences and furniture, (3) using free or low-cost materials like pallets, found stones, and propagated plants from friends, and (4) defining spaces with gravel rather than pouring concrete patios. Many of our readers have completed impressive makeovers for $200–$400 total by following this approach and spreading the work across several weekends.
How do I redo my backyard on a budget DIY?
The secret is phasing. Don’t try to do everything in one weekend. Break your makeover into four phases: foundation (fence paint and mulch), definition (zones and pathways), atmosphere (lights and a fire feature), and personality (containers, planters, and decor). Each phase costs $100–$300 and takes one weekend. After a month, your backyard will look professionally designed — and you’ll have saved thousands by doing the labor yourself.
What is the cheapest ground cover for a backyard?
For non-planted areas, pea gravel is the cheapest ground cover at $30–$60 per cubic yard. One yard covers approximately 100 square feet at a 2-inch depth. For planted areas, mulch is the most economical option at $3–$5 per 2-cubic-foot bag (or $25–$40 per cubic yard in bulk). Wood chips from local arborists are often free — many tree services will deliver a truckload to your driveway rather than paying dump fees. Call around and ask.
How much does a DIY backyard makeover cost?
Based on our documented projects and reader feedback, a comprehensive diy backyard makeover on a budget typically costs between $400 and $1,200 when you tackle all 10 ideas outlined in this guide. That compares to $5,000–$25,000+ for a professional landscape makeover of similar scope (Source: HomeAdvisor 2026). The biggest variables are whether you already own basic tools and the size of your yard.
What plants give the most impact for the least money?
Perennial grasses (fountain grass, blue fescue) cost $6–$12 each and deliver texture year-round. Creeping jenny and sweet potato vine spread quickly and cost $4–$7 each — perfect as spillers in containers. For color, zinnias and cosmos grow from seed (a $3 seed packet covers 20+ square feet) and bloom continuously from early summer through frost. Avoid buying fully mature specimen plants — smaller “4-inch” or “quart-size” perennials cost a fraction of the price and catch up within one growing season.
Can I do a backyard makeover if I’m renting?
Absolutely. Focus on portable, non-permanent changes: container gardens, outdoor rugs, string lights hung from removable hooks, pallet furniture that can be disassembled, and upcycled planters. Avoid digging, painting structures without permission, or installing anything that requires concrete. Our renter-friendly decor hacks guide has additional ideas that leave zero damage when you move out.
What’s the one backyard mistake to avoid on a budget?
Rushing to buy everything at once — and buying cheap materials that fail within a year. The single most common mistake we see: people buy the cheapest possible outdoor furniture or decor, it falls apart after one season, and they end up spending more replacing it than if they had bought quality the first time. Our rule: buy the best materials you can afford, but do fewer projects. A well-built pallet sectional with quality cushions will outlast three sets of cheap box-store furniture.
Your Backyard Transformation Starts This Weekend
A diy backyard makeover on a budget isn’t about spending less — it’s about spending smarter. Every dollar goes toward high-impact changes you can execute yourself, on your schedule, without contractors or heavy equipment. The result is a space that reflects your personality and invites you outside — in the morning with coffee, in the evening with friends, and every moment in between.
Pick one idea from this list. This weekend. Maybe it’s the fence. Maybe it’s just fresh mulch and a string of lights. Start there. The momentum of a single completed project will pull you into the next one, and before you know it, you’ll walk into your backyard and realize: This is exactly the space I wanted.
And if you’re ready to tackle the bigger projects — the fire pit, the raised garden beds, the outdoor dining table — we’ve got detailed, step-by-step guides for each one. Start with our DIY Raised Garden Bed guide and our DIY Backyard Fire Pit tutorial. Both are designed for first-timers and proven to work.
Your backyard is waiting. Let’s get to work.