how to make a chunky knit blanket: 9 Foolproof Steps for Beginners in 2026
- how to make a chunky knit blanket: 9 Foolproof Steps for Beginners in 2026
- 📋 Key Takeaways
- Table of Contents
- Why Hand Knitting is the Ultimate DIY Project
- Choosing the Perfect Yarn (Crucial First Step)
- 1. Chunky Chenille Yarn
- 2. Unspun Merino Wool
- 3. Cotton Tube Yarn (Vegan Yarn)
- The Ultimate Yarn Sizing Chart: How Much Do You Need?
- Preparing Your Workspace for Success
- Step-by-Step: how to make a chunky knit blanket
- Step 1: Creating the Perfect Slip Knot
- Step 2: Casting On (Building the Foundation)
- Step 3: Knitting the First Row
- Step 4: Knitting the Subsequent Rows
- Step 5: Adding a New Skein of Yarn
- Step 6: Casting Off (Finishing the Blanket)
- Step 7: Weaving in the Ends
- Troubleshooting: Fixing Common Hand Knitting Mistakes
- My Blanket is Curving Like a Rainbow
- The Edges Are Curling Inward
- I Dropped a Stitch!
- Washing and Caring for Your Chunky Knit Blanket
- Turning Your Blanket Making into a Profitable Business
- Wrapping Up Your Cozy Masterpiece
- Frequently Asked Questions
- Can I wash a chunky knit blanket?
- How long does it take to make a chunky knit blanket?
- What is the best yarn for chunky blankets?
- How do you fix a hole in a chunky knit blanket?
- Is hand knitting faster than using needles?
- How much does it cost to make a chunky knit blanket?
Picture this: it is a freezing Sunday afternoon, the rain is tapping against your window, and you are curled up on the couch. The only thing missing? A massive, cloud-like throw to keep you warm. If you have ever wondered how to make a chunky knit blanket, you are in exactly the right place. Most people assume you need giant wooden needles, years of knitting experience, and endless patience to pull this off. I am here to tell you that you don’t need any of those things. All you need is some oversized yarn, a flat surface, and your own two hands.
Hand knitting (specifically table knitting) has completely revolutionized the DIY home decor scene. It is incredibly satisfying, surprisingly fast, and totally beginner-friendly. You can literally start this project after breakfast and be snuggling under your new creation by dinnertime. Let’s walk through the entire process, from picking the perfect yarn to casting off your final row, so you can create a gorgeous, Instagram-worthy blanket today.
📋 Key Takeaways
- You do not need knitting needles; your fingers and a flat surface are your only tools.
- Choosing the right yarn (like chunky chenille) is critical for a blanket that is both soft and washable.
- Maintaining consistent loop size (about 2 to 3 inches) is the secret to a professional-looking finish.
- You can complete a standard throw-sized blanket in just 2 to 4 hours, even as a total beginner.
- Hand knitting can easily turn into a profitable side hustle if you price your creations correctly.
Why Hand Knitting is the Ultimate DIY Project
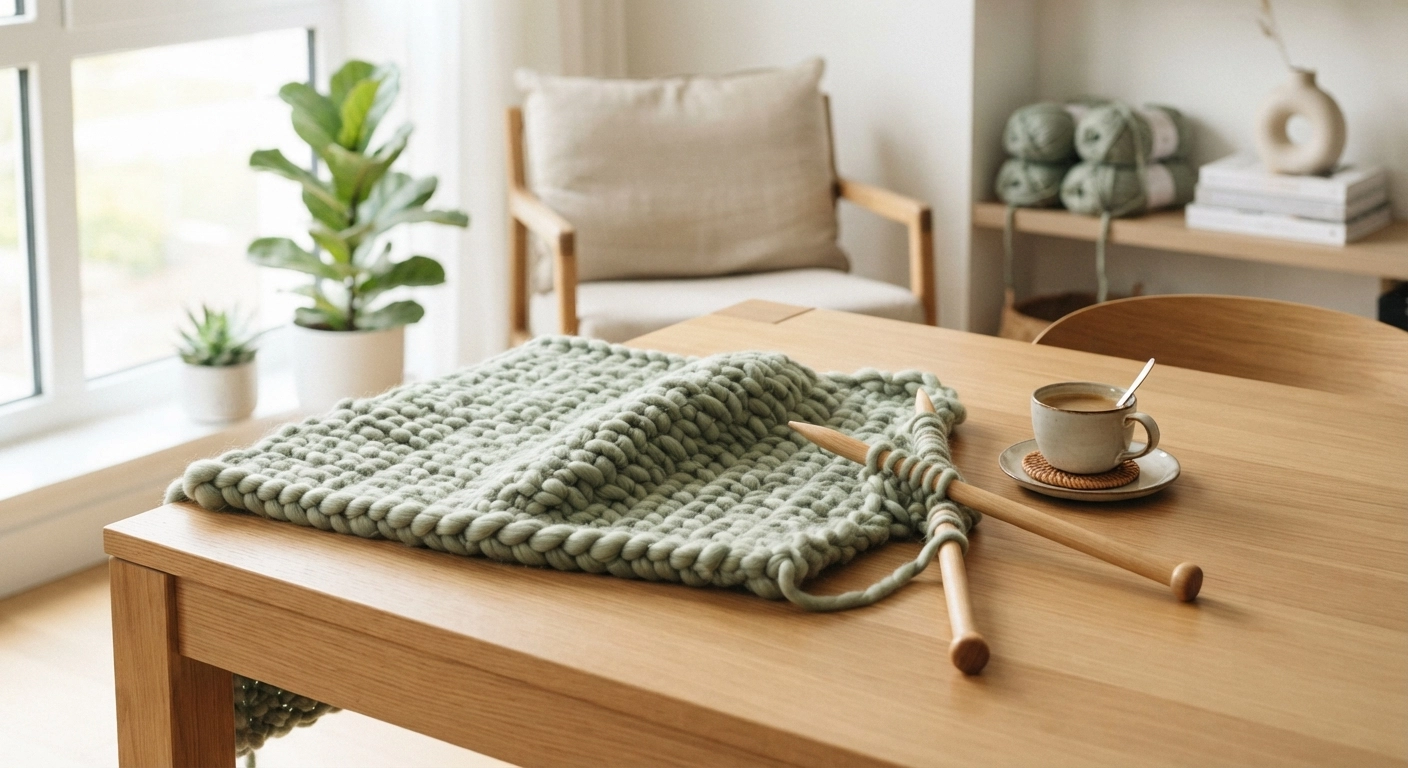
Let’s be honest for a second. Traditional knitting can be intimidating. You have to memorize complex stitches, manage slippery needles, and if you drop a stitch, it feels like the end of the world. Hand knitting removes all those barriers. By using jumbo yarn and treating your fingers like the needles, you get to physically interact with the material in a much more intuitive way.
This method is often called “table knitting” because you lay the project flat on a table or the floor. It gives you a bird’s-eye view of your stitches, making it nearly impossible to lose your place. Plus, the sheer size of the yarn means the project works up incredibly fast. It is the perfect weekend craft.
If you are looking to elevate your living room or bedroom, a chunky blanket is a game-changer. It adds instant texture and warmth. In fact, adding handmade textiles is one of the core principles of creating an Easy DIY Room Decor Aesthetic. Instead of paying $150 or more for a store-bought version, you can craft a custom piece that perfectly matches your color palette for a fraction of the cost.
Choosing the Perfect Yarn (Crucial First Step)
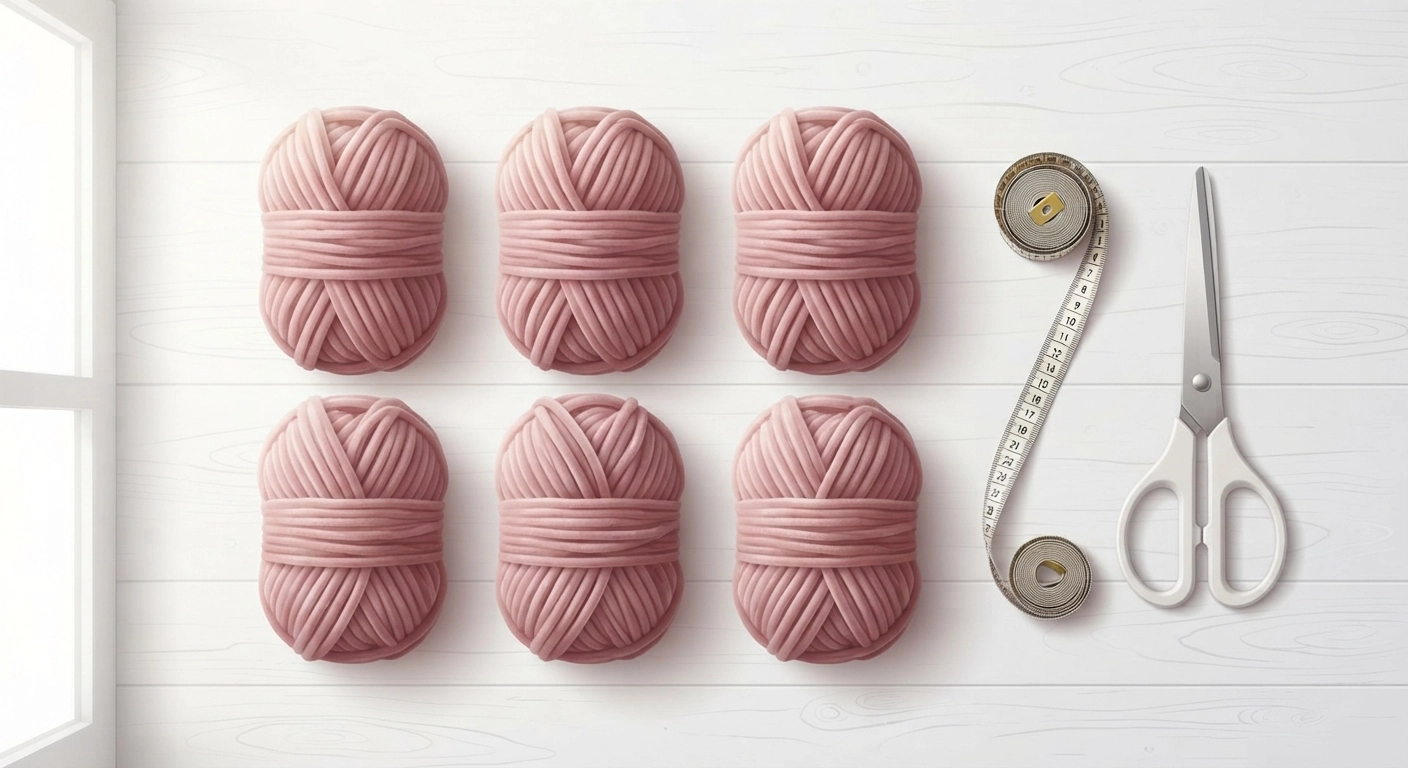
Before we get into the mechanics of how to make a chunky knit blanket, we need to talk about materials. Your yarn choice dictates everything: the cost, the durability, the washability, and the overall feel of the blanket. You are looking for what the Craft Yarn Council classifies as a “Jumbo #7” weight yarn.
Here is a breakdown of the three most popular options:
1. Chunky Chenille Yarn
This is my absolute top recommendation for beginners. Chenille is incredibly soft, plush, and most importantly, it does not shed. If you have pets or kids, or if you plan to actually use the blanket rather than just look at it, chenille is your best friend. It is usually made from 100% polyester, making it machine washable and very affordable.
2. Unspun Merino Wool
When you see those ultra-luxurious, highly styled photos of chunky blankets on Pinterest, they are usually made from unspun merino wool. It is breathtakingly beautiful and incredibly warm. However, there is a catch. Unspun wool sheds heavily, can pill easily with friction, and is strictly dry-clean only. It is also significantly more expensive. Reserve this for decorative blankets that sit at the foot of a guest bed.
3. Cotton Tube Yarn (Vegan Yarn)
Tube yarn is essentially a knitted cotton tube stuffed with a plush filling (like polyfill). It is smooth, modern-looking, and completely durable. It shows great stitch definition and is machine washable. It is a fantastic middle ground if you want a clean, architectural look without the shedding of wool.
The Ultimate Yarn Sizing Chart: How Much Do You Need?
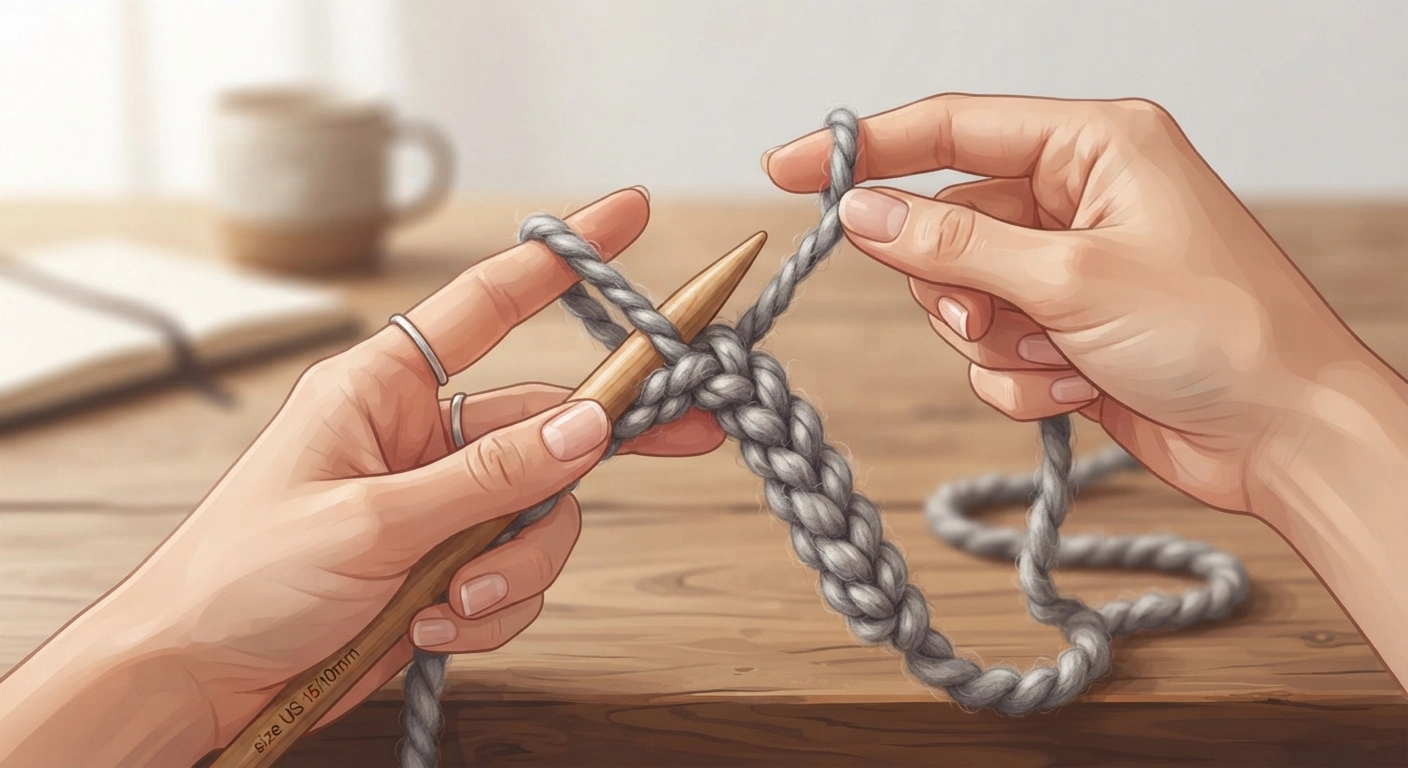
One of the most frustrating parts of learning how to make a chunky knit blanket is buying too little yarn and having to pause your project. Because jumbo yarn is so thick, it eats up yardage very quickly.
Here is a foolproof sizing guide based on standard 8 oz (227g) skeins of chunky chenille yarn (which typically hold about 31 yards or 28 meters per skein).
| Blanket Size | Dimensions (approx) | Number of Skeins Needed | Estimated Yardage |
|---|---|---|---|
| Baby / Lap Blanket | 30″ x 30″ | 3 – 4 skeins | 90 – 120 yards |
| Standard Throw (Couch) | 40″ x 50″ | 6 – 7 skeins | 180 – 210 yards |
| Twin Bed Size | 40″ x 75″ | 9 – 10 skeins | 270 – 310 yards |
| Queen Bed Size | 60″ x 80″ | 13 – 15 skeins | 400 – 460 yards |
Always buy one extra skein just to be safe. Dye lots can vary, and if you run out, a new batch might have a slightly different color tone.
Preparing Your Workspace for Success
You cannot do this project in your lap. You need a wide, flat surface. A large dining table is perfect, but a clean hardwood floor or a large kitchen island works just as well.
Before you start pulling yarn, take a moment to unspool a few yards from your first skein. Check for any factory knots or frayed edges. It is much easier to cut out a bad section and tie a clean knot now than to discover a flaw when it is right in the middle of your blanket.
Make sure your hands are clean and you are not wearing any jewelry (like rings with prongs) that could snag the delicate fibers of the yarn.
Step-by-Step: how to make a chunky knit blanket
Alright, it is time for the main event. Grab your yarn, clear your table, and let’s get to work. If you follow these steps closely, mastering how to make a chunky knit blanket will feel like second nature in no time.
Step 1: Creating the Perfect Slip Knot
Every knitting project begins with a slip knot.
- Take the end of your yarn (the tail) and make a simple loop, crossing the tail over the working yarn (the yarn still attached to the skein).
- Reach through that loop, grab the working yarn, and pull it through to create a second loop.
- Pull tight. You now have a slip knot.
Make sure the loop is about 2 to 3 inches tall. This loop size will determine the tension of your entire blanket.
Step 2: Casting On (Building the Foundation)
Casting on is how you create the width of your blanket. We are going to create a chain.
- Put your thumb and index finger through your slip knot loop.
- Grab the working yarn and pull it through the loop to create a new loop.
- Keep the new loop the same size as the first one (about 2-3 inches).
- Repeat this process, chaining loops together until you reach your desired width. For a standard throw (40 inches wide), you will need to chain about 25 to 30 loops.
Step 3: Knitting the First Row
Now that you have your chain, we are going to start building upward.
- Lay your chain flat on the table. Make sure the little “V” shapes of the braid are facing up.
- Skip the very last loop you just made (this acts as your turning loop).
- Look at the next chain stitch. You will see a top loop, a middle bump, and a bottom loop.
- Take your working yarn, push it under the top loop of that chain stitch, and pull up a new loop.
- Move to the left, find the next top loop in the chain, push the working yarn under, and pull up another loop.
- Continue this all the way across the chain. When you reach the end, you should have a row of open loops pointing upward.
Step 4: Knitting the Subsequent Rows
This is where you get into the rhythm.
- Once you finish a row, do not turn the blanket over. Just start working back in the opposite direction (from left to right, then right to left).
- Take your working yarn and push it through the first open loop from back to front. Pull up a new loop.
- Move to the next open loop, push the yarn through from back to front, and pull up a new loop.
- Keep your loops consistent! A 2-inch loop height is the sweet spot. If your loops are too big, your blanket will have large holes and your toes will poke through. If they are too small, the blanket will feel stiff like a rug.
Quick Tip: If you prefer a different physical technique, you can actually use your arms instead of a table! If that sounds interesting, check out our guide on How to Make a Chunky Knit Blanket With Your Arms for a fun alternative method.
Step 5: Adding a New Skein of Yarn
Eventually, you will run out of yarn and need to attach a new skein. Do not panic; it is very simple.
- Stop knitting when you have about 6 to 8 inches of tail left on your current skein.
- Take the start of your new skein and tie a tight, secure double knot with the old tail.
- Trim the excess tails down to about an inch.
- Hide the knot by tucking it to the back (the underside) of your blanket, and simply continue pulling loops as normal. Because the yarn is so fluffy, the knot will completely disappear into the stitches.
Step 6: Casting Off (Finishing the Blanket)
When your blanket is as long as you want it (or you are almost out of yarn), it is time to cast off. This creates a beautiful, braided edge that seals the loops so they do not unravel.
- Start at the edge where your working yarn is.
- Take the first two loops in the row.
- Pass the working yarn through BOTH loops at the same time, pulling up one single new loop.
- Now, take that new loop and the next open loop in the row (you have two loops in your hand again).
- Pass the working yarn through both of those loops, pulling up a new single loop.
- Repeat this all the way across the edge of the blanket.
- When you get to the very last loop, cut your working yarn leaving a 10-inch tail. Pull that tail completely through the final loop and pull tight to lock it.
Step 7: Weaving in the Ends
You will have a tail at the beginning (from your slip knot) and a tail at the end (from casting off). Simply weave these tails in and out of the back of your blanket stitches following the natural curve of the yarn. Once woven in securely, snip off any excess.
Congratulations! You have just mastered how to make a chunky knit blanket.
Troubleshooting: Fixing Common Hand Knitting Mistakes
Even the most careful beginners hit a few bumps in the road. Here is how to fix the most common issues without tearing your hair out.
My Blanket is Curving Like a Rainbow
If your blanket is wider at the bottom and getting narrower at the top (or vice versa), you have a tension issue. You are likely making your loops tighter as you progress. The fix? Unravel back to where the width started changing, and consciously ensure every loop is exactly 2 inches tall. You can even cut a piece of cardboard to 2 inches and use it as a measuring guide for every loop!
The Edges Are Curling Inward
Stockinette stitch (the basic stitch we just did) naturally wants to curl. To minimize this, make sure the very first and very last loop of every row are slightly looser than the middle stitches. Giving those edge stitches a little extra slack relieves the tension that causes curling.
I Dropped a Stitch!
If you look back and see a random loop sitting unattached three rows down, do not rip the whole blanket apart! Grab a piece of matching yarn, tie the dropped loop to the stitch directly above it on the back side of the blanket, and weave in the ends. The thick yarn hides these little “band-aid” fixes perfectly.
Washing and Caring for Your Chunky Knit Blanket
You spent all this time learning how to make a chunky knit blanket, so you need to know how to protect your investment. Care instructions vary wildly depending on your yarn choice.
If you used Chenille or Tube Yarn:
You are in luck. These synthetic fibers are highly durable.
- Spot Cleaning: Use a damp cloth and mild soap to dab at spills immediately. Do not rub vigorously.
- Machine Washing: Place the blanket in a large mesh laundry bag (or a duvet cover tied shut) to prevent the loops from snagging on the washing machine agitator. Wash on a delicate, cold cycle with mild detergent.
- Drying: Never hang a chunky blanket to dry; the weight of the wet yarn will stretch it out of shape. Lay it flat on towels to air dry, or tumble dry on the absolute lowest, coolest setting.
If you used Unspun Merino Wool:
According to standard wool care practices, unspun wool requires extreme delicacy. Water and friction cause wool to felt (shrink and mat together).
- No Washing Machines: Never put unspun wool in a washing machine.
- Spot Clean Only: Gently run cold water over the stain and pat dry.
- Professional Care: For a full cleaning, take it to a dry cleaner who specializes in delicate textiles.
Turning Your Blanket Making into a Profitable Business
Once you make one blanket, your friends and family are going to start asking for them. This is exactly how many successful craft businesses start. Because these blankets work up so quickly, they offer an incredible return on your time investment.
If you are thinking about selling your creations on Etsy, at local craft fairs, or through Instagram, pricing is your biggest hurdle. Beginners often underprice their work, forgetting to account for their time and shipping costs. Jumbo yarn is heavy, which means shipping a queen-sized blanket can be expensive.
To make sure you are actually turning a profit, you need a solid pricing strategy. I highly recommend reading our comprehensive guide on How to Price Your DIY Crafts for Etsy. It walks you through the exact formulas you need to cover your materials, your hourly wage, and your profit margin.
Looking to expand your product line beyond blankets? Chunky yarn can also be used to make pet beds, throw pillows, and even thick scarves. For more inspiration on building a diverse shop, check out our list of DIY Crafts to Make and Sell.
Wrapping Up Your Cozy Masterpiece
Learning how to make a chunky knit blanket is one of the most rewarding DIY skills you can acquire. There is something deeply relaxing about the rhythmic pulling of loops, watching a pile of yarn transform into a functional, beautiful piece of home decor right before your eyes.
Remember, perfection is not the goal here. If your loops are slightly uneven on your first try, that just adds to the handmade charm. The most important thing is to enjoy the process, get comfortable with the yarn, and create something that keeps you warm.
Now that you have mastered hand knitting, why not organize your new craft business? Check out our guide on how to make google sheets budget tracker to sell to keep your yarn expenses and blanket sales perfectly balanced!
Frequently Asked Questions
Can I wash a chunky knit blanket?
Yes, if it is made from polyester chenille or cotton tube yarn, you can wash it on a cold, delicate cycle inside a mesh laundry bag. Lay it flat to dry. If your blanket is made from unspun merino wool, it is strictly spot-clean or dry-clean only to prevent felting and shrinking.
How long does it take to make a chunky knit blanket?
For a beginner, a standard throw blanket (40×50 inches) usually takes between 2 to 4 hours to complete using the table knitting method. As you get more comfortable with the tension and the loop pulling process, you can easily finish one in under two hours.
What is the best yarn for chunky blankets?
For beginners and everyday use, chunky chenille yarn is the best option. It is incredibly soft, affordable, machine washable, and does not shed. Unspun merino wool is gorgeous for decorative purposes, but it sheds heavily and is difficult to clean.
How do you fix a hole in a chunky knit blanket?
A “hole” is usually just a dropped stitch. To fix it, locate the loose loop, take a small piece of matching yarn, and tie the loose loop securely to the stitch directly above it on the back side of the blanket. Weave in the small tails, and the fix will be invisible.
Is hand knitting faster than using needles?
Yes, absolutely. Because you are using jumbo yarn and your hands, you can pull loops much faster than manipulating giant, heavy wooden needles. The lack of tools also gives you better tactile control over the tension of the massive yarn.
How much does it cost to make a chunky knit blanket?
The cost depends entirely on the yarn. A standard throw requires about 6-7 skeins. If you buy chenille yarn (averaging $6-$10 per skein), your blanket will cost between $35 and $70. If you use genuine merino wool, the same size blanket could cost upwards of $150 in materials alone.