How to Make Easy DIY Hot Cocoa Bombs

- How to Make Easy DIY Hot Cocoa Bombs
- How to Make Hot Cocoa Bombs: 7 Proven Steps for 2026
- 📋 Key Takeaways
- Table of Contents
- How to Make Hot Cocoa Bombs: 7 Critical Steps for Beginners (2026)
- Step 1: Gather Your Ingredients and Tools
- Step 2: Melt and Temper the Chocolate
- Step 3: Coat the Mold and Chill
- Step 4: Remove the Shells and Fill
- Step 5: Seal the Bombs Without Cracking
- Step 6: Decorate the Finished Bombs
- Step 7: Use and Store Your Hot Cocoa Bombs
- Choosing the Best Chocolate for Hot Cocoa Bombs
- Real Chocolate vs Candy Melts
- White, Milk, or Dark? Flavor Pairings That Work
- How to Decorate Hot Cocoa Bombs Like a Pro
- Drizzle, Sprinkles, and Metallic Finishes
- Packaging for Gifts or Selling
- Flavor Variations Beyond Basic Cocoa
- 10 Flavor Combinations to Try in 2026
- Velvet Hot Cocoa Bombs Recipe Variations
- Troubleshooting: Why Your Hot Cocoa Bombs Crack
- Storing and Shelf Life
- Frequently Asked Questions
- Do I have to temper chocolate for hot cocoa bombs?
- Why are my hot cocoa bombs cracking?
- Can I make hot cocoa bombs without a silicone mold?
- How do I make sure the bomb melts in milk?
- How long do homemade hot cocoa bombs last?
- Can I use mini marshmallows inside hot cocoa bombs?
- What size mold works best for hot cocoa bombs?
- Can I make vegan or dairy-free hot cocoa bombs?
- Time to Make Your Own Hot Cocoa Magic
- 🔗 İlgili İçerikler
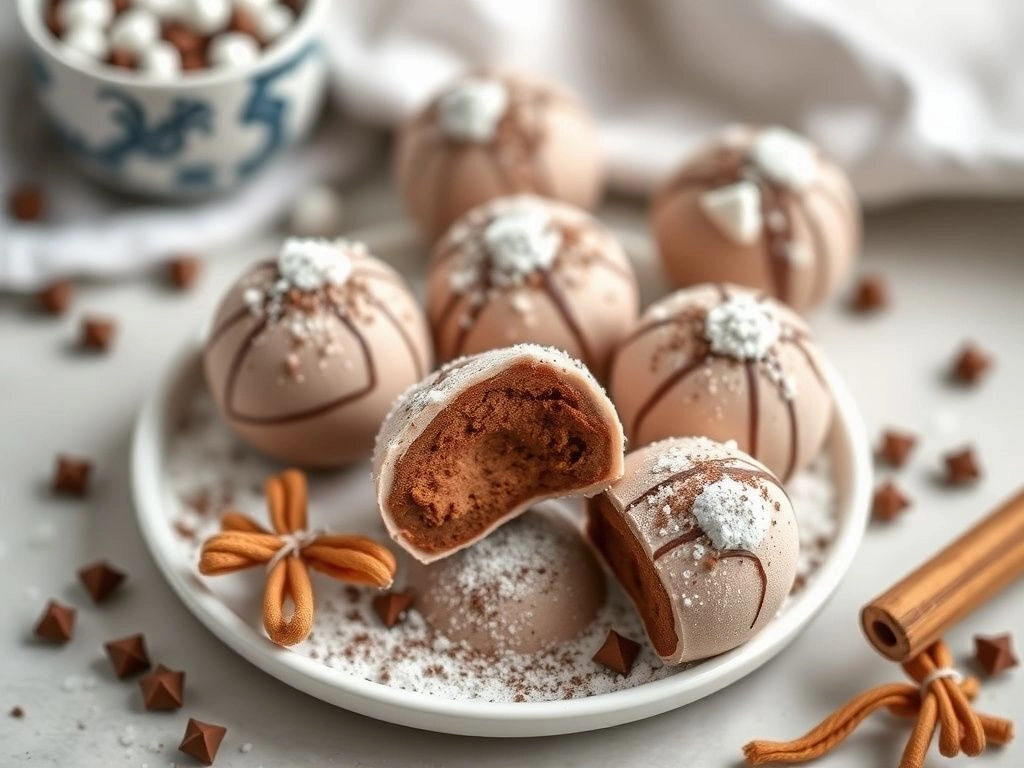
How to Make Hot Cocoa Bombs: 7 Proven Steps for 2026
Here’s the scene: You drop a glossy chocolate sphere into a mug of steaming milk. It cracks open, mini marshmallows float to the top, and everyone thinks you’re a kitchen wizard. Then you try to recreate it. The shell shatters while you seal it, the chocolate clumps, or the bomb refuses to open in warm milk. If you’ve been searching how to make hot cocoa bombs, you’ve probably seen flawless Pinterest versions and wondered what you did wrong.
We’ve been there. Last winter, our first test batch lost 9 out of 12 bombs to cracked seams and thick chocolate walls. So we rebuilt the process from scratch. In this 2026 guide, I’ll walk you through the exact seven-step method we now use to create smooth, thin, glossy hot cocoa bombs that open beautifully every single time.
📋 Key Takeaways
- Thin shells matter more than expensive chocolate. Aim for two very thin layers, not one thick heavy layer.
- Candy melts are the easiest starting point. Real chocolate tastes better but requires careful temperature control.
- Seal with a warm plate, not melted chocolate. This one trick prevents most cracked seams.
- Store at cool room temperature for up to 3 weeks. Avoid the fridge because condensation ruins the shell.
- Use milk heated to 160°F–180°F. If the milk is too cool, the bomb will sit like a sad chocolate rock.

Table of Contents
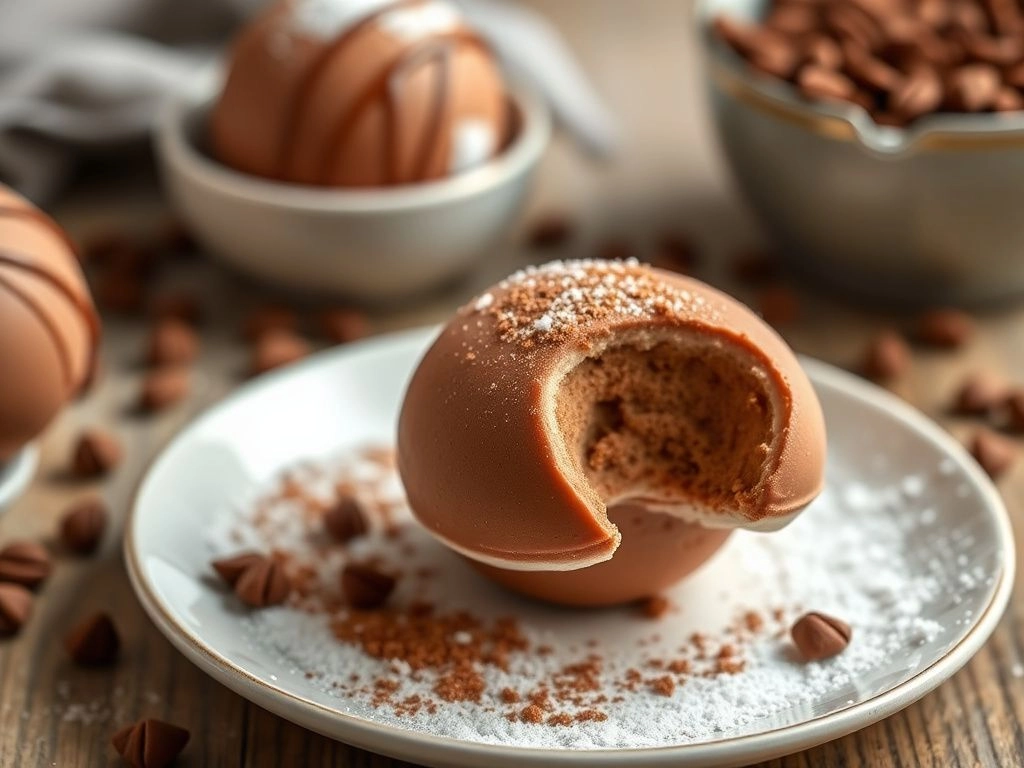
How to Make Hot Cocoa Bombs: 7 Critical Steps for Beginners (2026)
How to make hot cocoa bombs? You’ll coat a silicone sphere mold with thin layers of melted chocolate, chill until set, fill one half with hot cocoa mix and mini marshmallows, seal two halves using a warm plate, then drop the finished bomb into steaming milk.
That’s the short version. But the details decide whether you get Instagram magic or a crumbly chocolate disaster. Let’s break the whole process down.
Step 1: Gather Your Ingredients and Tools
You don’t need a professional kitchen. But you do need the right supplies. Here’s what we use for a batch of six standard 3-inch hot cocoa bombs.
- 2 cups high-quality chocolate or candy melts
- 1/2 cup hot cocoa mix, store-bought or homemade
- 1 cup mini marshmallows or dehydrated marshmallows
- 1 six-cavity silicone sphere mold
- Small pastry brush or the back of a spoon
- Food-safe gloves
- Microwave-safe bowls
- Digital instant-read thermometer, optional but helpful
- A flat microwave-safe plate for sealing
A flat, stable silicone mold makes this project significantly easier. You can find highly rated silicone hot cocoa bomb molds on Amazon in several sizes. If you’re also stocking a beginner DIY tool kit, our guide to essential tools for DIY beginners covers helpful basics for edible and non-edible projects.
Need a quick visual checklist? You can grab a beginner-friendly project breakdown on our Sample Page.
Step 2: Melt and Temper the Chocolate
This is where most first-timers make mistakes. Chocolate burns quickly, and burnt chocolate turns grainy, thick, and unusable. So use low heat and stir constantly.
For candy melts, microwave in 30-second bursts at 50% power. Stir after every burst. The melts should look smooth and pourable, around 110°F to 120°F. If they’re too thick, add a tiny bit of paramount crystals or coconut oil.
For real chocolate, chop it finely and melt in 20-second intervals at 50% power. According to chocolate tempering principles, dark chocolate should melt to about 113°F–120°F, while milk and white chocolate should stay lower, around 105°F–115°F. Real chocolate may need tempering if you want a high-shine, shelf-stable snap. Candy melts and compound chocolate skip this step because they use vegetable oil instead of cocoa butter.
Step 3: Coat the Mold and Chill
Cold, dry molds work best. Even one drop of water can cause chocolate to seize into a stiff, dull paste. Wipe the mold thoroughly before starting.
- Spoon 1–2 tablespoons of melted chocolate into one cavity.
- Use a pastry brush or the back of a spoon to push chocolate up the sides.
- Coat the entire sphere evenly, but keep the layer thin—about 1/8 inch.
- Invert the mold over parchment paper and let the excess drip out.
- Scrape the top edges clean so the halves seal neatly later.
- Chill for 5–10 minutes until the chocolate looks matte and set.
Now add a second thin coat, paying extra attention to the rim. This is the weak point where cracks usually start. Chill again for 10 minutes until the shell releases cleanly from the silicone.
Step 4: Remove the Shells and Fill
Gently peel the silicone mold away from each half. Don’t push the center of the sphere or you’ll crack it. Wear food-safe gloves so your fingerprints don’t melt into the chocolate.
Fill one half with about 1 tablespoon of hot cocoa mix. Then add 6–8 mini marshmallows, crushed candy cane, sprinkles, or any dry mix-ins you like. Leave about 1/8 inch of clearance at the rim. Overfilled bombs won’t seal properly, and marshmallows can spill out later.
Step 5: Seal the Bombs Without Cracking
This is the skill that changes everything. Heat a flat microwave-safe plate for 30–45 seconds. Press the rim of an empty chocolate half onto the warm plate for 2–3 seconds, just until it starts to melt. Then immediately press that half onto the filled half.
Run a clean finger or small spatula around the seam to smooth any gaps. The warm plate method is faster and cleaner than piping melted chocolate around the edge. It also creates a more even seal.
Chill the finished hot cocoa bomb for 5 minutes so the seam sets completely. Then move on to decorating.
Step 6: Decorate the Finished Bombs
Now the fun part. Drizzle contrasting melted chocolate over the top using a fork. While the drizzle is still wet, add sprinkles, crushed freeze-dried raspberries, edible gold dust, or flaky sea salt.
Let the decorations set for 10–15 minutes at room temperature. If your kitchen is warm, place the bombs in a cool spot away from the oven or direct sunlight. For gifting, wrap each bomb in a small candy cup, then tuck it into a box.
Step 7: Use and Store Your Hot Cocoa Bombs
Heat 8–10 ounces of milk until steaming but not boiling, between 160°F and 180°F. Place the bomb in a wide mug and pour the hot milk directly over it. Wait 30–60 seconds, then stir slowly. The shell should split open and release the cocoa mix and marshmallows inside.
If the bomb doesn’t open, your milk is probably too cool or your shell is too thick. Store leftover bombs in an airtight container at 60°F–68°F for up to three weeks. Avoid the fridge because condensation can cause chocolate bloom and sticky surfaces.
Choosing the Best Chocolate for Hot Cocoa Bombs
Not all chocolate behaves the same way. The best option depends on your experience level, flavor preference, and whether you plan to sell or gift the bombs. Here’s a quick comparison.
| Chocolate Type | Flavor Profile | Best For | Difficulty |
|---|---|---|---|
| Candy melts or compound chocolate | Sweet, mild, vanilla-forward | Beginners, kids, practice batches | Very easy |
| Milk chocolate | Creamy, classic, crowd-pleasing | Gifts, s’mores flavor, salted caramel | Easy to moderate |
| Dark chocolate 60–70% | Rich, less sweet, slight bitterness | Raspberry, orange, sea salt, mocha | Moderate |
| White chocolate | Very sweet, delicate dairy notes | Peppermint, matcha, birthday cake | Moderate, burns easily |
| Couverture chocolate | Premium, glossy, strong snap | Selling, pro-level gifts | Advanced |
Real Chocolate vs Candy Melts
Candy melts are the easiest way to learn how to make hot cocoa bombs because they don’t require tempering. They melt smoothly, set quickly, and come in many colors. The tradeoff is flavor. Many brands taste waxy or overly sweet compared to real chocolate.
Real chocolate gives you that deep cocoa taste. But it’s less forgiving. If you overheat it, the cocoa butter separates. If you don’t temper it, the shell may look dull and soften too quickly at room temperature. Our advice: start with candy melts, then move to milk chocolate once you feel confident.
White, Milk, or Dark? Flavor Pairings That Work
White chocolate is a blank canvas. It pairs beautifully with peppermint, freeze-dried raspberries, matcha, and lavender. Milk chocolate works best with caramel, toffee, graham cracker, and marshmallow. Dark chocolate can handle bolder flavors like espresso, orange zest, cayenne, and sea salt.
If you want that classic hot cocoa look, use dark or milk chocolate for the shell and white chocolate for the drizzle. The contrast makes the final bomb look more polished.
How to Decorate Hot Cocoa Bombs Like a Pro
Even a perfectly sealed bomb benefits from thoughtful decoration. But heavy decorations can crack the shell, so keep your toppings light and dry.
Drizzle, Sprinkles, and Metallic Finishes
- Two-tone drizzle: Use a fork to flick melted white chocolate over a dark shell.
- Crunchy toppings: Crushed candy cane, toffee bits, or freeze-dried strawberries add texture.
- Metallic shine: A tiny brush of edible gold or silver dust makes the bombs look expensive.
- Flat-topped sprinkles: Use nonpareils or sanding sugar. Large jimmies can make the seam look bumpy.
Let the drizzle set completely before moving the bombs. A warm kitchen can cause the drizzle to smudge onto your fingers.
Packaging for Gifts or Selling
If you’re gifting a set, place each bomb in a small cupcake liner or candy cup. That keeps them from rattling and cracking. Then set the cups inside a shallow box or gift bag. If you want an extra handmade touch, try our easy origami gift box tutorial for a custom container.
If you’d like to turn this into a small side hustle, presentation matters. Clear boxes, neat labels, and consistent sizing help your cocoa bombs look professional. We’ve found that a simple white box with a clear window consistently outperforms overly busy packaging.
Flavor Variations Beyond Basic Cocoa
Once you’ve mastered the base recipe, you can start playing. This is where your hot cocoa bombs go from “cute” to “unforgettable.”
10 Flavor Combinations to Try in 2026
- Salted caramel: Milk chocolate shell, caramel powder, flaky sea salt.
- Peppermint mocha: Dark chocolate shell, instant espresso, crushed candy cane.
- Raspberry truffle: White or dark shell with freeze-dried raspberry powder.
- Cookies and cream: White shell with crushed chocolate sandwich cookies.
- Mexican hot cocoa: Dark shell, cinnamon, cayenne, and a pinch of nutmeg.
- S’mores: Milk shell, graham cracker crumbs, mini marshmallows.
- Birthday cake: White shell, colorful sprinkles, a tiny drop of cake batter extract.
- Pumpkin spice: White shell with pumpkin pie spice blend.
- Toasted coconut: Milk shell with toasted coconut flakes and coconut milk powder.
- Maple pecan: Milk shell with maple sugar and finely chopped pecans.
If you enjoy experimenting with sweet edible projects, our easy bath bombs without citric acid guide uses a similar small-batch, flavor-first approach for bath time.
Velvet Hot Cocoa Bombs Recipe Variations
Want a richer drink? Add 1 teaspoon of powdered whole milk and 1 teaspoon of powdered sugar to the cocoa mix. This little upgrade creates a creamier, more “velvet” mouthfeel. You can also swap half the hot milk for warm heavy cream or oat milk.
For dairy-free hot cocoa bombs, use high-quality dairy-free chocolate and check your cocoa mix for milk powder. Many marshmallow brands contain gelatin, so read labels if you need a vegetarian option.
Troubleshooting: Why Your Hot Cocoa Bombs Crack
Most hot cocoa bomb failures come down to one of five issues: too-thick shells, warm hands, moisture, cold milk, or overfilling. Here’s how to fix each one.
| Problem | Common Cause | Quick Fix |
|---|---|---|
| Shell cracks while sealing | Too much pressure or cold rim | Warm the rim 2–3 seconds, then press gently |
| Bomb won’t open in milk | Milk too cool or shell too thick | Heat milk to 160°F–180°F; use thinner coats |
| White streaks or bloom | Moisture or rapid temperature change | Keep mold dry, avoid fridge, store at room temp |
| Marshmallows spilling out | Overfilled shell | Leave 1/8-inch clearance before sealing |
| Sticky, wet surface | Warm room or humid kitchen | Wear gloves, work quickly, chill between steps |
Storing and Shelf Life
Homemade hot cocoa bombs last up to three weeks at cool room temperature, around 60°F–68°F. Keep them in an airtight container with parchment between layers. If stored properly, the chocolate stays glossy and the cocoa mix stays dry.
For longer storage, freeze the unsealed or sealed bombs in a single layer for up to two months. Let them thaw inside the container before opening it. This prevents condensation from settling on the chocolate. The FDA’s food storage guidance recommends keeping perishable ingredients dry and properly sealed, which applies to cocoa mix and marshmallows too.
Frequently Asked Questions
Do I have to temper chocolate for hot cocoa bombs?
No, especially if you use candy melts or compound chocolate. They set without tempering. Real chocolate can still work for practice, but for a glossy, shelf-stable finish, tempering helps. If you’re a beginner, start with candy melts and upgrade later.
Why are my hot cocoa bombs cracking?
Usually the shells are too thin, too cold, or not sealed gently enough. Warm the empty half’s rim on a warm plate for only 2–3 seconds. Then press the halves together without squeezing the centers. Work quickly but softly.
Can I make hot cocoa bombs without a silicone mold?
You can use small round plastic ornament halves or mini sphere molds, but silicone is much easier because it flexes. Without a proper mold, uniform shells are difficult to shape. A six-cavity silicone mold is the best beginner investment.
How do I make sure the bomb melts in milk?
Heat your milk until steaming, between 160°F and 180°F. Pour it directly over the bomb in a wide mug. Wait 30–60 seconds before stirring. If the shell is very thick, the milk may not open it quickly, so keep those chocolate layers thin.
How long do homemade hot cocoa bombs last?
At cool room temperature, they last about two to three weeks in an airtight container. Avoid refrigerating because condensation creates sticky surfaces and chocolate bloom. For extended storage, freeze them for up to two months and thaw inside the closed container.
Can I use mini marshmallows inside hot cocoa bombs?
Yes, standard mini marshmallows are the most common choice. Dehydrated marshmallows work even better for longer shelf life and a crisp texture. If you use standard marshmallows, avoid warm kitchens and store the bombs in a dry place.
What size mold works best for hot cocoa bombs?
A 3-inch diameter sphere is the standard because it fits comfortably in most mugs. Mini molds around 2 inches work well for smaller drinks or hot chocolate flights. Avoid very large molds because the shell becomes harder to seal and melt evenly.
Can I make vegan or dairy-free hot cocoa bombs?
Yes. Use dairy-free chocolate, check that your cocoa mix is dairy-free, and choose vegan marshmallows. Many plant-based chocolate chips melt and set well, but white chocolate alternatives can be trickier because they may seize at high heat.
Time to Make Your Own Hot Cocoa Magic
You don’t need a fancy kitchen or professional pastry training. You need a good silicone mold, gentle heat control, and the willingness to fail once or twice. Once you understand the rhythm — coat, chill, fill, seal — the process becomes surprisingly calming.
So make a batch this weekend. Invite the kids, put on a cozy playlist, and watch a simple spoonful of melted chocolate become a tiny dessert showpiece. If you want more beginner-friendly project guides, our Sample Page has quick-start resources to keep your DIY momentum going.
{“@context”:”https://schema.org”,”