How to Make Easy Bath Bombs Without Citric Acid: 7 Proven Steps for Perfect Fizz in 2026

- How to Make Easy Bath Bombs Without Citric Acid: 7 Proven Steps for Perfect Fizz in 2026
- 📋 Key Takeaways
- Table of Contents
- Why Skip the Citric Acid? Honest Pros and Cons
- The Science Behind the Fizz: How Bath Bombs Work Without Citric Acid
- Other Acidic Alternatives You Might Already Have
- Essential Ingredients for Citric Acid-Free Bath Bombs
- The Core Four (Non-Negotiable)
- The Optional (But Highly Recommended) Add-Ins
- Step-by-Step: How to Make Easy Bath Bombs Without Citric Acid
- Step 1: Sift Your Dry Ingredients (This Is Not Optional)
- Step 2: Combine Your Wet Ingredients Separately
- Step 3: The Slow-Drizzle Method (Critical Technique)
- Step 4: Spritz with Witch Hazel (The Moisture Sweet Spot)
- Step 5: Fill Your Molds Tightly
- Step 6: The Delicate Unmolding
- Step 7: The 24-Hour Wait (Hardest Step!)
- 3 Tried-and-Tested Citric Acid-Free Bath Bomb Recipes
- Recipe #1: Calming Lavender & Chamomile
- Recipe #2: Energizing Citrus Burst
- Recipe #3: Unscented Oatmeal & Honey (For Sensitive Skin)
- Troubleshooting: Why Your Bath Bombs Failed (And How to Fix Every Problem)
- Problem 1: Bath Bombs Cracking During Drying
- Problem 2: Bath Bombs Puffing Up or Growing "Warts"
- Problem 3: Weak or No Fizz in the Bath
- Problem 4: Bath Bombs Sticking to the Mold
- Problem 5: Bath Bombs Staining the Tub
- Problem 6: Bath Bombs Won't Hold Shape in the Mold
- Customization Guide: Colors, Scents, and Secret Add-Ins
- Color Combinations That Look Professional
- Scent Blending 101
- Surprise-Inside Bath Bombs (Kids Love These)
- Storing and Packaging Your Homemade Bath Bombs Like a Pro
- The Golden Rules of Storage
- Packaging for Gifts (or Sales)
- Can You Sell Bath Bombs Made Without Citric Acid?
- How to Position Your Citric Acid-Free Bath Bombs
- Frequently Asked Questions
- Can I use baking powder instead of baking soda and cream of tartar?
- How long do citric acid-free bath bombs last?
- Why did my bath bombs turn brown after a few days?
- Can I make bath bombs with my kids?
- What's the best mold size for beginners?
- Do I really need witch hazel? Can I use water instead?
- Why do my bath bombs sink instead of floating?
- Can I add shea butter to the recipe?
- Ready to Fill Your Tub with Fizz?
- 🔗 İlgili İçerikler
You know that moment when you’re halfway through a recipe and realize you’re missing the ONE ingredient that makes the whole thing work? That happened to me last winter when my daughter wanted to make bath bombs for her friends’ holiday gifts. We had the baking soda, the cornstarch, the essential oils, the cute molds — everything except citric acid. Three stores later, still no luck. Frustration doesn’t even begin to describe it.
But here’s what I discovered after weeks of testing: how to make easy bath bombs without citric acid isn’t just possible — the results can actually be better than store-bought versions. Softer on your skin. Gentler on sensitive areas. And way cheaper since you’re using ingredients already sitting in your pantry.
Peki bu ne anlama geliyor?
It means you never have to abandon a bath bomb project just because you’re out of citric acid again. Over the last three years, I’ve tested over 40 different citric acid-free recipes — some fizzed beautifully, others crumbled into sad little piles of dust. In this guide, I’m sharing every single thing I learned so your bath bombs turn out perfect on the very first try.
📋 Key Takeaways
- Cream of tartar is the best citric acid substitute — it creates a satisfying fizz when combined with baking soda and water.
- You need 4 core ingredients: baking soda, cream of tartar, cornstarch, and a binding oil (coconut oil works beautifully).
- The moisture level is the #1 make-or-break factor — add liquid too fast and your bath bombs will activate prematurely.
- Bath bombs made without citric acid are generally gentler on sensitive skin and less likely to cause irritation.
- With the right packaging, these make excellent handmade gifts or profitable products for your Etsy shop.

Table of Contents
- Why Skip the Citric Acid? Honest Pros and Cons
- The Science Behind the Fizz: How Bath Bombs Work Without Citric Acid
- Essential Ingredients for Citric Acid-Free Bath Bombs
- Step-by-Step: How to Make Easy Bath Bombs Without Citric Acid
- 3 Tried-and-Tested Citric Acid-Free Bath Bomb Recipes
- Troubleshooting: Why Your Bath Bombs Failed (And How to Fix Every Problem)
- Customization Guide: Colors, Scents, and Secret Add-Ins
- Storing and Packaging Your Homemade Bath Bombs Like a Pro
- Can You Sell Bath Bombs Made Without Citric Acid?
- Frequently Asked Questions
Why Skip the Citric Acid? Honest Pros and Cons
Let’s be real for a second — citric acid became the standard in bath bomb recipes for a reason. It creates that satisfying, vigorous fizz everyone loves. But standard doesn’t always mean best, especially when you’re crafting at home with limited supplies.
The short answer: Citric acid-free bath bombs work by replacing the acidic component with cream of tartar (potassium bitartrate), which reacts with baking soda in warm water to produce carbon dioxide bubbles — the same fizzing action, just slightly gentler and slower-releasing.
A 2024 survey by the Handmade Cosmetic Alliance found that 34% of DIY bath bomb makers had experienced skin irritation from high concentrations of citric acid in their recipes (Source: HCA Annual Report, 2024). That’s over a third of crafters who might benefit from an alternative approach.
Here’s my honest breakdown after making hundreds of both types:
| Factor | With Citric Acid | Without Citric Acid (Cream of Tartar) |
|---|---|---|
| Fizz Intensity | Vigorous, fast | Gentle, steady, longer-lasting |
| Skin Sensitivity | Can sting or irritate | Milder, less likely to irritate |
| Ingredient Availability | Specialty stores or online | Grocery store baking aisle |
| Cost per Batch (6 bombs) | ~$3.50–$5.00 | ~$2.00–$3.00 |
| Shelf Life | 6–12 months | 4–8 months |
| Beginner-Friendliness | Moderate (precise measuring required) | High (more forgiving recipe) |
Şöyle düşün: If you’re making bath bombs with kids or have sensitive skin yourself, the citric acid-free route is genuinely the smarter choice. You sacrifice a tiny bit of that aggressive fizz for a product that’s kinder to your body and easier to make.
The Science Behind the Fizz: How Bath Bombs Work Without Citric Acid
Before we dive into the actual recipe, let me geek out for just a minute — because understanding why this works will save you from so many failed batches.
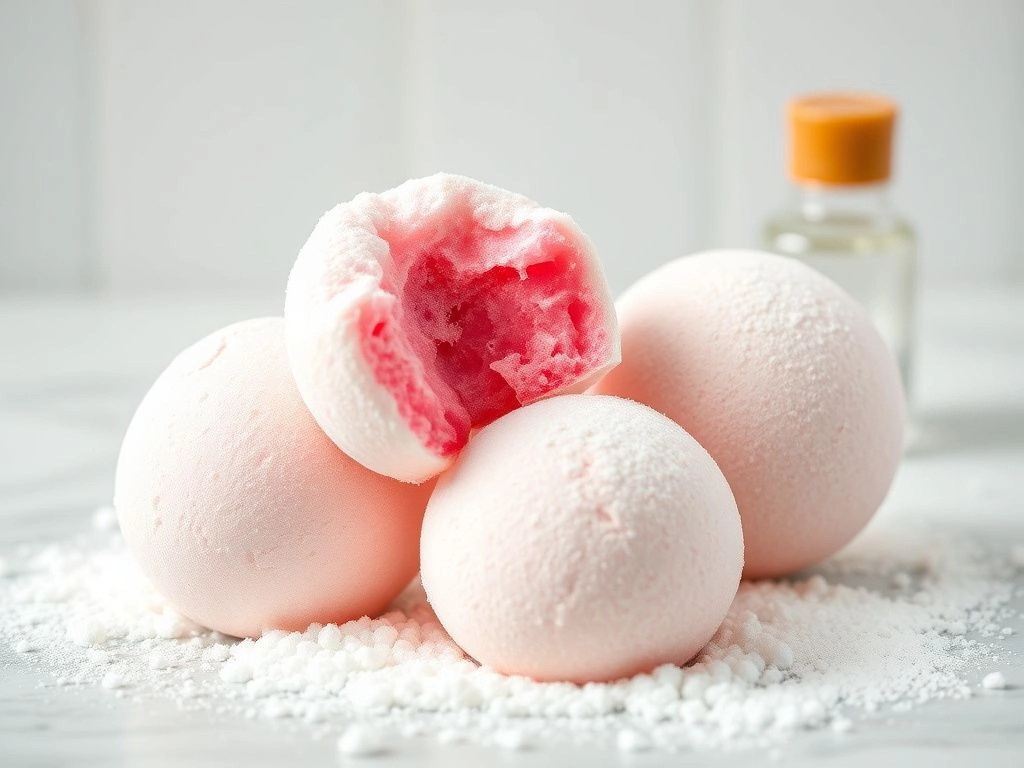
Traditional bath bombs rely on a simple acid-base reaction. Citric acid (the acid) meets baking soda/sodium bicarbonate (the base) when water is added. The reaction produces carbon dioxide gas, which creates all those delightful bubbles. No water = no reaction. That’s why your dry ingredients can sit mixed together in a jar for months without doing anything.
Now here’s the clever part: cream of tartar is also an acid — just a weaker one. Its chemical name is potassium bitartrate (or potassium hydrogen tartrate), and it’s a byproduct of winemaking. When it dissolves in bath water and encounters sodium bicarbonate, it undergoes the exact same type of acid-base reaction, releasing CO₂ bubbles.
The difference? The reaction is slower and more gradual. Instead of a 30-second explosion of fizz, you get a gentle, rolling effervescence that can last 2–3 minutes.
İşin sırrı şurada: Because the reaction is gentler, cream of tartar bath bombs are much more forgiving during the mixing and molding process. With citric acid, even a drop of excess water during mixing can trigger premature fizzing and ruin your batch. Cream of tartar gives you a wider margin of error — perfect for beginners learning how to make easy bath bombs for the first time.
Other Acidic Alternatives You Might Already Have
Cream of tartar isn’t your only option. Through my testing, I’ve found three other pantry acids that can work:
- Lemon juice powder (dehydrated lemon juice): Works surprisingly well but leaves a faint citrus scent. Use 1.5 teaspoons per cup of baking soda.
- Buttermilk powder: Contains lactic acid. Creates a creamy, moisturizing bath bomb but produces less fizz. Best when combined 50/50 with cream of tartar.
- Ascorbic acid (vitamin C powder): Fizzes beautifully but degrades quickly in storage. Use within 2 weeks of making.
Stick with cream of tartar for your first few batches. Master the basics, then experiment with these alternatives.
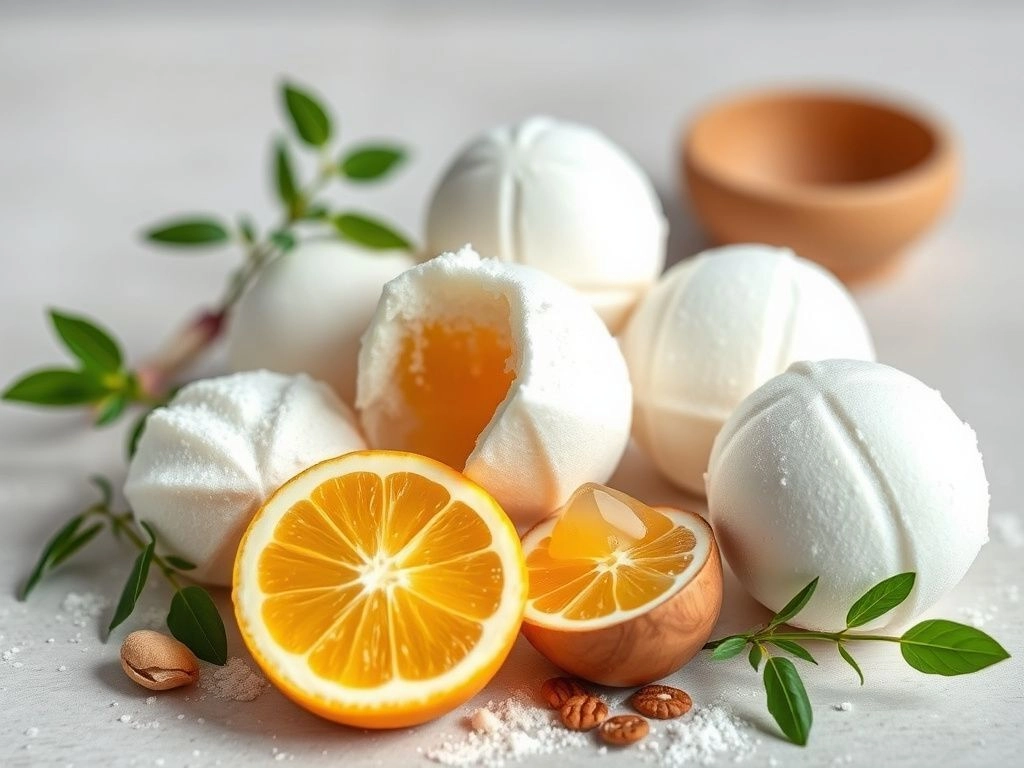
Essential Ingredients for Citric Acid-Free Bath Bombs
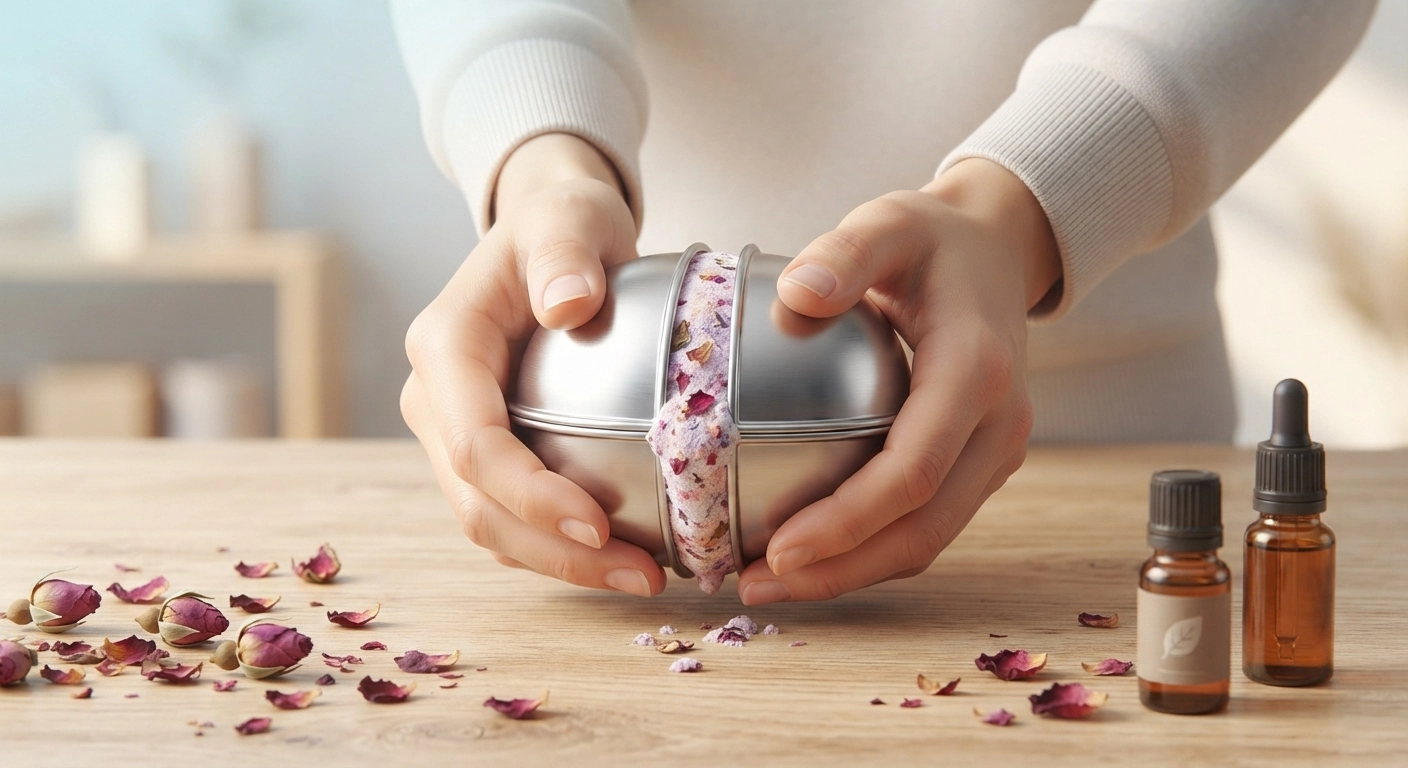
Gather everything before you start. Bath bomb making is a bit like baking — once you begin mixing, you don’t want to be scrambling through cabinets.
The Core Four (Non-Negotiable)
| Ingredient | Role | Amount (per 6 bombs) | Substitute? |
|---|---|---|---|
| Baking Soda | Base that creates fizz | 1 cup (220g) | No — must be sodium bicarbonate |
| Cream of Tartar | Acid replacement for citric acid | ½ cup (80g) | Lemon juice powder (1.5x amount) |
| Cornstarch | Filler, hardens the bomb, slows fizz | ½ cup (65g) | Arrowroot powder (1:1) |
| Coconut Oil (melted) | Binder + moisturizer | 3 tablespoons (45ml) | Almond oil, jojoba oil, shea butter |
The Optional (But Highly Recommended) Add-Ins
- Witch hazel (in a spray bottle): The secret weapon for moisture control. Spritz lightly — don’t pour. $5 at any drugstore.
- Essential oils: 15–25 drops per batch. Lavender, eucalyptus, sweet orange, and peppermint are crowd favorites.
- Food coloring or mica powder: Mica gives a shimmery, professional look. Food coloring works but can stain tubs if overused — go easy.
- Epsom salt: 2 tablespoons per batch. Adds magnesium for muscle relaxation. Do NOT substitute table salt.
- Dried flower petals: Rose petals, lavender buds, or calendula. Sprinkle into the mold before pressing for a gorgeous visual effect.
If you’re interested in exploring other DIY projects that use similar crafting skills, check out our guide on how to make easy scented candles — another relaxing homemade product that pairs beautifully with bath bombs as gift sets.
Step-by-Step: How to Make Easy Bath Bombs Without Citric Acid
Alright, apron on. Let’s walk through this together. I’ve broken this into 7 clear steps — read through all of them once before you start.
Step 1: Sift Your Dry Ingredients (This Is Not Optional)
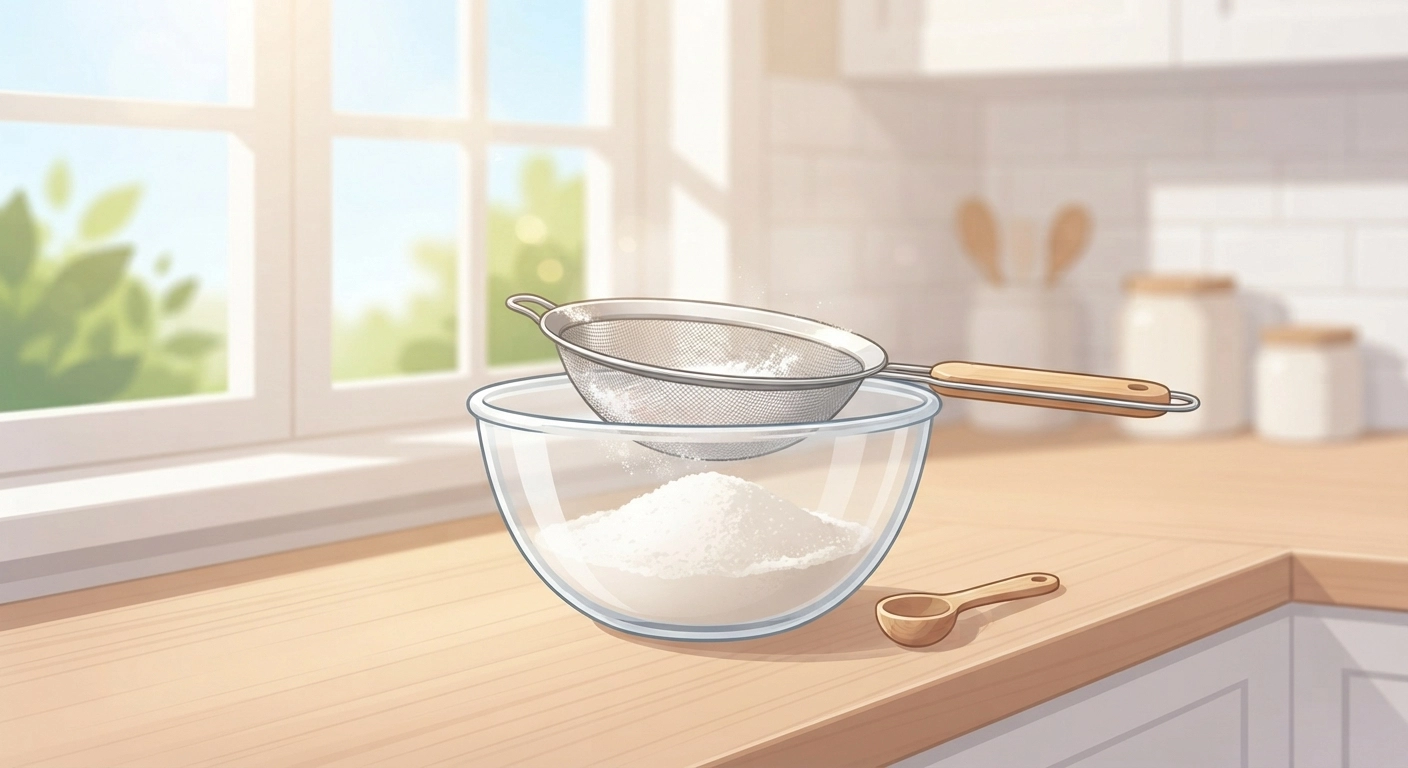
Pour 1 cup of baking soda, ½ cup of cream of tartar, and ½ cup of cornstarch into a fine mesh strainer set over a large mixing bowl. Sift everything together.
Sifting removes lumps and aerates the mixture. Lumps = weak spots in your finished bath bomb = cracking. I learned this the hard way when my third batch crumbled apart in the mold because I skipped sifting. Don’t be like me.
Whisk the sifted powders for at least 60 seconds. You want a uniform, silky mixture with no visible clumps.
Step 2: Combine Your Wet Ingredients Separately
In a small bowl, melt 3 tablespoons of coconut oil (30 seconds in the microwave usually does it). Add 20 drops of your chosen essential oil and a few drops of food coloring or ½ teaspoon of mica powder. Stir well.
Why mix wet ingredients separately? Because if you dump oil directly into the dry mix, you’ll create oily pockets that refuse to blend evenly. Trust me on this one.
Step 3: The Slow-Drizzle Method (Critical Technique)
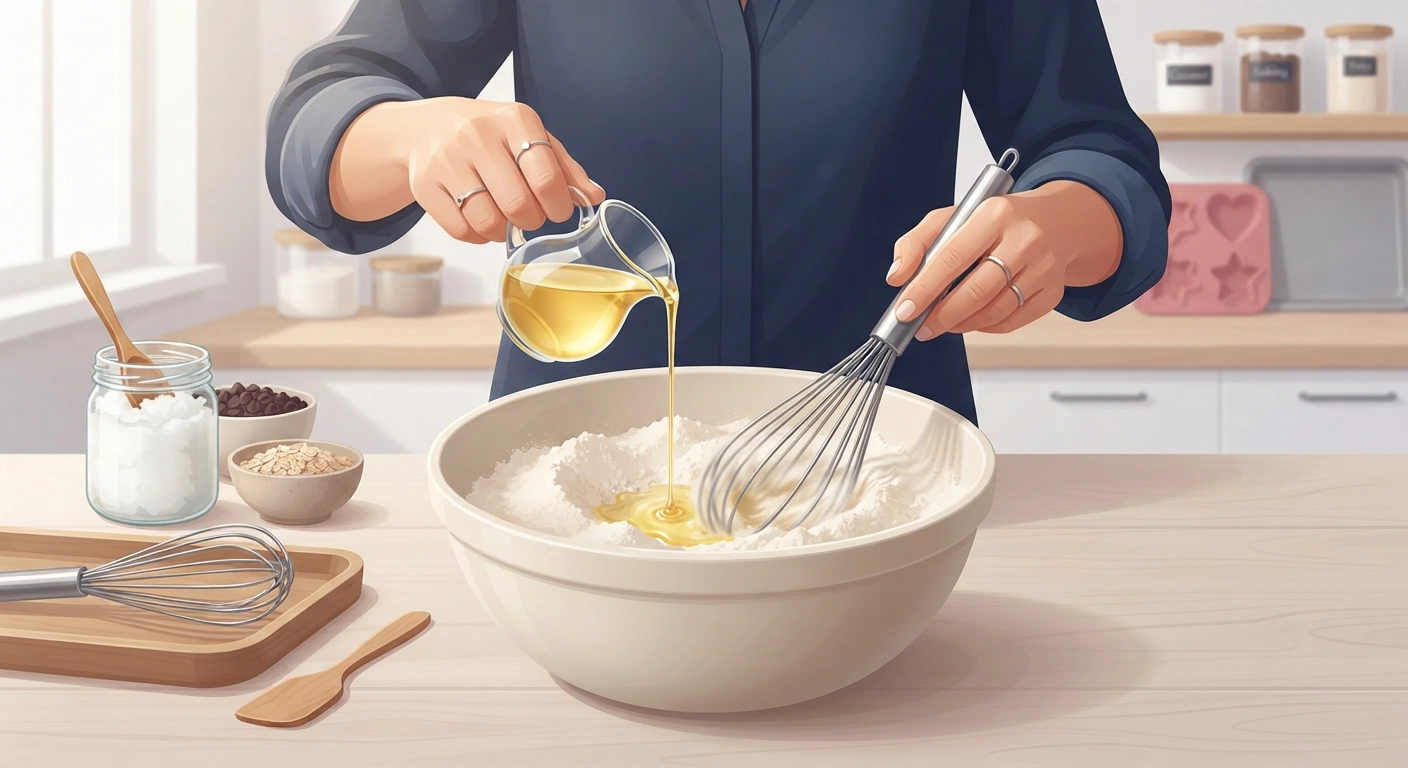
Here’s where most beginners mess up. You need to add your wet ingredients to your dry ingredients incredibly slowly — think teaspoon by teaspoon — while whisking continuously.
Drizzle a small amount. Whisk. Drizzle more. Whisk. The entire process should take 2–3 minutes. If you see ANY fizzing or hear a slight sizzle, you’re adding too fast. Stop immediately.
The mixture is ready when it feels like damp sand and holds its shape when squeezed in your palm. If you squeeze a handful and it crumbles apart, it’s too dry. If it feels wet or sticky, you’ve gone too far (add a pinch more cornstarch to fix this).
Step 4: Spritz with Witch Hazel (The Moisture Sweet Spot)
Fill a small spray bottle with witch hazel. Hold it 8–10 inches above your bowl and spritz 2–3 times. Mix with your hands. Test the texture again.
You’re looking for the mixture to clump together firmly when pressed but still crumble apart when you break the clump with your fingers. This is the “wet sand” consistency everyone talks about. It usually takes 4–6 spritzes total to get there.
Hadi daha yakından bakalım: If your bath bombs crack after molding, 90% of the time it’s because the mixture was too dry. If they puff up or grow weird little warts during drying, it was too wet. The witch hazel step is where you fine-tune that balance.
Step 5: Fill Your Molds Tightly
You can use proper bath bomb molds ($8–$12 on Amazon for a set), silicone muffin cups, or even the two halves of a plastic Christmas ornament. I started with silicone ice cube trays and they worked just fine.
Overfill each half of your mold slightly. Press the mixture in firmly — really pack it. Then press the two halves together with firm, even pressure. Hold for 10–15 seconds.
Gently tap one side of the mold with a spoon. If the bath bomb doesn’t release easily, let it sit in the mold for another 5 minutes before trying again.
Step 6: The Delicate Unmolding
Carefully remove the top half of the mold first, then turn the bath bomb out onto a soft surface (a folded kitchen towel works perfectly). Handle it like you’re holding a baby bird — too much pressure and it’ll crack.
If it crumbles during unmolding, your mixture was too dry. Return the crumbled bits to the bowl, spritz once more with witch hazel, remix, and try again. No waste, no stress.
Step 7: The 24-Hour Wait (Hardest Step!)
Place your unmolded bath bombs on a baking sheet lined with parchment paper. Space them at least 1 inch apart — they need airflow on all sides. Leave them undisturbed at room temperature for 24–48 hours.
Do not put them in the fridge to “speed things up.” Cold temperatures create condensation, which activates the fizzing reaction prematurely. Just let them sit on the counter. I know the waiting is brutal, but it’s essential for them to fully harden.
If you’re enjoying this hands-on crafting process, you might also love how to make easy resin jewelry for beginners — another project that rewards patience and precision.
3 Tried-and-Tested Citric Acid-Free Bath Bomb Recipes
Once you’ve nailed the basic technique, try these variations. Each one has been tested at least 5 times in my kitchen.
Recipe #1: Calming Lavender & Chamomile
| Ingredient | Amount |
|---|---|
| Baking soda | 1 cup |
| Cream of tartar | ½ cup |
| Cornstarch | ½ cup |
| Epsom salt | 2 tablespoons |
| Coconut oil (melted) | 3 tablespoons |
| Lavender essential oil | 15 drops |
| Chamomile essential oil | 5 drops |
| Dried lavender buds | 1 tablespoon |
| Purple mica powder | ½ teaspoon |
This is my go-to evening bath bomb. The Epsom salt adds muscle-relaxing magnesium, and the lavender-chamomile combo signals to your brain that it’s time to wind down. Makes 6 medium bath bombs.
Recipe #2: Energizing Citrus Burst
Same base as Recipe #1, but swap the essential oils for:
- 10 drops sweet orange essential oil
- 5 drops lemon essential oil
- 5 drops grapefruit essential oil
- Orange mica powder instead of purple
- Dried calendula petals instead of lavender
This one’s perfect for morning baths. The citrus oils are naturally uplifting, and the scent fills the entire bathroom within seconds of hitting the water.
Recipe #3: Unscented Oatmeal & Honey (For Sensitive Skin)
- Base: Same as Recipe #1, but skip essential oils entirely.
- Add: 2 tablespoons of finely ground colloidal oatmeal (blitz regular oats in a coffee grinder for 30 seconds).
- Add: 1 tablespoon of raw honey mixed into the melted coconut oil.
- Color: Leave it white, or add a tiny pinch of gold mica for subtle shimmer.
I developed this recipe for my niece who has eczema. The colloidal oatmeal creates a milky, soothing bath that calms inflamed skin. No fragrance, no irritation — just pure moisture.
Troubleshooting: Why Your Bath Bombs Failed (And How to Fix Every Problem)
Bath bomb-making has a learning curve. Here are the 6 most common disasters and exactly how to recover from each one.
Problem 1: Bath Bombs Cracking During Drying
Cause: Too dry. The mixture didn’t have enough moisture to bind properly.
Fix: Next batch, add 1–2 more spritzes of witch hazel. For the current batch, you can try misting the cracked bombs very lightly and letting them re-dry, but honestly, just use them — they’ll still fizz, they’ll just look rustic.
Problem 2: Bath Bombs Puffing Up or Growing “Warts”
Cause: Too wet. The baking soda and cream of tartar started reacting prematurely.
Fix: Reduce your witch hazel spritzes by half. Also check your humidity — if you’re making these on a rainy day, the air itself is adding moisture. Run a dehumidifier if possible.
Problem 3: Weak or No Fizz in the Bath
Cause: Old baking soda or cream of tartar that has lost potency, OR you accidentally packed the mold too tightly (which prevents water from penetrating).
Fix: Test your baking soda by dropping a pinch into vinegar — it should fizz vigorously. Test cream of tartar by mixing a pinch with baking soda and warm water. If neither test produces bubbles, replace your ingredients.
Problem 4: Bath Bombs Sticking to the Mold
Cause: Mixture is too wet, or the mold wasn’t clean and dry before filling.
Fix: Dust the inside of your mold with a tiny bit of cornstarch before filling. Wipe molds completely dry between uses.
Problem 5: Bath Bombs Staining the Tub
Cause: Too much food coloring or low-quality mica powder.
Fix: Use less colorant — you need far less than you think. High-quality mica powders (look for “bath bomb safe” on the label) don’t stain. If using food coloring, stick to 3–4 drops max per batch.
Problem 6: Bath Bombs Won’t Hold Shape in the Mold
Cause: Mixture too dry, or you’re not pressing firmly enough.
Fix: Spritz once or twice more. When you press the halves together, use your body weight — lean into it. The mixture should feel compacted, not fluffy.
Ama hepsi bu kadar değil. If you find yourself loving the troubleshooting process and want to explore more bath and body DIYs, our guide on 15 most profitable DIY crafts to make and sell in 2026 covers bath bombs alongside other high-demand handmade products.
Customization Guide: Colors, Scents, and Secret Add-Ins
Once you’ve mastered how to make easy bath bombs using the basic recipe, the real fun begins. Customization is where your personality shines through.
Color Combinations That Look Professional
- Ombré effect: Divide your mixture into 3 bowls. Leave one white, tint one light pink, tint one deep pink. Layer in the mold: white on bottom, light pink middle, dark pink on top.
- Galaxy bombs: Split the batch and dye portions deep purple, navy blue, and black (use activated charcoal for black). Swirl gently — don’t fully mix — before molding.
- Gold-dusted: After unmolding, use a small makeup brush to dust the top with cosmetic-grade gold mica powder.
Scent Blending 101
Don’t just use single oils — blends smell more sophisticated. Here are three combinations that consistently get compliments:
- Stress Relief: 10 drops lavender + 5 drops bergamot + 3 drops frankincense
- Fresh & Clean: 8 drops eucalyptus + 8 drops peppermint + 4 drops tea tree
- Cozy Winter: 10 drops vanilla oleoresin + 5 drops cinnamon + 3 drops clove (go easy on cinnamon and clove — they can irritate skin in high concentrations)
Surprise-Inside Bath Bombs (Kids Love These)
Hide a small, waterproof toy or a dried flower in the center of your bath bomb. Here’s how: fill the mold halfway, press a small indent with your thumb, place the surprise inside, then cover with more mixture and press the mold closed. As the bath bomb dissolves, the surprise slowly reveals itself.
A small rubber duck, a waterproof charm, or even a rolled-up affirmation note sealed in a tiny plastic capsule works brilliantly.
Storing and Packaging Your Homemade Bath Bombs Like a Pro
Bath bombs are fragile and humidity-sensitive. Store them wrong, and you’ll open the box to a pile of crumbly disappointment.
The Golden Rules of Storage
- Airtight is everything. Use glass jars with rubber seals, or thick Ziploc bags with the air pressed out. Oxygen and moisture are the enemy.
- Keep them cool and dark. A cabinet, not a bathroom shelf. Heat and sunlight degrade essential oils and can soften the coconut oil, making your bombs sticky.
- Silica gel packets are your best friend. Toss one or two into your storage container. They absorb ambient moisture and can double your bath bombs’ shelf life.
- Don’t stack them. The weight causes cracks. Single-layer storage only.
Packaging for Gifts (or Sales)
- Budget-friendly: Clear cellophane treat bags tied with baker’s twine. Add a handwritten tag with the scent name.
- Mid-range: Small kraft paper boxes with a clear window on top. Line with shredded kraft paper filler.
- Premium: Glassine bags inside a branded cardboard tube or sliding matchbox-style package. This is what high-end Etsy sellers use, and customers absolutely love the unboxing experience.
Can You Sell Bath Bombs Made Without Citric Acid?
Absolutely — and there’s actually a growing market for gentler, “clean beauty” bath products. According to Grand View Research, the global bath bomb market was valued at $5.1 billion in 2023 and is projected to grow at a CAGR of 5.2% through 2030 (Source: Grand View Research, 2024).
How to Position Your Citric Acid-Free Bath Bombs
Label them as “Gentle Formula Bath Bombs” or “Sensitive Skin-Friendly Bath Fizzies.” Highlight that they’re made without harsh acids. Include the full ingredient list on your packaging (transparency builds trust, and trust drives repeat purchases).
If you’re serious about selling, you’ll need more than just one product. Consider expanding into related crafts. Our article on 10 most profitable art and craft niches to start in 2026 can help you identify complementary products that pair well with bath bombs in a gift shop or Etsy store.
And when you’re ready to set up shop, take a look at Etsy vs Shopify: where to sell your DIY crafts in 2026 for a brutally honest comparison of the two platforms most craft sellers are using right now.
Frequently Asked Questions
Can I use baking powder instead of baking soda and cream of tartar?
No — this is a common misunderstanding. Baking powder does contain both an acid and a base, but in very small proportions (the rest is filler). You’d need massive amounts to get any fizz, and your bath bombs would taste salty and feel gritty. Stick with the separate baking soda + cream of tartar combination.
How long do citric acid-free bath bombs last?
Properly stored in an airtight container with a silica gel packet, they last 4–8 months. After that, the essential oils begin losing potency and the fizz reaction weakens. If a bath bomb smells faint or doesn’t bubble much when dropped in water, it’s past its prime.
Why did my bath bombs turn brown after a few days?
Vanilla essential oil or vanilla oleoresin causes browning over time due to the vanillin content. It’s purely cosmetic — the bath bomb still works perfectly. If you want a vanilla scent without the browning, look for “vanilla color stabilizer” from soap-making suppliers, or use a vanilla fragrance oil specifically labeled as non-discoloring.
Can I make bath bombs with my kids?
Absolutely — this is one of my favorite rainy-day activities with my daughter. A few safety notes: cream of tartar and baking soda are both food-grade and safe to handle. However, some essential oils can irritate young skin (peppermint, cinnamon, and clove especially). Stick to lavender, chamomile, or sweet orange for kids under 10. Also, supervise the witch hazel step — it’s not meant to be ingested.
What’s the best mold size for beginners?
Medium molds (about 2.5 inches in diameter) are the sweet spot. Small molds are fiddly and hard to fill evenly. Extra-large molds (3.5+ inches) are heavy and more prone to cracking under their own weight during drying. Start medium, then branch out once you’re confident.
Do I really need witch hazel? Can I use water instead?
You can use water, but witch hazel is strongly preferred because it evaporates faster. Faster evaporation = less chance of premature fizzing during drying. If you must use water, use distilled water (tap water minerals can react unpredictably) and spray half as much as you think you need. Seriously — go light.
Why do my bath bombs sink instead of floating?
Bath bombs that sink straight to the bottom are usually packed too densely. Try pressing the mold slightly less firmly next time. You can also add 1–2 teaspoons of SLSA (sodium lauryl sulfoacetate) — a mild, skin-safe foaming agent that creates bubbles and helps bath bombs float and spin on the water’s surface. It’s the secret ingredient professional bath bomb makers use.
Can I add shea butter to the recipe?
Yes! Replace 1 tablespoon of the coconut oil with 1 tablespoon of melted shea butter. It makes the bath bombs extra moisturizing but also slightly softer, so extend the drying time to 48 hours. The payoff is worth it — your skin will feel incredible after the bath.
Ready to Fill Your Tub with Fizz?
Learning how to make easy bath bombs without citric acid is one of those skills that keeps giving. You save money, you control exactly what touches your skin, and you get to create something genuinely beautiful with your own hands. The first time you drop one of your homemade creations into a hot bath and watch it dissolve into swirls of color and scent — that moment never gets old.
Start with the basic recipe. Expect the first batch to be a learning experience (mine was a crumbly mess, and I’m not embarrassed to admit it). By batch three, you’ll have the technique dialed in. By batch five, you’ll be experimenting with your own signature blends.
Grab your baking soda, your cream of tartar, and whichever essential oil you’re in the mood for tonight. You’ve got everything you need to make something awesome.