diy raised garden bed: 9 Critical Steps to Build a Budget-Friendly Oasis in 2026

- diy raised garden bed: 9 Critical Steps to Build a Budget-Friendly Oasis in 2026
- 📋 Key Takeaways
- Table of Contents
- 1. Why Choose a DIY Raised Garden Bed?
- 2. Selecting the Best Lumber on a Budget
- Cedar: The Premium Choice
- Untreated Pine: The Budget Warrior
- Pressure-Treated Wood: The Controversial Middle Ground
- Upcycled Pallets
- 3. Essential Tools You Need for the Build
- 4. Step-by-Step Construction: Building the Frame
- Step 1: Cut Your Lumber
- Step 2: Assemble the First Corner
- Step 3: Connect the Short Side
- Step 4: Complete the Rectangle
- Step 5: Add a Center Brace (Crucial!)
- 5. Prepping the Ground and Leveling
- 6. Filling Your Bed Cheaply (The Hugelkultur Method)
- Layer 1: The Base (Wood)
- Layer 2: The Nitrogen Layer (Greens)
- Layer 3: The Growing Medium (Soil)
- 7. Common Mistakes to Avoid When Building
- 8. Protecting Your Harvest from Pests
- 9. Best Vegetables for Your New Setup
- Wrapping It Up
- Frequently Asked Questions (FAQ)
- How deep should a raised garden bed be?
- Do I need to put a bottom on my raised garden bed?
- What is the cheapest wood to use for raised beds?
- Should I line the inside of my raised garden bed?
- How do I keep weeds from growing up through the bottom?
- Can I use old tires or cinder blocks instead of wood?
Picture this: You’ve just spent the entire weekend bent over in your backyard, wrestling with rock-hard clay soil, trying to plant a simple row of tomatoes. By Monday morning, your back is screaming, and you’re wondering if growing your own food is even worth the physical toll. If this scenario sounds painfully familiar, building a diy raised garden bed is the absolute game-changer you’ve been looking for. Not only does it save your spine from endless bending, but it also gives you complete control over your soil quality—all without draining your bank account.
The truth is, buying pre-made planter kits from big-box hardware stores can cost a small fortune. Some metal or cedar kits easily run into the hundreds of dollars just for a basic setup. But what if you could build a custom, highly durable, and aesthetically pleasing garden box for a fraction of that price? That’s exactly what we are going to do here. Whether you have a sprawling backyard or just a modest patch of grass, creating your own diy raised garden bed is a weekend project that pays off for years to come.
Let’s dive right into the exact steps, materials, and insider tricks you need to build a professional-looking garden bed on a shoestring budget.
📋 Key Takeaways
- Building a diy raised garden bed saves you up to 70% compared to buying pre-fab kits.
- Choosing the right lumber (like untreated pine or cedar) determines the lifespan of your project.
- The ideal width for a garden bed is 3 to 4 feet so you can comfortably reach the center without stepping on the soil.
- You can fill the bottom half of your bed with logs and branches (the Hugelkultur method) to save massive amounts of money on topsoil.
- Proper leveling and cross-bracing are non-negotiable steps to prevent the wood from bowing over time.
1. Why Choose a DIY Raised Garden Bed?
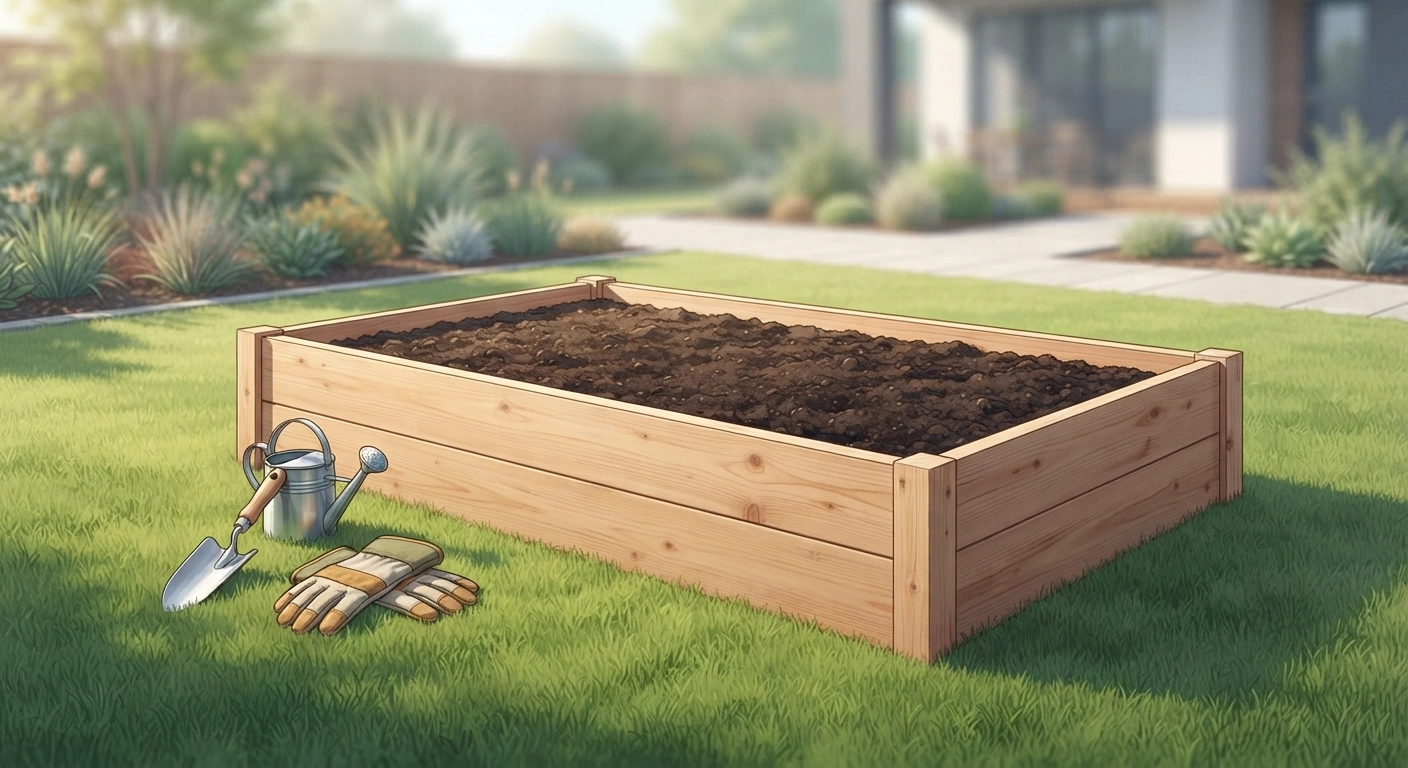
Before we start cutting wood and driving screws, let’s talk about why you are doing this. Gardening directly in the ground seems like the most natural approach, but it comes with a host of hidden challenges. Poor drainage, compacted soil, and relentless weeds can quickly turn your gardening dreams into a nightmare.
A diy raised garden bed solves almost all of these problems instantly. By elevating the soil above the natural ground level, you create an isolated environment. You dictate exactly what goes into that soil mix. If you want a highly acidic environment for blueberries, you can make it happen. If you need sandy, well-draining soil for carrots, it’s entirely in your control.
Here is another massive advantage: the soil in a raised box warms up much faster in the spring than the ground soil. This means you can start planting your seeds or seedlings weeks earlier than your neighbors. Plus, the physical elevation creates a natural barrier against crawling pests like slugs and snails.
If you love making things with your hands and improving your living space, this project fits perfectly into a broader creative lifestyle. In fact, if you enjoy enhancing your home environment, you might also want to explore our guide on Easy DIY Room Decor Aesthetic: 15 Minimalist Ideas for 2026 to bring that same creative energy indoors.
2. Selecting the Best Lumber on a Budget
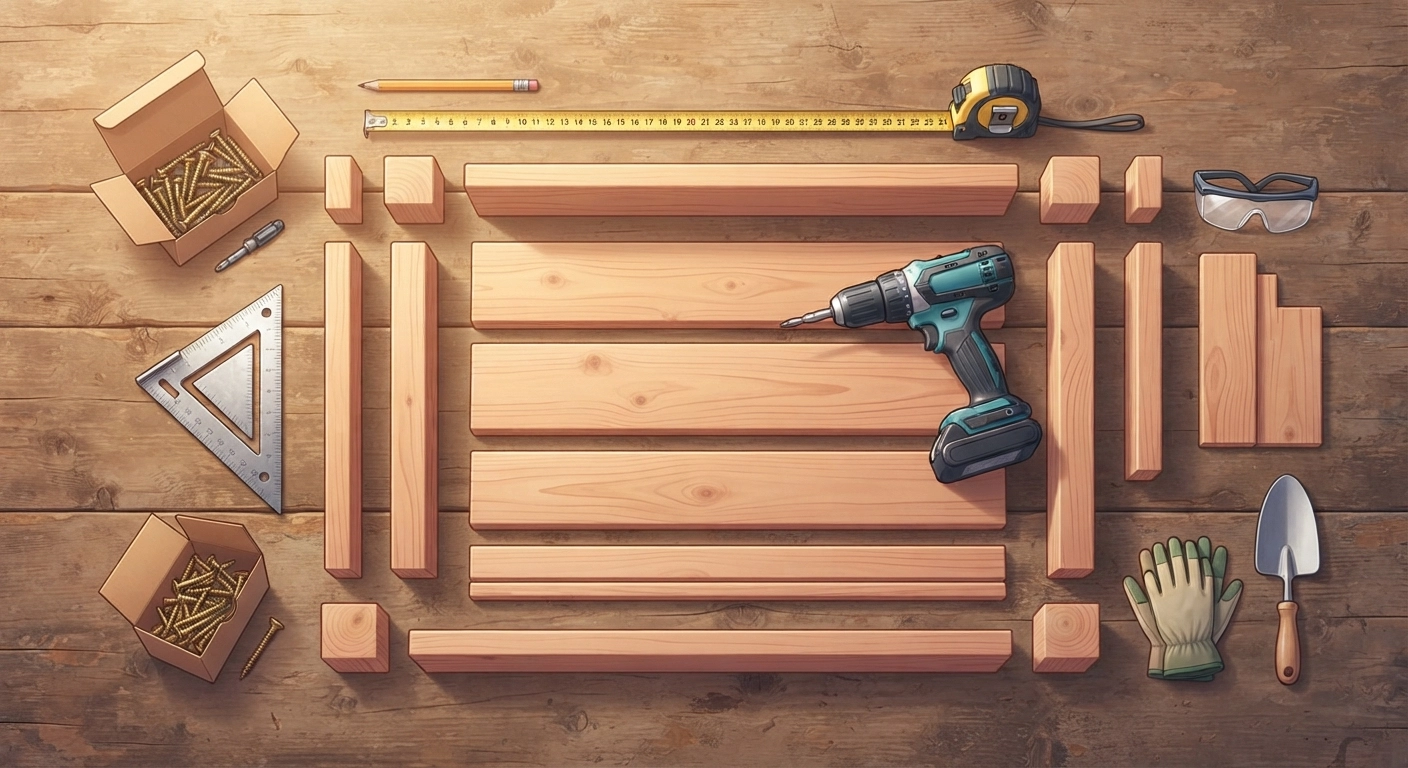
The biggest expense in this project is the wood. Walk into any lumber yard, and the choices can be overwhelming. Let’s break down the three most common options for your diy raised garden bed so you can make a smart, budget-friendly decision.
Cedar: The Premium Choice
Cedar is naturally rot-resistant and repels insects. It smells fantastic and looks beautiful as it ages into a silvery-gray patina. The downside? It is incredibly expensive. If budget is your primary concern, outfitting a massive 8×4 foot bed in pure cedar might break the bank. However, it will easily last 10 to 15 years.
Untreated Pine: The Budget Warrior
Standard untreated pine (often labeled as SPF – Spruce, Pine, Fir) is cheap, readily available, and easy to cut. You can build a large garden box for under $50 using pine. The catch is that it will rot faster than cedar. Expect a pine bed to last about 3 to 5 years before the lower boards start breaking down. For many beginners, this is a perfectly acceptable trade-off to get started cheaply.
Pressure-Treated Wood: The Controversial Middle Ground
Years ago, pressure-treated lumber was preserved with arsenic, making it a terrible choice for growing food. However, modern pressure-treated wood uses copper-based compounds that are generally considered safe for vegetable gardens. According to various wood preservation standards, modern treatments pose minimal risk of leaching into soil. It lasts a long time and is cheaper than cedar. If you choose this route, you can always line the inside of the bed with heavy-duty landscape fabric to create a barrier between the wood and the soil.
Upcycled Pallets
If you want to go completely free, look for discarded shipping pallets. Just ensure they are stamped with “HT” (Heat Treated) rather than “MB” (Methyl Bromide, a toxic chemical). Pallet wood requires more labor to disassemble, but you can’t beat the price tag of zero dollars.
3. Essential Tools You Need for the Build
You don’t need a professional carpentry shop to pull this off. The beauty of a diy raised garden bed is its simplicity. It is essentially a large wooden box without a top or a bottom.
Here is your basic toolkit checklist:
- Power Drill/Driver: Absolutely essential for driving long screws without exhausting your wrist.
- Circular Saw or Miter Saw: For cutting your boards to length. If you don’t own a saw, most big hardware stores will cut the wood for you for free or a tiny fee if you bring your measurements.
- Tape Measure & Speed Square: To ensure your cuts are accurate and your corners are perfectly 90 degrees.
- Level: A standard bubble level (at least 24 inches long) is crucial for the installation phase.
- Exterior Deck Screws: Do not use interior drywall screws! They will rust and snap within a month. Buy 2.5-inch or 3-inch exterior-grade coated screws.
If you are planning to turn your woodworking or crafting skills into a side hustle later on, learning how to handle these basic tools is a great first step. You might even want to look into DIY Crafts to Make and Sell: 10 Profitable Ideas for 2026 once you get comfortable building things from scratch.
4. Step-by-Step Construction: Building the Frame
Let’s get our hands dirty. For this tutorial, we will assume you are building a classic 8-foot long by 4-foot wide box that is 12 inches deep. This is the golden ratio of garden beds.
Step 1: Cut Your Lumber
You will need:
– Three 2x12x8 boards. Keep two of them at their full 8-foot length (these are your long sides).
– Cut the third 8-foot board exactly in half to create two 4-foot pieces (these are your short sides).
– One 4×4 post. Cut this into four 12-inch sections (these will be your corner anchor posts).
Step 2: Assemble the First Corner
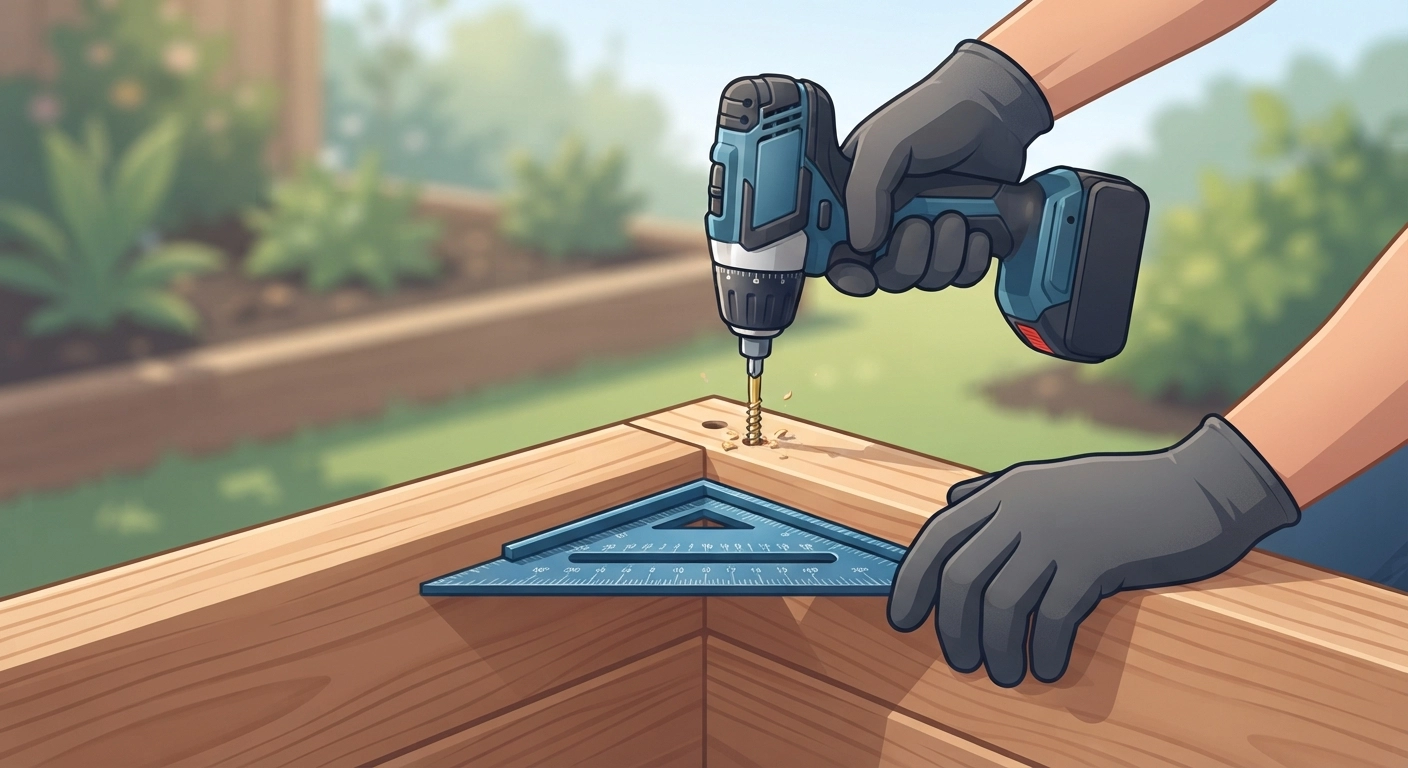
Lay one 8-foot board flat on the ground on its edge. Take one of your 12-inch 4×4 corner posts and place it flush against the inside edge of the board. Pre-drill three holes through the outside of the 2×12 board into the 4×4 post. Drive your exterior screws in tightly.
Pre-drilling is a step you should never skip. If you just force the screws into the wood, especially near the edges, the wood will split, weakening your entire structure.
Step 3: Connect the Short Side
Now, take one of your 4-foot short boards. Butt it up against the other side of that same 4×4 corner post, forming a perfect 90-degree angle. Use your speed square to check the angle. Pre-drill and drive three screws through the short board into the post. You now have an “L” shape.
Step 4: Complete the Rectangle
Repeat this exact process for the remaining corners until you have a complete 8×4 rectangle.
Step 5: Add a Center Brace (Crucial!)
Wet soil is incredibly heavy. An 8-foot span of wood will inevitably bow outward in the center under the pressure of wet dirt. Cut a piece of scrap wood (a 2×4 works perfectly) to exactly 4 feet. Place it across the center of your bed, connecting the two long sides from the inside. Screw it in place. This acts as a tension tie, holding the long walls perfectly straight.
5. Prepping the Ground and Leveling
You’ve built a beautiful frame, but you can’t just drop it anywhere in the yard and call it a day. Placement is everything. Vegetables need sunshine—lots of it. Choose a spot in your yard that receives at least 6 to 8 hours of direct, unobstructed sunlight every single day.
Once you have your spot, place the empty frame on the ground. Take your bubble level and place it on top of the side boards. Chances are, the bubble is not in the middle. Yards are rarely perfectly flat.
Do not try to level the bed by shimming it up with loose rocks or wood scraps. Instead, grab a shovel and dig away the high spots in the dirt directly under the boards. Keep checking with your level until the frame sits perfectly horizontal on all four sides.
Why is this so important? If your diy raised garden bed is tilted, water will pool at the lowest end every time it rains. The plants at the bottom will drown in mud, while the plants at the top will die of thirst. Take the extra 20 minutes to get this right.
After leveling, line the bottom of the bed (directly over the grass) with a layer of plain, unwaxed brown cardboard. This acts as a biodegradable weed barrier. It will smother the grass underneath and eventually rot away, allowing deep-rooted plants to reach the native soil below.
6. Filling Your Bed Cheaply (The Hugelkultur Method)
Here is a harsh reality check: Buying enough premium bagged soil to fill an 8x4x1 raised bed can easily cost you $150 to $200. That completely defeats the purpose of a budget project.
Enter the Hugelkultur method. This is a centuries-old German gardening technique that translates to “mound culture.” It involves filling the bottom portion of your garden bed with rotting wood and organic debris, which breaks down over time, feeds the soil, and acts like a giant sponge to hold moisture.
Layer 1: The Base (Wood)
Toss large logs, thick branches, and chunks of untreated scrap wood directly on top of your cardboard layer. Fill the bottom 4 to 5 inches of your bed with this material. Avoid cedar or walnut logs, as they contain natural compounds that inhibit plant growth. Old, rotting oak or pine is perfect.
Layer 2: The Nitrogen Layer (Greens)
Cover the logs with grass clippings, fallen leaves, kitchen vegetable scraps, and small twigs. Water this layer thoroughly. This organic matter will fill the gaps between the logs and start the composting process.
Layer 3: The Growing Medium (Soil)
Now, you only need to buy enough soil to fill the top 6 to 7 inches of the bed. You’ve just cut your soil budget in half! Mix a combination of cheap topsoil and high-quality compost (like mushroom compost or composted cow manure).
This method not only saves you money but creates a self-sustaining ecosystem beneath your plants. As the logs break down over the years, they release nutrients directly to the roots of your vegetables.
7. Common Mistakes to Avoid When Building
Even with a solid plan, it is easy to trip up. Over the years, we have seen plenty of garden bed disasters. Here are the most common pitfalls and how to dodge them.
Making the Bed Too Wide:
Never build a garden bed wider than 4 feet. If it is 5 or 6 feet wide, you will not be able to reach the center without physically stepping into the bed. Stepping on the soil compacts it, squeezing out the oxygen and crushing delicate root systems.
Using the Wrong Screws:
We mentioned this earlier, but it bears repeating. Standard indoor screws will corrode and snap under the pressure of expanding, wet wood. Always verify the box says “Exterior” or “Decking.”
Forgetting to Water the Soil as You Fill:
Dry soil is hydrophobic—it repels water initially. If you fill the entire bed with dry soil and then try to water it, the water will just run down the sides. Water the soil in layers as you fill the box to ensure it is evenly moist throughout.
Speaking of avoiding mistakes, if you are the type of person who loves precision in your DIY projects, you might be interested in stepping up your crafting game. Check out our comparison on glowforge vs cricut: 7 Critical Differences You Must Know for Your DIY Business in 2026 to see how the right tools can make or break a project.
8. Protecting Your Harvest from Pests
You put in the hard work to build the frame, mix the soil, and plant the seeds. The last thing you want is a family of rabbits or a swarm of cabbage moths turning your diy raised garden bed into an all-you-can-eat buffet.
Because the bed is elevated, you already have a slight advantage against ground-dwelling pests. But for ultimate protection, consider adding a simple hoop house structure.
Take a few lengths of flexible half-inch PVC pipe. Bend them into arches over the garden bed, securing the ends to the inside of your wooden frame using simple pipe straps. Once your hoops are in place, drape a lightweight insect netting or bird mesh over the top. Secure the netting to the PVC with cheap spring clamps.
This creates a physical barrier that keeps out birds, deer, squirrels, and most flying insects, while still allowing sunlight and rain to penetrate perfectly. It costs less than $20 to set up and will save you endless frustration.
9. Best Vegetables for Your New Setup
Now for the fun part. What should you actually grow in your new diy raised garden bed? Because the soil is loose and deep, root vegetables thrive here in ways they never could in hard ground soil.
- Carrots and Radishes: They will grow incredibly straight and long in the fluffy, rock-free soil.
- Tomatoes: The deep soil allows tomato roots to anchor deeply, while the elevated height makes pruning and harvesting much easier.
- Leafy Greens: Lettuce, spinach, and kale love the quick-draining nature of raised beds. Plus, being off the ground keeps them cleaner and less prone to slug damage.
- Bush Beans: These are heavy yielders that don’t require massive trellises, making them perfect for a 4×8 box.
Remember to practice companion planting. Plant marigolds around the perimeter of your bed; their strong scent naturally repels many harmful nematodes and beetles. Basil planted next to tomatoes actually improves the flavor of the tomatoes and deters hornworms.
If you end up growing more than you can eat, or if you decide to build small decorative planter boxes using these same skills, you might want to learn how to monetize your hobby. Read our guide on How to Price Your DIY Crafts for Etsy: A Beginner’s Guide to start turning a profit.
Wrapping It Up
Building a diy raised garden bed is one of the most rewarding weekend projects you can tackle. You are not just building a wooden box; you are building a miniature ecosystem that will provide fresh, organic food for you and your family for years.
By choosing the right budget-friendly lumber, taking the time to level the frame perfectly, and utilizing the Hugelkultur method to save money on soil, you have completely bypassed the expensive hardware store traps.
The hardest part is simply getting started. Grab your drill, head to the lumber yard, and take control of your backyard. Once you taste that first sun-warmed tomato pulled directly from the soil you built, you will wonder why you didn’t do this years ago.
Frequently Asked Questions (FAQ)
How deep should a raised garden bed be?
A minimum depth of 8 to 12 inches is recommended for most standard vegetables like lettuce, beans, and peppers. However, if you want to grow deep-rooted crops like carrots or large tomatoes, aiming for 12 to 18 inches of depth will yield much better results.
Do I need to put a bottom on my raised garden bed?
No, you do not need a bottom if the bed is sitting directly on the soil or grass. Leaving the bottom open allows worms and beneficial microbes to travel up into your garden bed, and it allows excess water to drain naturally.
What is the cheapest wood to use for raised beds?
Untreated pine is generally the cheapest wood available at local hardware stores. While it won’t last as long as cedar or redwood (usually rotting in 3 to 5 years), it is incredibly budget-friendly and perfectly safe for growing edible plants.
Should I line the inside of my raised garden bed?
Lining the inside walls with heavy-duty landscape fabric is a great idea, especially if you are using pressure-treated wood or want to extend the life of untreated pine. It prevents wet soil from sitting directly against the wood, slowing down the rotting process.
How do I keep weeds from growing up through the bottom?
The most effective and eco-friendly method is to lay down a thick layer of plain, unwaxed brown cardboard directly over the grass before adding your soil. The cardboard smothers the weeds and eventually breaks down, adding carbon to your soil.
Can I use old tires or cinder blocks instead of wood?
Cinder blocks are a great, cheap alternative to wood and will last forever, though they can raise the pH of the soil slightly over time. Old tires are generally not recommended for growing edibles, as they can leach heavy metals and toxic chemicals into the soil as they heat up in the sun.