How to Make Easy Custom Stickers with a Silhouette Cameo

- How to Make Easy Custom Stickers with a Silhouette Cameo
- 📋 Key Takeaways
- Table of Contents
- 1. Essential Supplies and Material Selection
- 2. Designing Your Sticker Artwork in Silhouette Studio
- 2.1 Tracing Images to Create Clean Cutlines
- 2.2 Working with Text and Built‑in Shapes
- 2.3 Importing SVG Files and Using Cut‑by‑Color
- 3. Setting Up Registration Marks and Print Lines
- 4. Mastering the Print Settings for Vibrant Results
- 5. Cutting with Precision: Blade Types, Settings, and Test Cuts
- 5.1 Blade Depth, Force, Speed, and Passes
- 5.2 Kiss Cut vs. Die Cut Explained
- 6. Laminating and Waterproofing Your Stickers (Optional but Recommended)
- 6.1 Hot vs. Cold Laminate
- 7. Weeding, Peeling, and Sticker Sheet Assembly
- 8. Troubleshooting Common Silhouette Sticker Problems
- 8.1 “My Silhouette doesn’t read registration marks”
- 8.2 Blades tearing the sticker paper
- 8.3 Colors look different after printing
- 8.4 The cut is slightly off–center
- 8.5 Stickers peel off after a few days
- Time to Sell Your Stickers – Or Just Enjoy Them!
- Frequently Asked Questions (FAQ)
- What do I need to make stickers with Silhouette Cameo?
- Can I make waterproof stickers with the Silhouette Cameo?
- Why won’t my Silhouette read the registration marks on glossy paper?
- Is a Silhouette Cameo better than a Cricut for stickers?
- What is the difference between kiss cut and die cut stickers?
- How do I stop my sticker paper from tearing during weeding?
- Can I sell stickers made with a Silhouette Cameo?
- 🔗 İlgili İçerikler
Picture this: You finally designed the perfect planner sticker sheet on your computer, only to end up with smeared ink, a shredded cutting mat, and a pile of ruined paper. I’ve been there. My first attempt at making stickers with my Silhouette Cameo was a disaster—but after years of tweaking, testing dozens of materials, and coaching fellow crafters, I’ve cracked the code. Today I’ll show you exactly how to make stickers with silhouette cameo that look like they came straight from a boutique shop, with zero guesswork and no expensive equipment.
Whether you’re creating custom stickers for your small business, decorating your BuJo, or turning your artwork into sellable products, this 2026 guide will walk you through every essential supply, the trickiest software settings, and the foolproof cutting techniques that guarantee professional results. Ready to say goodbye to frustration and hello to gorgeous, peel‑and‑stick masterpieces? Let’s dive in.
📋 Key Takeaways
- Discover exactly how to make stickers with silhouette cameo using the Print & Cut method in 8 tested steps.
- Choose the best sticker paper (matte, glossy, clear, or printable vinyl) for your project.
- Calibrate registration marks like a pro and avoid alignment nightmares.
- Master kiss‑cut vs. die‑cut techniques to create sticker sheets that people love to peel.
- Learn advanced tricks – laminating, waterproofing, and selling your creations for profit.

Table of Contents
- 1. Essential Supplies and Material Selection
- 2. Designing Your Sticker Artwork in Silhouette Studio
- 3. Setting Up Registration Marks and Print Lines
- 4. Mastering the Print Settings for Vibrant Results
- 5. Cutting with Precision: Blade Types, Settings, and Test Cuts
- 6. Laminating and Waterproofing Your Stickers (Optional but Recommended)
- 7. Weeding, Peeling, and Sticker Sheet Assembly
- 8. Troubleshooting Common Silhouette Sticker Problems
1. Essential Supplies and Material Selection
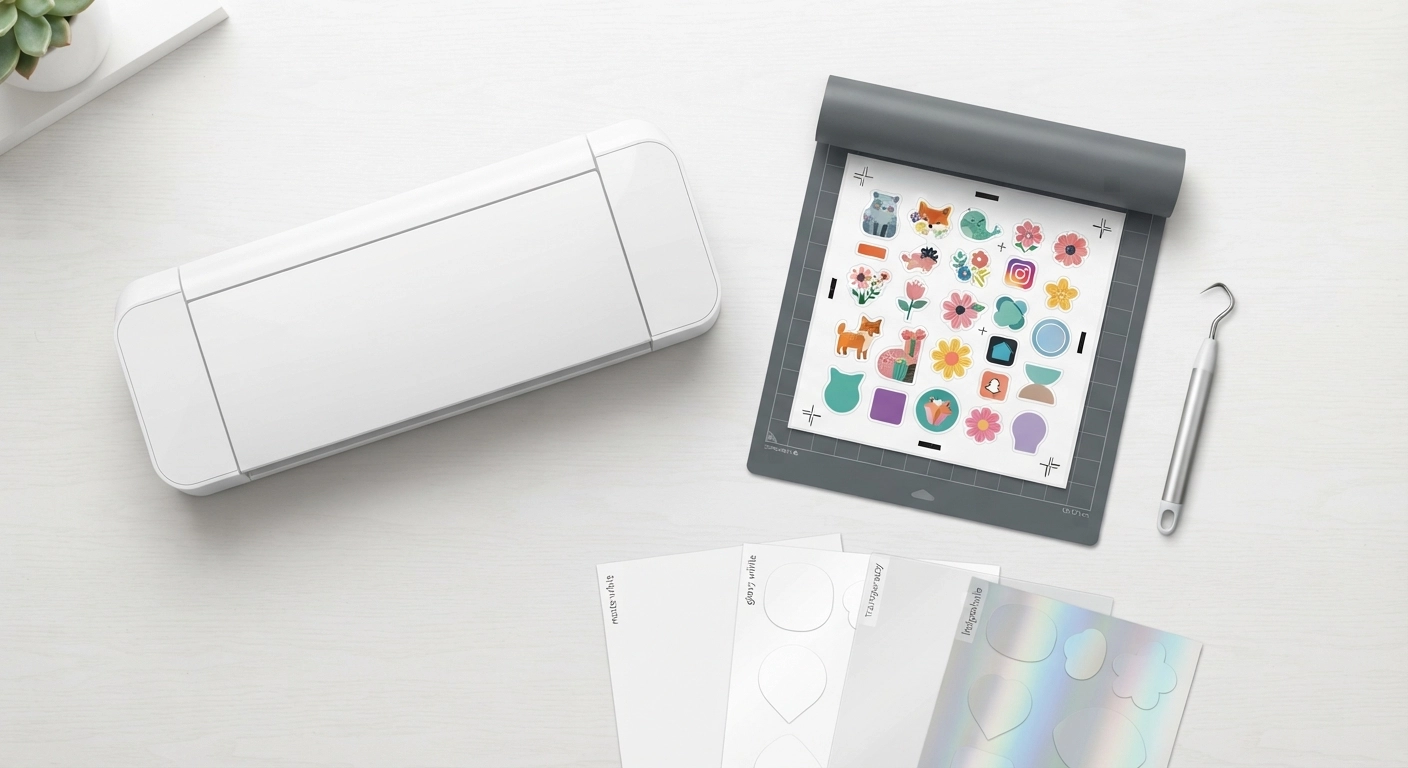
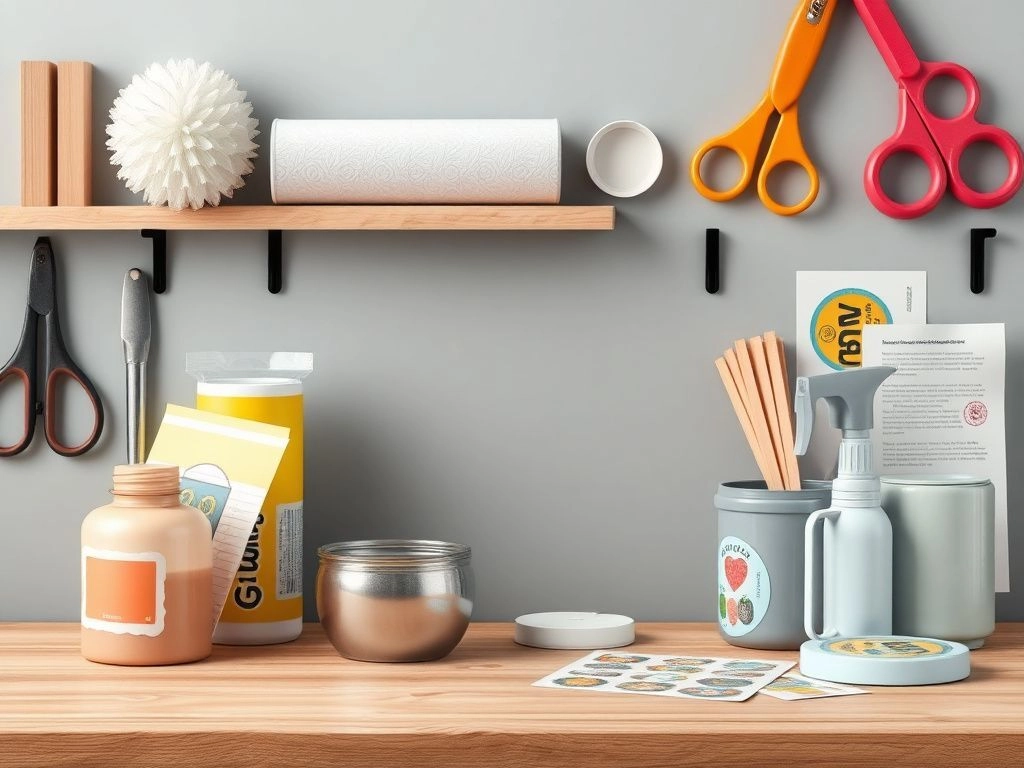
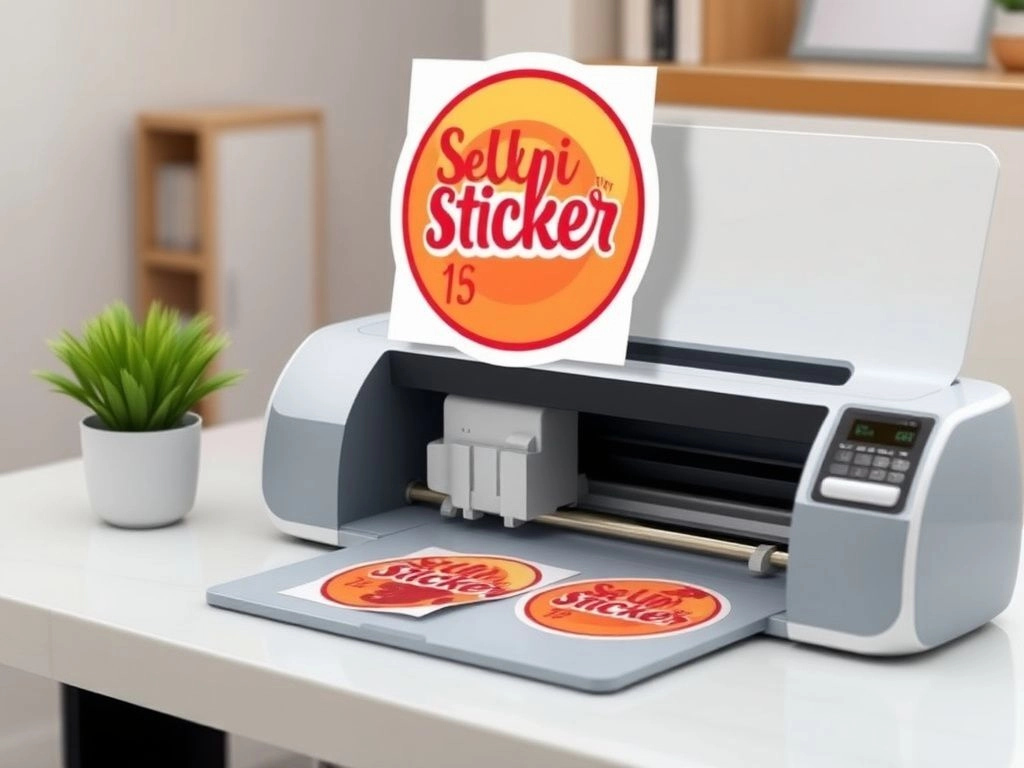
Before you even turn on your machine, the single biggest factor that determines whether your stickers will look crisp and last for months—or peel off in a week—is what you feed into your Silhouette. In my early days I grabbed the cheapest glossy label paper from the dollar store and regretted it instantly. Here’s what I use now, and why each item matters.
- Silhouette Cameo 4 (or any Cameo model). The 4’s dual‑tool carriage and more precise optical scanner make Print & Cut almost effortless. Older models work fine, but firmware updates are a must.
- Sticker paper or printable vinyl. This is where most beginners go wrong. I’ve compiled a comparison table below to help you choose.
- Cutting Mat. A standard grip mat is usually enough, but do not use a strong‑grip mat unless you enjoy fighting with sticky residue on the back of your stickers.
- Printer. A good inkjet printer (with pigment inks for better water resistance) is ideal. Laser printers can melt the plastic coating on some specialty sticker papers, so check compatibility.
- Weeding tool. The official Silhouette hook tool or a simple needle pin will help you lift tiny corners.
- Laminating pouches or cold‑laminate film (optional). If you want waterproof, scratch‑resistant stickers, I’ll cover this in Section 6.
| Paper Type | Finish | Durability | Printer Compatibility | Best For |
|---|---|---|---|---|
| Matte White Sticker Paper | Non‑glare, slightly textured | Medium – may smudge if wet | Inkjet / Laser | Planner stickers, product labels, everyday decals |
| Glossy Photo‑based Sticker Paper | High shine, vibrant colors | Medium – water‑resistant but may scratch | Inkjet | Artwork with heavy colors, laptop skins, premium packaging |
| Clear Sticker Paper (Polyester) | Transparent, glossy | High – waterproof when laminated | Inkjet / Laser (ensure clear coating) | Window decals, minimalist designs, cosmetic labels |
| Printable Vinyl (Matte/Gloss) | Flexible, conformable | Very high – UV and water resistant | Inkjet / Pigment ink recommended | Outdoor stickers, car decals, durable product labels |
| Holographic or Specialty Laminate | Iridescent, shiny effects | Medium to high | Usually applied post‑print | Trendy merch, shiny decals, kids’ stickers |
My go‑to? A high‑quality matte sticker paper from OnlineLabels (check their website for Silhouette‑compatible sheets) paired with my Epson inkjet. It gives me sharp prints and cuts that don’t pull the paper apart. If you’re aiming to sell custom vinyl decals, consider printable vinyl instead—it’s more durable and looks super professional.

2. Designing Your Sticker Artwork in Silhouette Studio
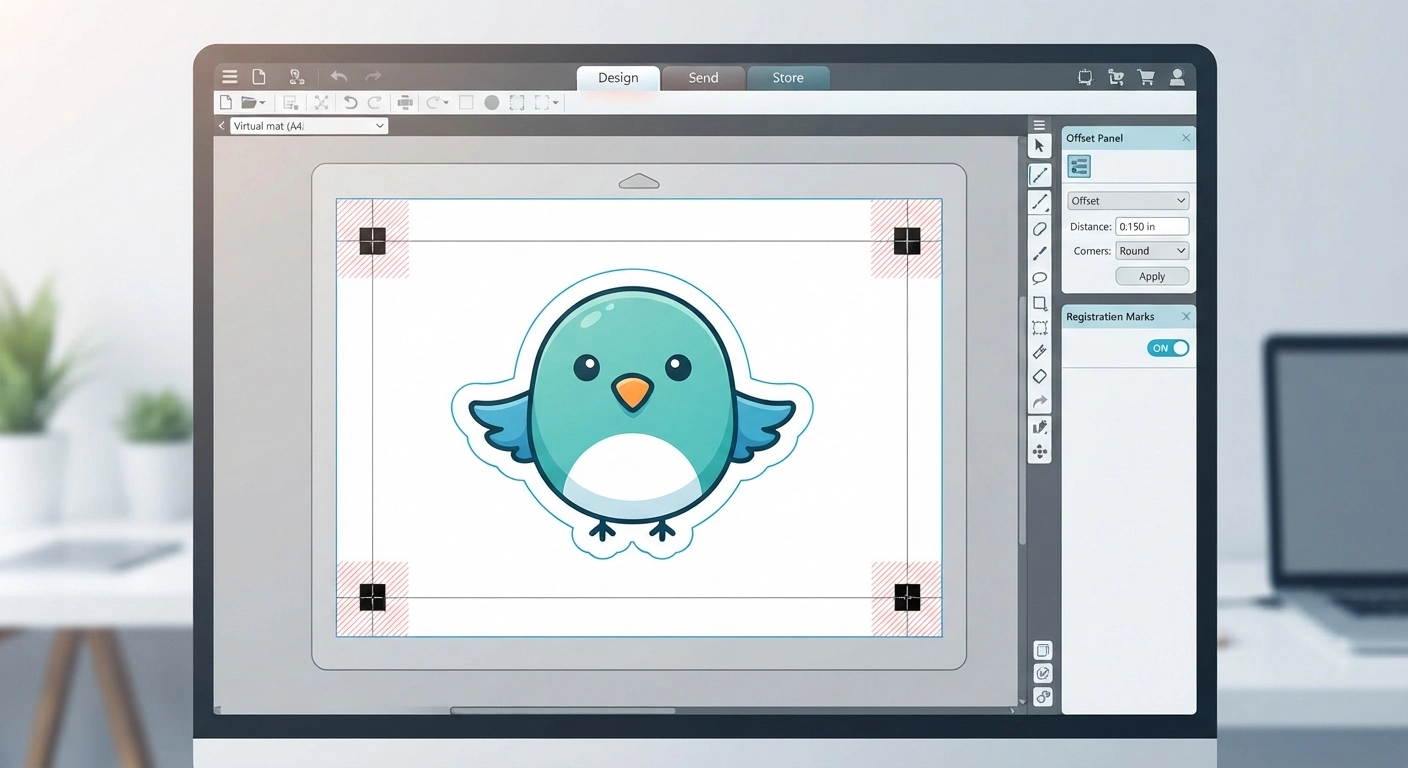
I often see crafters import a single JPEG and hope for the best – only to end up with fuzzy border lines. There’s a better way. Silhouette Studio’s Business Edition makes designing custom stickers a breeze, but the free Basic Edition can do a lot too. Here’s my workflow.
2.1 Tracing Images to Create Clean Cutlines
Whether you’re using your own drawing or clipart, the Trace tool is your best friend. Select “Trace Area,” adjust the threshold until the yellow highlight hugs your image, and then click “Trace Outer Edge.” I usually add an offset (around 0.03 inches) to create a thin white border around the design – it gives stickers that die‑cut look without needing a separate outline. This small buffer also hides tiny imperfections in the cut, making your stickers look flawless.
2.2 Working with Text and Built‑in Shapes
If you’re making name labels or planner stickers, simply type your text, choose a bold font, and add a rectangle or rounded rectangle behind it. Use the “Modify” panel to weld the shapes together, then apply the offset. For multi‑color designs, you can create separate layers and turn on “Print & Cut” for the whole sheet. Remember, the more complex your design, the more important it is to test‑cut (see Section 5).
2.3 Importing SVG Files and Using Cut‑by‑Color
Love those intricate monster or floral SVG designs you see on Etsy? You can import them directly into Silhouette Studio and use the “Cut by Line Color” feature to assign different actions (cut, score, draw). This is especially helpful when you want to make kiss‑cut sticker sheets where some elements are cut all the way through and others are just kiss‑cut. If you want to learn how to create your own SVGs and turn them into a profitable business, don’t miss our guide on the most profitable craft niches of 2026 – it’s packed with ideas you can start this weekend.

3. Setting Up Registration Marks and Print Lines
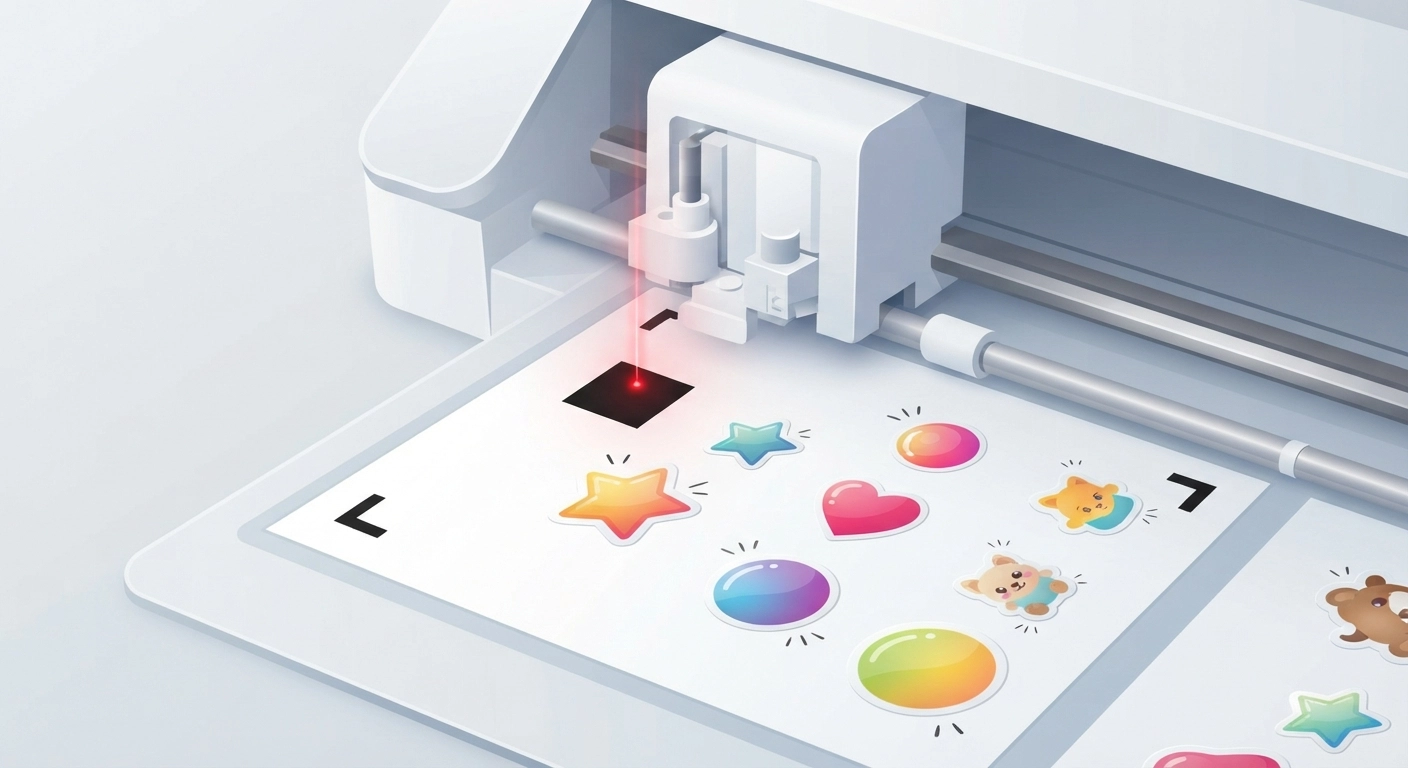
This is the step that separates the pros from the “why does my Silhouette cut everything wrong?” crowd. Registration marks are those black little squares your machine looks for to align the blade with your printed artwork. Get them right, and you’ll have perfect cuts every time. Get them wrong, and your stickers will look like they were chewed by a toddler.
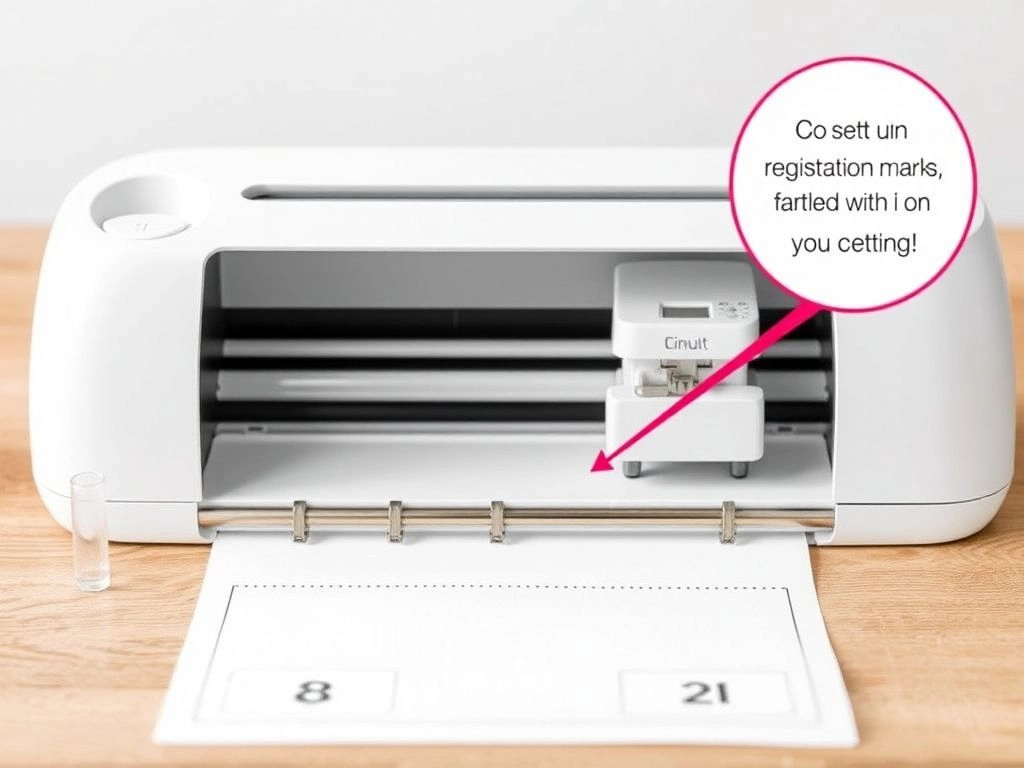
To activate them: In the Page Setup panel, click the third tab (Registration Marks) and choose “On.” I always use the “Cameo” style. Keep your design at least an inch away from the marks and from the edge of the page – the machine needs that clear space to scan.
One thing I learned the hard way: if you’re printing on glossy sticker paper, the scanner can’t always read the marks because of the glare. A strip of matte Scotch tape right over the printed registration marks solves the glare issue instantly. For even more precision, you can manually calibrate registration in the Send panel. The 2026 Silhouette Studio updates have made automatic detection much smarter, but I still recommend a quick calibration test whenever you change paper type.

4. Mastering the Print Settings for Vibrant Results
Your stickers will only look as good as your print. I once used “Economy” mode on my printer to save ink and ended up with pale, washed‑out colors that looked nothing like the screen. Now I follow this exact sequence.
First, go to File > Print and select your printer. In the printer properties, choose:
- Paper type: Match it to your sticker paper – “Matte Photo Paper” for matte labels, “Premium Glossy” for glossy.
- Quality: Select “Best” or “High Quality” to increase dpi. Most sticker papers handle up to 4800 dpi, but 1200 dpi is usually enough for sharp details.
- Color management: Enable ICM color matching and let the printer manage colors. This avoids weird color shifts when switching paper brands.
Also, before printing the full sheet, do a black‑and‑test print on plain paper to verify alignment with the registration marks. Hold the test print up against the actual sticker paper to make sure nothing shifted. This one habit has saved me literally hundreds of sheets of expensive material.
5. Cutting with Precision: Blade Types, Settings, and Test Cuts
So you’ve printed a gorgeous sheet filled with custom stickers. Now the big moment: cutting. I can’t stress this enough—always perform a test cut. Even if you’ve used the exact same material before, humidity and temperature can change how the paper behaves.
5.1 Blade Depth, Force, Speed, and Passes
For most sticker papers, my go‑to settings on the Cameo 4 are:
| Parameter | Matte Paper | Printable Vinyl | Laminate‑Covered Paper |
|---|---|---|---|
| Blade Type | AutoBlade (ratchet) | AutoBlade | Craft Blade (deeper) |
| Depth | 2 – 3 | 3 – 4 | 4 – 5 |
| Force | 10 – 12 | 13 – 15 | 15 – 18 |
| Speed | 5 – 8 | 5 | 3 – 4 |
| Passes | 1 | 1 | 2 |
If your blade is new, start with a lower force and increase until you get a clean cut that doesn’t slice through the backing. A trick I use: draw a small 0.5‑inch circle in a unused corner of your sheet and send just that shape as a test. If you can lift the circle easily without tearing the backing, you’re at the perfect kiss‑cut setting.
5.2 Kiss Cut vs. Die Cut Explained
A kiss cut cuts only through the sticker layer, leaving the backing intact. This is what you want for sticker sheets where people peel off each shape. A die cut cuts through both the sticker and the backing, giving you individual decals. Many of my students ask “how to make stickers with silhouette cameo that look like store‑bought sheets?” – the answer is kiss‑cut, every time. In the Cut Settings window, you can assign kiss‑cut lines (red) to the outer edge of each sticker and a heavier cut‑through line (red with higher force) if you want to outline the whole sheet.

6. Laminating and Waterproofing Your Stickers (Optional but Recommended)
If you plan to sell your stickers or use them on water bottles, journals that get tossed in a bag, or car windows, laminating is the best investment you can make. I personally use cold‑laminate rolls because they don’t require heat (which can warp your sticker paper) and they drastically reduce color fading.
Here’s my quick workflow: after printing but before cutting, apply a sheet of cold‑laminate film over the entire printed page. Use a squeegee to push out bubbles. Then place the laminated sheet back on the cutting mat and let the Silhouette cut through both the laminate and sticker paper. Yes, you’ll need to increase the blade depth and possibly add a second pass, but the result is a fully waterproof, scratch‑resistant sticker that looks high‑end. (Learn more about selling waterproof decals in our custom vinyl decals business guide.)
6.1 Hot vs. Cold Laminate
Hot pouches can give a truly professional glass‑like finish, but they’re trickier with inkjet prints because the heat can cause the ink to bleed or the paper to curl. Cold laminate applied with a bit of pressure works beautifully and is more forgiving for beginners. Whichever you choose, always trim a tiny edge of the laminate away from the registration marks so the scanner can read them cleanly – missed marks are the number one reason laminated sheets fail to cut correctly.
7. Weeding, Peeling, and Sticker Sheet Assembly
After cutting, resist the urge to yank the entire sheet off the mat. Instead, gently lift each sticker’s excess border (the “weed” part) using your hook tool. I start from a corner where there’s plenty of empty space. If the paper tears and leaves a tiny sliver on the backing, that’s usually a sign your blade is a touch too deep – refer back to your test cut settings.
Once you’ve weeded the negative space, carefully peel each finished sticker or leave them on the backing as a sheet. To create a professional‑looking A6 sticker sheet, I like to add a decorative border and score lines in Silhouette Studio, then snap the sheet to size. You can also package them with a pretty topper and cellophane sleeve for an Etsy‑ready product. If you’re looking to turn this hobby into a side hustle, check out our curated list of easy Cricut projects to sell – many of the sales strategies apply to Silhouette stickers too.
8. Troubleshooting Common Silhouette Sticker Problems
Over the years, I’ve fielded hundreds of panicked messages from crafters. Here are the top five issues and exactly how I fix them.
8.1 “My Silhouette doesn’t read registration marks”
This is the mother of all Print & Cut headaches. First, check the paper isn’t glossy where the laser scans. If it is, apply matte tape. Second, make sure the room lighting isn’t casting a shadow over the scanner – close the lid or dim the lights. Third, recalibrate the sensor in the Send panel. Lastly, verify you haven’t accidentally placed the paper skewed on the mat; even a 1‑millimeter tilt can confuse the sensor. (Silhouette America’s official troubleshooting guide recommends wiping the scanner head with a dry cloth too – a tip that saved me more than once.)
8.2 Blades tearing the sticker paper
If the paper lifts or tears, your blade is too sticky or your cutting speed is too high. Clean the blade by gently pushing it into a ball of aluminum foil (this removes adhesive residue). Slow the speed to 3 and see if that helps. Also check that your mat is reasonably fresh; a worn‑out mat won’t hold the paper flat during cutting.
8.3 Colors look different after printing
Inkjet printers and Silhouette Studio can argue about color profiles. Try printing directly from Silhouette Studio but use “Let application control color” in your printer dialog and pick the appropriate paper type. Calibrating your monitor and using high‑quality brand‑name ink (not third‑party refills) makes a surprising difference. I also recommend ordering a few different paper samples from OnlineLabels or similar to find the one that renders your brand colors truly without a yellowish cast.
8.4 The cut is slightly off–center
If the cut shifts by a millimeter on one side of the sheet, the most likely culprit is print scaling. In the print dialog, ensure you’re printing at “Actual Size” or 100% scale, not “Scale to Fit.” Additionally, double‑check that your design stays within the grid boundaries (0.5‑inch margin inside the registration marks) so the machine doesn’t have to search too far.
8.5 Stickers peel off after a few days
The adhesive on some economic sticker papers just isn’t strong enough. For notebooks or planners, switch to a permanent adhesive label stock. For outdoor applications, printable vinyl with an over‑laminate is the gold standard. I’ve also found that gently wiping the application surface with rubbing alcohol removes oils and helps stickers stick better – a simple trick that doubles durability.
Time to Sell Your Stickers – Or Just Enjoy Them!
Now that you know exactly how to make stickers with silhouette cameo, you can produce endless amounts of custom decals for friends, clients, or even an Etsy shop. The beauty of this craft is that once you dial in your settings, you can batch‑print dozens of sheets an hour. And with the 2026 sticker market expected to grow by over 8% (according to recent industry reports), there’s never been a better time to start. If you’re curious about which niche makes the most money, don’t miss our breakdown of the most profitable craft niches – it includes a whole section on stickers and labels.
Still on the fence about which cutting machine to invest in? Our honest Cricut Joy vs Maker 3 comparison might help you decide whether the Cameo is the right fit for your small home studio. But if you already own a Cameo, start small: make a sheet of motivational stickers for your water bottle today. Your first perfect kiss‑cut sheet is closer than you think.
Frequently Asked Questions (FAQ)
What do I need to make stickers with Silhouette Cameo?
You’ll need a Silhouette Cameo (any model), a computer with Silhouette Studio installed, a printer, sticker paper or printable vinyl, a cutting mat, and a weeding tool. Optional supplies include laminating film for waterproof stickers and a brayer to secure the paper to the mat.
Can I make waterproof stickers with the Silhouette Cameo?
Yes! Use printable vinyl and apply a cold‑laminate sheet over the printed page before cutting. Increase blade depth so the machine cuts through both layers. This creates durable, weather‑resistant stickers perfect for tumblers, cars, and outdoor gear.
Why won’t my Silhouette read the registration marks on glossy paper?
The laser sensor struggles with glare. Place a small piece of matte Scotch tape directly over each printed registration mark, or close the machine’s lid to reduce ambient light. Recalibrating the sensor in the Send panel also helps.
Is a Silhouette Cameo better than a Cricut for stickers?
Both machines can make stickers, but the Cameo’s Print & Cut registration is often considered more accurate for large sticker sheets, and its software allows kiss‑cut and die‑cut lines in one pass. For a detailed comparison of Cricut models, see our Cricut Joy vs Maker 3 guide.
What is the difference between kiss cut and die cut stickers?
A kiss cut slices through only the sticker layer, leaving the backing intact – ideal for sticker sheets. A die cut cuts through both sticker and backing, creating separate stickers. Silhouette Studio lets you assign both kinds of cuts to different elements of your design.
How do I stop my sticker paper from tearing during weeding?
Reduce either the blade depth or the cutting force by 1–2 points and perform a new test cut. Also ensure your cutting mat is clean and sticky enough to hold the paper firmly, and use a sharp weeding tool to gently lift the excess.
Can I sell stickers made with a Silhouette Cameo?
Absolutely! Many crafters build profitable businesses selling custom sticker sheets on Etsy and at craft fairs. For more money‑making craft ideas, visit our list of easy Cricut projects to sell – the same principles apply to your sticker venture.