long lasting homemade playdough: 7 Proven Steps to Make It Last Months in 2026

- long lasting homemade playdough: 7 Proven Steps to Make It Last Months in 2026
- 📋 Key Takeaways
- Table of Contents
- The Science Behind long lasting homemade playdough
- Why Cream of Tartar is the Secret Ingredient
- The Role of Salt in Preservation
- Boiling Water vs. Cold Water Methods
- Essential Ingredients and Tools You Need
- The Core Dry Ingredients
- The Wet Ingredients
- Recommended Kitchen Tools
- Step-by-Step Recipe for the Best Dough
- Step 1: Mixing the Dry Components
- Step 2: Adding the Wet Elements
- Step 3: The Kneading Process
- Customizing Your Dough: Colors and Scents
- Natural vs. Artificial Food Coloring
- Adding Essential Oils for Sensory Play
- Glitter and Texture Add-ins
- Pro Tips for Storing and Maximizing Shelf Life
- The Airtight Container Rule
- Fridge vs. Room Temperature Storage
- Hand Washing Before Play
- Troubleshooting Common Dough Disasters
- How to Fix Crumbly or Dry Dough
- What to Do If It Gets Too Sticky
- Dealing with Salt Crystals
- Turning Your Playdough into a Profitable Side Hustle
- Packaging and Branding Ideas
- Pricing Your Sensory Kits
- Conclusion
- Frequently Asked Questions
- How long does homemade playdough actually last?
- Can I make this dough without cream of tartar?
- Is this homemade playdough edible?
- Why is my playdough sweating in its container?
- Can I bake this playdough to make permanent ornaments?
- What kind of oil is best for playdough?
Picture this: It is a rainy Tuesday afternoon, the kids are getting restless, and you finally pull out those little yellow tubs of store-bought dough you bought a few weeks ago. You pop the lid off, only to find a crumbly, rock-hard mess that crumbles all over the carpet. Frustrating, right? That exact scenario is exactly why mastering the art of a long lasting homemade playdough is an absolute game-changer for parents, educators, and DIY crafters alike. When you make it yourself using the right scientific balance of ingredients, you are not just saving money; you are creating a superior, buttery-soft sensory experience that can literally survive for over six months without drying out.
The secret to perfect long lasting homemade playdough isn’t just throwing flour and water into a bowl and hoping for the best. It requires a specific methodology—a magical combination of heat, preservatives, and proper storage techniques. Whether you want to create a calming lavender-scented batch for bedtime sensory play, or you are looking to package and sell beautiful playdough kits online, this comprehensive guide will walk you through every single detail. By the end of this tutorial, you will never go back to the store-bought stuff again.
📋 Key Takeaways
- A true long lasting homemade playdough relies heavily on cream of tartar and high salt content to prevent mold and maintain a squishy texture.
- Using boiling water rather than cold water cooks the starches in the flour, resulting in a much smoother and more durable dough.
- Proper storage in airtight containers away from direct sunlight can extend the shelf life of your dough to 6 months or more.
- Customizing your dough with essential oils and natural dyes adds immense sensory value and creates a premium product if you plan to sell it.
- Troubleshooting is easy: you can revive slightly dry dough with a few drops of warm water and oil, or fix sticky dough by kneading in extra flour.
The Science Behind long lasting homemade playdough
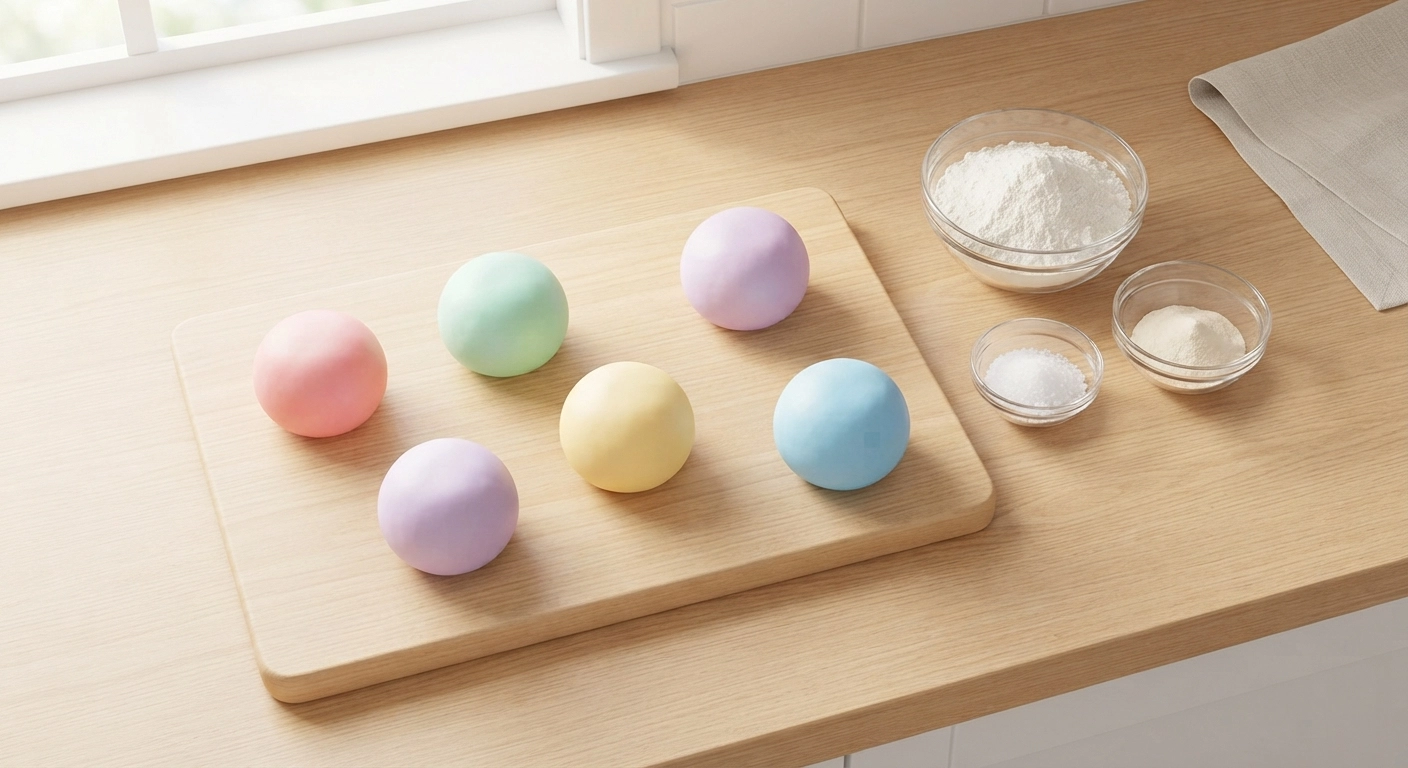
Let’s dive into the chemistry of why some doughs last a week and others last half a year. Creating a long lasting homemade playdough is actually a fascinating science experiment happening right in your kitchen. When you mix these specific ingredients and apply heat, you are causing a chemical reaction that fundamentally changes the structure of the flour.
Why Cream of Tartar is the Secret Ingredient
If there is one rule you must never break, it is this: do not skip the cream of tartar. Potassium bitartrate, commonly known as cream of tartar, is an acidic byproduct of the winemaking process. In baking, it stabilizes egg whites. But in playdough? It is the ultimate texture enhancer and preservative. The acid in the cream of tartar relaxes the gluten proteins in the flour, preventing the dough from becoming rubbery or snapping when stretched. Furthermore, this acidic environment makes it highly inhospitable for mold and bacteria to grow, which is the primary reason your long lasting homemade playdough can survive for months on a shelf.
The Role of Salt in Preservation
You might look at the recipe later and think, “Wow, that is a massive amount of salt!” Do not reduce it. Salt is one of the oldest preservatives known to human history. By drawing moisture out of potential microbial cells through osmosis, salt prevents your beautiful dough from turning into a fuzzy science experiment. According to the historical science of salting, high sodium environments inhibit bacterial growth completely. In the context of our dough, it also adds a slight grainy texture initially that melts down into a perfectly smooth consistency once the boiling water hits it.
Boiling Water vs. Cold Water Methods
There is a massive debate in the DIY crafting community about no-cook versus cooked playdough. Let me save you the trouble of experimenting: the boiling water method wins every single time. When you pour boiling water over the flour mixture, you are gelatinizing the starches. This means the starch granules absorb the water, swell, and burst, creating a cohesive, stretchy matrix. Cold water simply mixes the ingredients into a paste, which will inevitably dry out and crumble within days. For a truly long lasting homemade playdough, heat is non-negotiable.
Essential Ingredients and Tools You Need
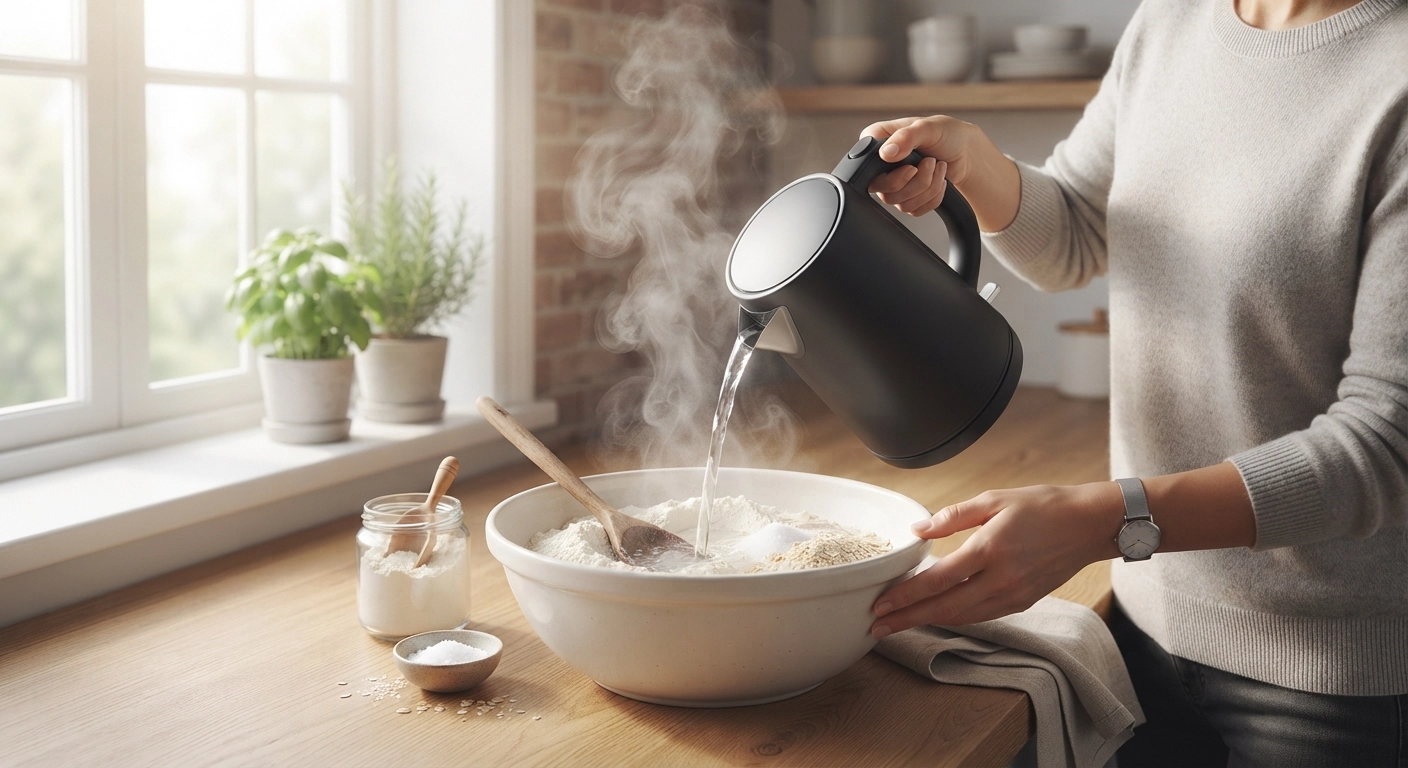
Before you start boiling water and getting your hands messy, you need to gather your supplies. The beauty of this project is that you probably already have 90% of these items sitting in your pantry. Let’s break down exactly what you need to create the ultimate long lasting homemade playdough.
The Core Dry Ingredients
Precision is key here. While cooking is often an art, making playdough is closer to baking—it requires exact ratios. You will need:
- All-Purpose Flour (2 cups): Do not use self-raising flour or bread flour. Standard, cheap all-purpose flour has the exact protein content we need.
- Table Salt (1 cup): Opt for fine table salt. Coarse sea salt or Himalayan pink salt will not dissolve properly and will leave your dough feeling like sandpaper.
- Cream of Tartar (2 tablespoons): Buy this in bulk if you plan on making multiple batches. The tiny grocery store spice jars are too expensive for bulk crafting.
The Wet Ingredients
The liquids are what bring the magic together and give the dough its signature squish.
- Boiling Water (1.5 to 2 cups): Start with 1.5 cups and keep a little extra on standby. Flour absorbs moisture differently depending on the humidity in your home.
- Vegetable Oil (2 tablespoons): You can use canola oil, vegetable oil, or even coconut oil. The oil acts as a lubricant, giving the dough a shiny finish and keeping it from sticking to your hands. Coconut oil is fantastic because it adds a subtle, sweet scent and contains natural antimicrobial properties.
Recommended Kitchen Tools
You do not need fancy equipment, but having the right tools makes the process seamless. Grab a large, heat-proof mixing bowl (glass or ceramic is best). You will also need a sturdy wooden spoon—the dough gets incredibly thick and heavy, and a flimsy plastic spatula might snap. Finally, have a silicone baking mat or a clean, non-porous countertop ready for the kneading phase.
If you love making things from scratch and want to expand your crafting repertoire, you might also enjoy learning how to make easy scented candles. The process of measuring, pouring, and scenting is remarkably similar and just as satisfying!
Step-by-Step Recipe for the Best Dough
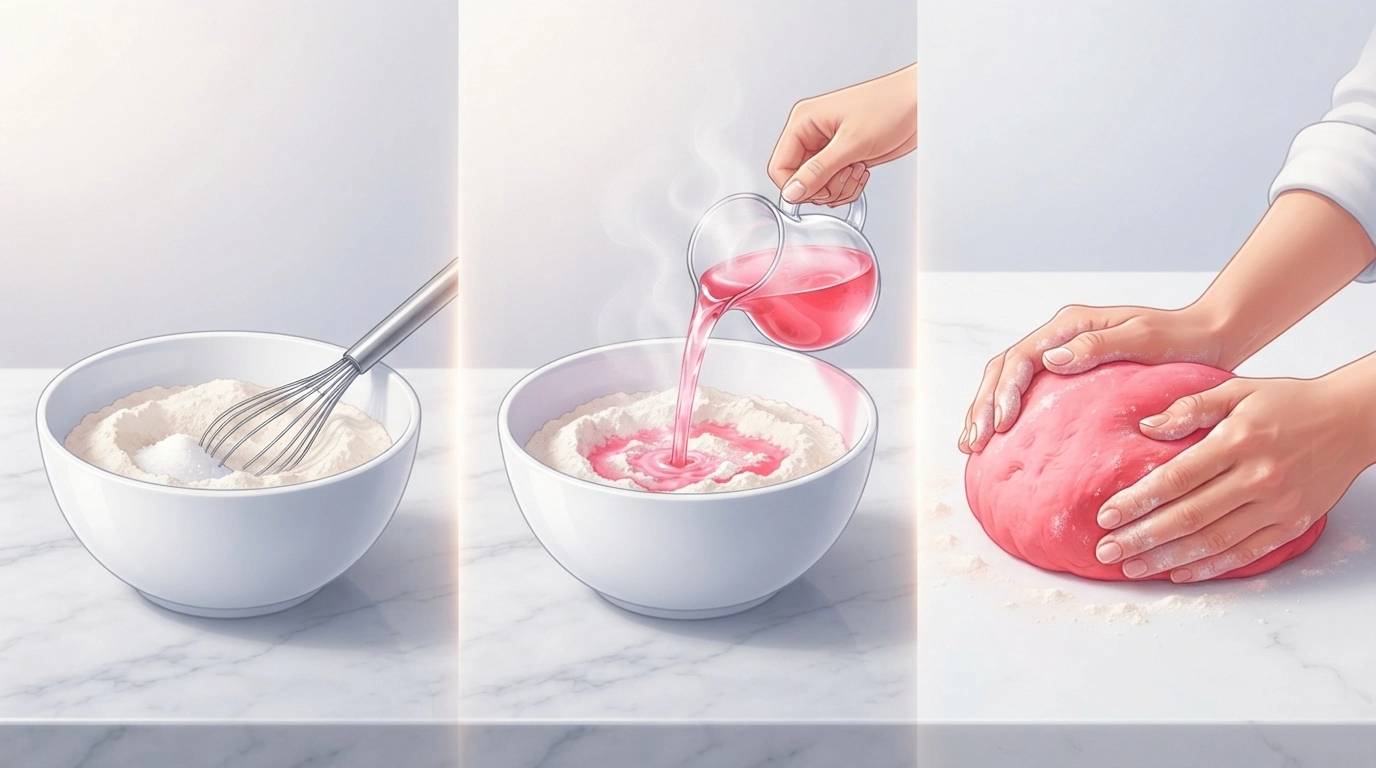
Now for the fun part. Clear off your counters, put on an apron (flour has a way of getting everywhere), and let’s make some magic. Follow these steps precisely, and I guarantee you will end up with the softest, most long lasting homemade playdough you have ever touched.
Step 1: Mixing the Dry Components
Start by measuring your 2 cups of all-purpose flour, 1 cup of fine table salt, and 2 tablespoons of cream of tartar into your large mixing bowl. Take a whisk and blend these dry ingredients together thoroughly. This is a crucial step. If the cream of tartar isn’t distributed evenly, you will end up with pockets of dough that are rubbery while other parts are soft. Whisking also aerates the flour, which helps it absorb the water more efficiently later on.
Step 2: Adding the Wet Elements
Boil your water. In a separate heat-proof measuring jug, measure out 1.5 cups of the boiling water. If you are using liquid food coloring, add it to the water now! Mixing the color into the water ensures a perfectly even, streak-free dough. Add your 2 tablespoons of oil into the hot colored water as well.
Slowly pour the hot liquid mixture into the center of your dry ingredients. Take your sturdy wooden spoon and begin to stir vigorously. It will look like a sticky, clumpy, hot mess at first. Do not panic. This is exactly how it is supposed to look. Keep stirring until the dough starts to pull away from the sides of the bowl and forms a rough, shaggy ball.
Step 3: The Kneading Process
Once the dough has cooled just enough to touch safely (usually about 3-5 minutes), turn it out onto your clean counter or silicone mat. Now, you must knead. Kneading is what aligns the gluten strands and transforms the shaggy mess into a silky-smooth masterpiece. Push the dough away from you with the heel of your hand, fold it over, give it a quarter turn, and repeat.
Knead for at least 3 to 5 minutes. If the dough feels a bit too sticky, dust your surface with a tiny pinch of flour. If it feels too stiff, dip your fingers in warm water and knead the moisture in. By the end of this process, your long lasting homemade playdough should feel incredibly soft, pliable, and non-sticky.
Customizing Your Dough: Colors and Scents
While plain white dough is fine, the real joy of a long lasting homemade playdough lies in the customization. Creating a multi-sensory experience engages different parts of the brain, making playtime much more beneficial for childhood development. Here is how you can elevate your basic recipe.
Natural vs. Artificial Food Coloring
For vibrant, eye-popping colors, gel food coloring is unmatched. Unlike liquid food drops, gel colors are highly concentrated, meaning you only need a tiny toothpick swirl to achieve a deep, rich hue without throwing off the liquid ratio of your dough.
However, if you prefer an all-natural approach, you can easily dye your dough using items from your pantry. Turmeric powder creates a brilliant sunshine yellow. Beetroot powder or boiled beet juice yields a gorgeous earthy pink. Matcha powder gives a lovely muted green. Keep in mind that natural powders should be whisked into the dry ingredients in Step 1, while natural liquid dyes should replace a portion of your boiling water in Step 2.
Adding Essential Oils for Sensory Play
Scent transforms standard playdough into a therapeutic tool. Adding 5-8 drops of essential oil during the kneading phase can create completely different play experiences. Lavender or chamomile oils are perfect for a “calm down” dough before bedtime. Sweet orange or lemon oils are uplifting and great for morning activities. Peppermint oil can even help clear nasal passages during cold and flu season.
Safety Note: Always ensure you are using high-quality, skin-safe essential oils, and verify that they are safe for children if kids will be playing with the dough.
Glitter and Texture Add-ins
Want to make a “galaxy” dough? Knead in some eco-friendly, biodegradable glitter. Looking to create a “construction site” dough for toy trucks? Add a few tablespoons of dry coffee grounds or fine sand to the finished dough for a gritty, realistic dirt texture. The possibilities are endless. Just remember that adding organic matter (like dried flower petals) might slightly reduce the lifespan of your long lasting homemade playdough, as they can introduce moisture and bacteria over time.
Pro Tips for Storing and Maximizing Shelf Life
You have put in the effort to make the perfect batch. Now, how do you make sure it actually lasts? The term long lasting homemade playdough is only accurate if you follow strict storage protocols. Exposure to air and dirty hands are the two biggest enemies of your dough.
The Airtight Container Rule
Air is what causes the moisture in the dough to evaporate, leaving you with a crumbly rock. The moment playtime is over, the dough must go into a 100% airtight container. Ziploc bags work well if you squeeze absolutely all the air out before sealing. However, heavy-duty plastic or glass containers with rubber-gasket snap lids are superior. If you are using containers, try to use a size that perfectly fits the ball of dough so there is minimal empty air space inside the container.
Fridge vs. Room Temperature Storage
Should you refrigerate playdough? The short answer is: you don’t have to, but it helps. Because this recipe contains so much salt and cream of tartar, it is perfectly safe to store in a cool, dark cupboard at room temperature. It will easily last 3-4 months this way.
However, if you live in a very hot or humid climate, storing the dough in the refrigerator can extend its life to over 6 months. Cold temperatures slow down any potential bacterial growth. Just remember to take it out about 20 minutes before playtime, as the cold dough will be quite stiff until it warms up in your hands.
Hand Washing Before Play
This is a rule that is often overlooked. The primary reason homemade playdough goes bad is that dirt, food crumbs, and bacteria from unwashed hands get kneaded into the dough during play. Make it a strict household rule: hands must be washed with soap and water and dried completely before touching the dough. This simple habit will double the lifespan of your long lasting homemade playdough.
Troubleshooting Common Dough Disasters
Even with a foolproof recipe, environmental factors like humidity and altitude can sometimes throw things off. Do not throw a weird batch in the trash! Almost any playdough issue can be fixed with a little know-how.
How to Fix Crumbly or Dry Dough
If you open your container after a few weeks and find the dough has become slightly dry or crumbly, it is just dehydrated. Flatten the dough out on your counter. Wet your hands under the tap, and shake off the excess water. Knead the dough with your damp hands. If it needs more, add exactly half a teaspoon of warm water and a single drop of oil, and knead vigorously. Within two minutes, it will be back to its original silky state.
What to Do If It Gets Too Sticky
Sticky dough usually happens if you live in a very humid environment or if you accidentally added too much water. The fix is simple: dust your work surface with a tablespoon of all-purpose flour and knead it into the dough. Keep adding flour one teaspoon at a time until the stickiness disappears. Be patient and knead thoroughly before adding more flour, as it takes a minute for the flour to absorb the excess moisture.
Dealing with Salt Crystals
Sometimes, after a few months, you might notice tiny white crystals forming on the outside of your dough. This is not mold! It is simply the salt crystallizing as microscopic amounts of surface moisture evaporate. It is completely harmless. Just knead the dough for a minute or two, and the warmth and moisture from your hands will dissolve the salt crystals right back into the dough.
Turning Your Playdough into a Profitable Side Hustle
Here is where things get really exciting. Because this long lasting homemade playdough recipe is so incredibly durable and high-quality, it presents a fantastic business opportunity. Sensory play kits are incredibly popular on platforms like Etsy, and parents are always willing to pay for aesthetic, ready-to-play educational toys.
Packaging and Branding Ideas
To sell your dough, presentation is everything. Package your dough in clear, eco-friendly PET plastic jars with aluminum screw-top lids. Create themed sensory kits. For example, a “Dinosaur Dig” kit could include brown chocolate-scented dough, some plastic dinosaur figures, smooth river rocks, and a tiny wooden rolling pin.
You will need beautiful, professional labels for your jars. You do not need to hire a graphic designer for this. You can easily learn how to make easy printables using Canva to design stunning, custom labels and care instruction cards to include in your shipping boxes.
Pricing Your Sensory Kits
Pricing handmade goods can be tricky. You need to account for the cost of ingredients, the jars, the toys included in the kit, and your time. While the dough itself costs pennies to make, the value lies in the curation and the sensory experience you are providing. If you are serious about turning this into a business, I highly recommend reading our comprehensive guide on how to price your DIY crafts for Etsy to ensure you are actually making a healthy profit margin.
Additionally, if you want to explore other avenues of generating income from your crafting skills, check out our list of DIY crafts to make and sell for even more inspiration to grow your homemade empire.
Conclusion
Creating your own long lasting homemade playdough is a remarkably simple yet rewarding process. By understanding the science of cream of tartar and salt, utilizing the boiling water method, and following proper storage techniques, you can say goodbye to the frustration of dried-out, store-bought dough forever. Whether you are making it for your own children, using it in a classroom, or building a profitable sensory kit business, this recipe is the only one you will ever need.
The beauty of DIY is that it puts the control back in your hands. You choose the colors, you choose the scents, and you control the quality. So grab your mixing bowl, put the kettle on, and start creating. If you are looking to expand your DIY business even further, don’t forget to explore how to make digital planners to sell—another fantastic side hustle that pairs beautifully with a creative mindset!
Frequently Asked Questions
How long does homemade playdough actually last?
When made correctly with cream of tartar and salt, and stored in an airtight container, long lasting homemade playdough can easily last for 3 to 6 months. Keeping it in the refrigerator can extend its lifespan even further, sometimes up to 8 months. Always check for any off smells or mold before play, just to be safe.
Can I make this dough without cream of tartar?
You can, but it will not be nearly as long-lasting or soft. If you are in an absolute pinch, you can substitute the cream of tartar with 2 tablespoons of lemon juice or white vinegar. However, the texture will be slightly different, and the shelf life will be reduced to about 1-2 months.
Is this homemade playdough edible?
Technically, all the ingredients (flour, salt, water, oil, cream of tartar) are food-grade and non-toxic. However, the dough is absolutely not meant to be eaten. The extremely high salt content makes it taste terrible and can be dangerous if consumed in large quantities by small children or pets.
Why is my playdough sweating in its container?
If you see condensation or “sweat” inside your container, it means you sealed the dough inside before it was completely cool. The residual heat caused moisture to evaporate and get trapped. Simply take the dough out, knead it for a minute to reincorporate the moisture, let it cool entirely, and put it back.
Can I bake this playdough to make permanent ornaments?
No, this specific recipe is designed to stay soft and pliable. If you try to bake it, it will puff up, crack, and look terrible. If you want to make hard ornaments or handprint keepsakes, you should use a traditional salt dough recipe (which contains no oil or cream of tartar) instead.
What kind of oil is best for playdough?
Standard vegetable oil or canola oil works perfectly and is very cost-effective. However, many crafters swear by fractionated coconut oil or baby oil for a softer feel and pleasant scent. Just be aware that using baby oil means the dough is no longer made of strictly food-grade ingredients.