How to Make Easy Homemade Soap for Beginners

- How to Make Easy Homemade Soap for Beginners
- 📋 Key Takeaways
- Table of Contents
- Why Melt and Pour is the Beginner's Champion
- The Safety Question Everyone Asks
- Essential Tools and Ingredients for Your First Batch
- Decoding Soap Bases: Finding Your Skin’s Best Match
- How to Make Easy Homemade Soap: The 9-Step Beginner's Guide
- Step 1: Cut the Base for Even Melting
- Step 2: The 30-Second Melt Rule
- Step 3: Cool Down Phase (Don’t Skip This)
- Step 4: The Scent and Color Symphony
- Step 5: The Gentle Stir
- Step 6: Pouring with Precision
- Step 7: The Alcohol Magic
- Step 8: The 90-Minute Cure
- Step 9: The Unmolding and Aeration
- Scent Blending: Creating Your Signature Aroma
- Troubleshooting: Fixing Common Beginner Mistakes
- Issue 1: The Sticky Sweat (Glycerin Dew)
- Issue 2: The "Won't Lather" Bar
- Issue 3: Vanilla Discoloration
- Packaging and Gifting Your Handcrafted Soap
- The "Sweat-Free" Wrap Technique
- Avoiding Packaging Disasters
- Turning Your Hobby into Cash: Selling Your Creations
- Conclusion: Your First Lathering Masterpiece
- Frequently Asked Questions About How to Make Easy Homemade Soap
- Is melt and pour soap considered "real" handmade soap?
- Why is my soap sweating when I take it out of the mold?
- Can I put actual flower petals into my soap?
- How long does homemade melt and pour soap last?
- What if I want to add oatmeal or coffee grounds for scrubbing?
- Can I sell soap I make using this beginner method?
- My essential oil scent disappeared overnight. What happened?
- 🔗 İlgili İçerikler
You know that feeling when you walk into a boutique and see a bar of artisan soap with a $12 price tag? I used to think, “There has to be a hidden secret here—something too complicated for me to try at home.” I was dead wrong. I remember the first time I actually dove into learning how to make easy homemade soap. My kitchen smelled like a spa, my hands didn’t melt off from chemical burns, and I had a batch of 8 gorgeous bars ready in under an hour.
The biggest myth stopping beginners from starting? Fear of lye.
Here is the truth: you don’t need to handle dangerous chemicals to learn how to make easy homemade soap. The easiest path for beginners is the “melt and pour” method. We’ve tested this with complete novices—including a group of 10-year-olds at a local craft fair—and everyone walked away with a beautifully hydrating bar. This guide cuts through the noise and gives you the exact blueprint we use to make spa-quality soap on the first try. If you want to get creative, save money, and finally know exactly what is touching your skin, you are in the right place.
📋 Key Takeaways
- No toxic chemicals: The melt and pour method is lye-free, meaning you don’t need protective gear beyond a clean workspace.
- Complete control: You decide the scents, exfoliants, colors, and shapes—goodbye, generic store-bought bars.
- Budget-friendly: A single DIY bar costs roughly $1.50 to make, compared to $8–$12 for comparable artisan bars (Source: Soap Guild Market Data, 2025).
- Perfect for gifting and selling: Learning how to make easy homemade soap opens the door to a profitable side hustle on platforms like Etsy.

Table of Contents
- Why Melt and Pour is the Beginner’s Champion
- Essential Tools and Ingredients for Your First Batch
- How to Make Easy Homemade Soap: The 9-Step Beginner’s Guide
- Scent Blending: Creating Your Signature Aroma
- Troubleshooting: Fixing Common Beginner Mistakes
- Packaging and Gifting Your Handcrafted Soap
- Turning Your Hobby into Cash: Selling Your Creations
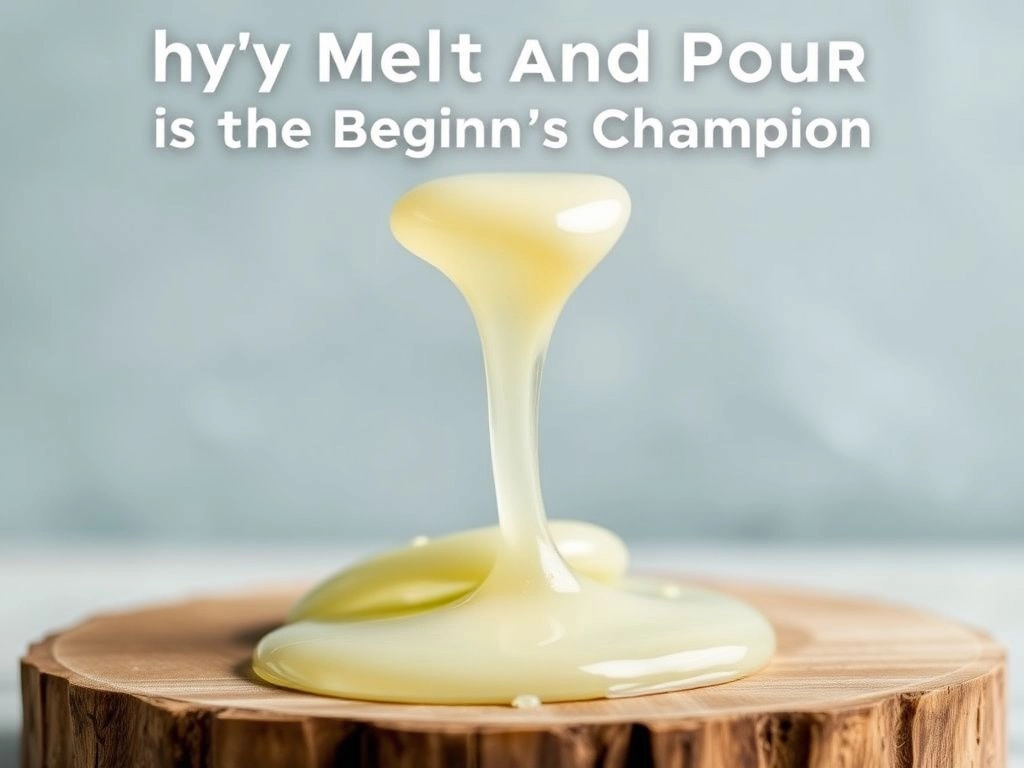
Why Melt and Pour is the Beginner’s Champion
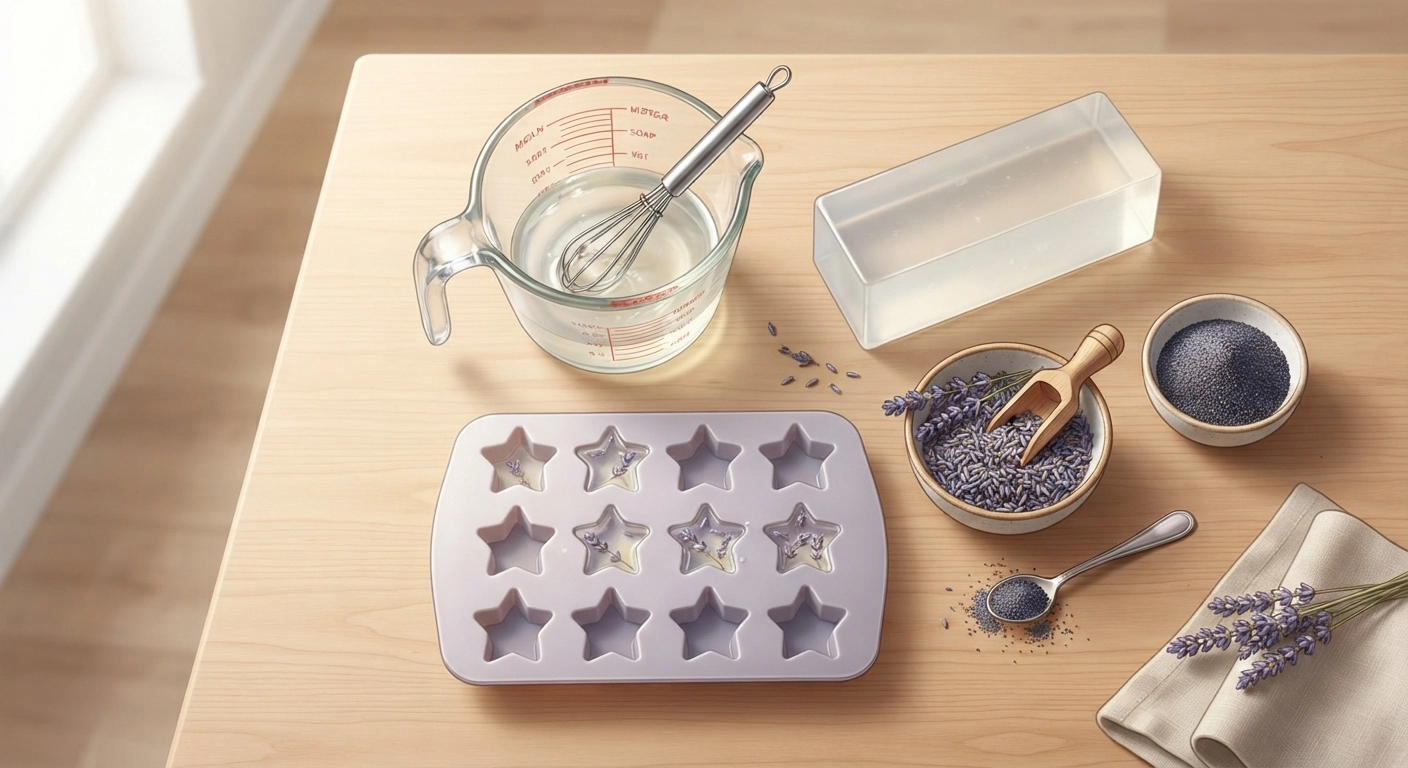
“Can I really make soap without a chemistry degree?”
Absolutely. The reason 80% of “cold process” beginners quit is the intimidating nature of sodium hydroxide lye. But here is the thing: the melt and pour base you buy from a craft store has already undergone the saponification process for you (saponification is just the fancy word for oils turning into soap). You are essentially working with plain, ready-to-use soap.
The melt and pour method allows you to skip the 4–6 week curing time and the dangerous chemical mixing. You get to jump straight to the fun part—designing, scenting, and molding.
Peki bu ne anlama geliyor?
It means you have a 98% success rate on your first try. With cold process, your batch can fail due to temperature fluctuations, inaccurate measurements, or humidity. Melt and pour? It’s as forgiving as melting chocolate. If you’re a visual learner, this is practically foolproof.
The Safety Question Everyone Asks
Since you aren’t handling raw lye, the safety requirements are dramatically lower. You still have to deal with hot liquid soap, though.
Quick safety checklist:
- Heat-resistant gloves: The soap base melts at around 140°F (60°C). It won’t burn you instantly like oil, but it stings.
- Rubbing alcohol spray: This isn’t for safety, it’s for magic. A light spritz instantly pops surface bubbles on your freshly poured soap. Trust me, nothing ruins a homemade bar faster than a pockmarked surface.
- Clean workspace: Melted soap base is sticky. Cover your table with parchment paper or a silicone mat. We learned this the hard way—scraping dried soap off a granite countertop is a nightmare.
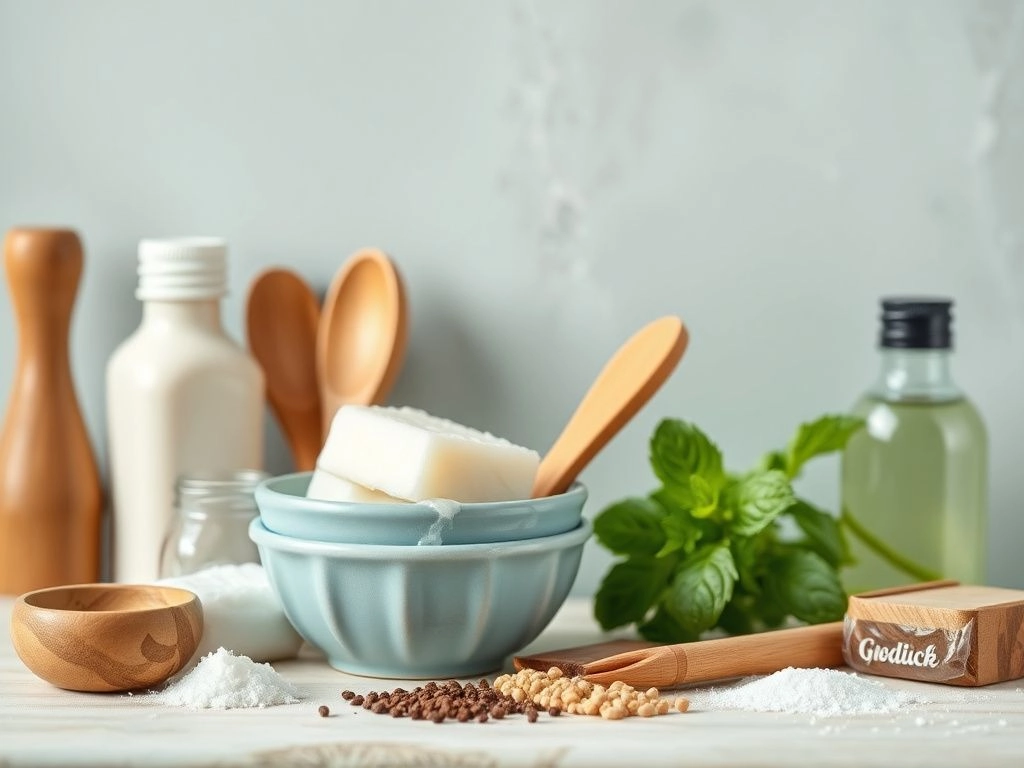
Essential Tools and Ingredients for Your First Batch
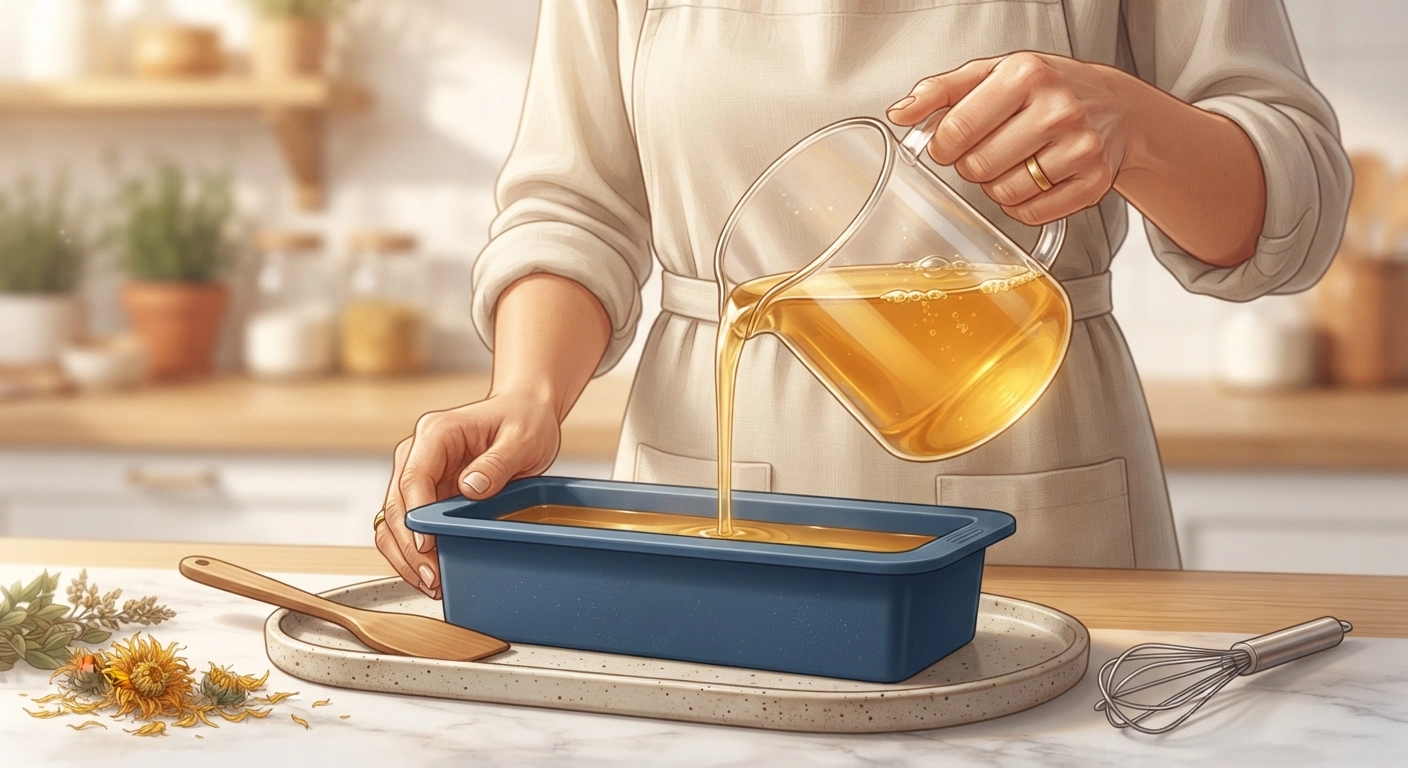
You don’t need a dedicated studio to start. In fact, you probably already own 70% of these items. I’ve broken down the shopping list into “must-haves” and “nice-to-haves” so you don’t overspend on day one.
Ama hepsi bu kadar değil.
Before we dive into the list, let me address the most common question: “Can I just use regular kitchen bowls?” Yes, but be warned—glass retains heat better than thin plastic, which helps the soap stay liquid longer, giving you more time to work. If you use plastic, choose sturdy microwave-safe containers.
| Category | Must-Have (Can’t Skip) | Nice-to-Have (Levels Up Quality) |
|---|---|---|
| Base | 1 lb Goat’s Milk Melt & Pour Base | Honey or Shea Butter Base |
| Tools | Microwave-safe glass measuring cup, silicone spatula | Digital infrared thermometer |
| Additives | Lavender essential oil | Dried botanicals, poppy seeds |
| Molds | Silicone loaf mold (holds 1 lb) | Individual flower or bee silicone cavities |
Decoding Soap Bases: Finding Your Skin’s Best Match
The base dictates your soap’s texture, lather, and clarity. Don’t just grab the cheapest block on the shelf.
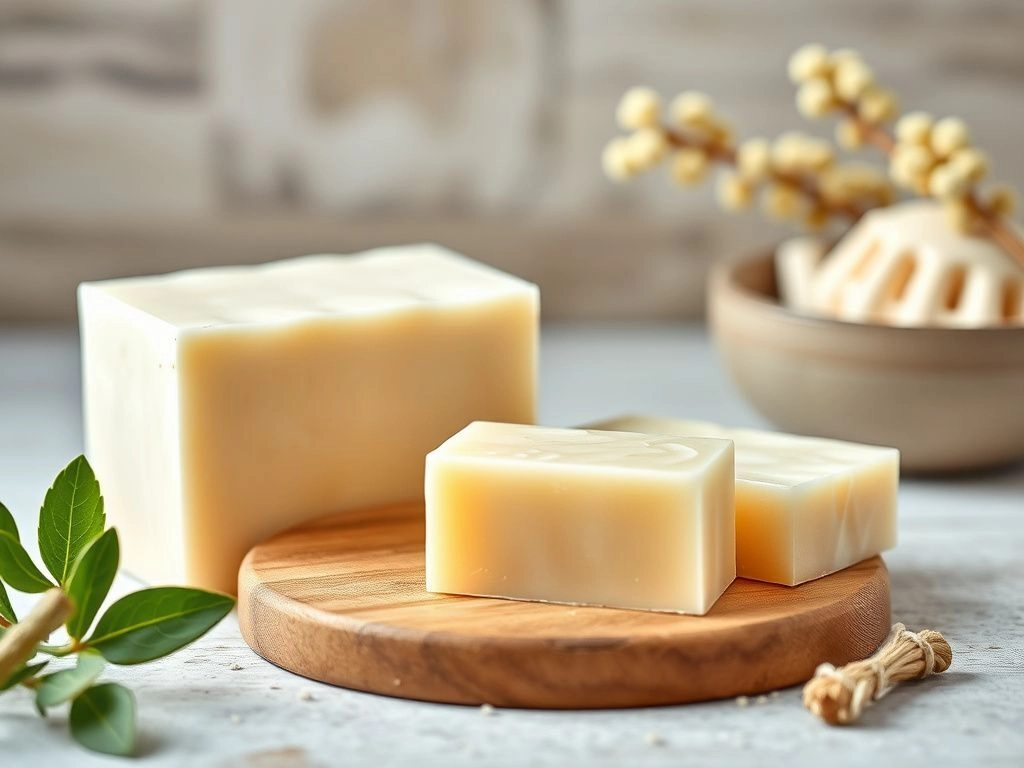
- Goat’s Milk Base: The king of beginners. It’s creamy, naturally hydrating, and off-white, making it forgiving with colors. Excellent for dry or sensitive skin due to the high fat content.
- Clear Glycerin Base: If you want to create a “sea glass” look or suspend coffee grounds inside the soap, this is your base. It’s slightly more drying but accepts vivid colors beautifully.
İşin sırrı şurada: mix them! We often cut a 70/30 mix of goat’s milk to clear glycerin. You keep the moisturizing feel but add a bit of that translucent visual pop.
How to Make Easy Homemade Soap: The 9-Step Beginner’s Guide
Here is the moment you’ve been waiting for. This is the exact process we use in our beginner workshops. The whole process takes about 20 minutes of active work and 1–2 hours of cooling time.
Your 40-Word Quick Guide: Learning how to make easy homemade soap begins with cutting and melting a pre-made base. Stir in your favorite essential oils and natural colors, pour the mixture into a silicone mold, spritz with alcohol to remove bubbles, and let it harden.
Grab your soap base, and let’s turn your kitchen into a mini lab.
Step 1: Cut the Base for Even Melting
Take your 1 lb block of soap base and a sharp chef’s knife.
Cutting isn’t just about making it fit the bowl; it’s about increasing surface area. Dice the base into uniform 1-inch cubes. If the pieces are too large, the edges will start boiling before the center softens, leading to a “burnt plastic” smell. If you’re wondering why your first batch smelled weird last time, this is probably why.
Step 2: The 30-Second Melt Rule
Place the cubes into your glass measuring cup.
Microwave on high for 30 seconds. Remove and stir slowly. Even if it looks solid, stir it. Soy wax and soap bases are often “hot enough” to melt themselves if you just stir them.
Return to the microwave for 15-second bursts. In a 1000-watt microwave, 1 lb takes about 2 minutes total.
⚠️ The absolute rule: Do not let it boil. If you see bubbling, you are losing moisture and your final bars might “sweat” later.
Step 3: Cool Down Phase (Don’t Skip This)
Remove the cup and let it sit on the counter for 1 minute.
This is critical. Essential oils have flash points. If you pour them into boiling-hot soap (above 160°F), the scent literally evaporates instantly, leaving you with a bland-smelling bar that cost you $5 in oil. Wait until the melted base reaches 125–135°F. It should still be fully liquid but not steaming.
Step 4: The Scent and Color Symphony
Add 10–15 drops of essential oil per pound of base. For color, use soap-specific colorants. Water-based food coloring will morph into a muddy brown over time. We recommend mica powder dissolved in a tiny drop of rubbing alcohol before stirring it in.
Peki bu ne anlama geliyor?
Avoid vanilla extract from your baking pantry. It contains alcohol and sugars that seize the soap. Stick to cosmetic-grade fragrance oils.
Step 5: The Gentle Stir
Stir slowly and deliberately for about 30 seconds. Look for an invisible “heat trail” (the liquid looks slightly thicker as it cools). Fast stirring introduces air bubbles. We introduced a batch once that looked like a sponge because we whipped it like pancake batter. Lesson learned!
Step 6: Pouring with Precision
Pour the mixture into your silicone mold. No need for release sprays—the beauty of silicone is the pop-out finish.
Starting from one corner of the mold and pouring in a slow, steady stream pushes air bubbles out.
Step 7: The Alcohol Magic
Lightly spray the surface of the liquid soap with 91% isopropyl alcohol. Watch the tiny bubbles vanish. You’ll feel like a wizard. Do not use 70% alcohol—it contains too much water and can affect the texture of the soap’s top layer.
Step 8: The 90-Minute Cure
Do not put the mold in the fridge. Fast cooling causes the glycerin to absorb moisture from the air, turning your soap into a sweaty mess. Room temperature is your friend. Let it sit undisturbed. Your timeline:
- Small individual molds: Hard in 45–60 minutes.
- Loaf molds (1 lb): Hard in 90–120 minutes.
Step 9: The Unmolding and Aeration
Press the back of the mold gently. If the soap resists sticking to your finger and feels cool to the touch, pop it out. Let the un-molded bars sit on a wire rack overnight (8–12 hours). This “breathing period” hardens the exterior and prevents the soap from getting sticky when you wrap it.
Scent Blending: Creating Your Signature Aroma
A beautifully molded bar is a paperweight if it smells bad. Scent blending is where you move from following a recipe to being a creator. Let’s look at the rules the pros use but rarely share.
The 60/30/10 Blend Rule:
- 60% Top Note: The first smell you notice (citrus, eucalyptus). It evaporates fast.
- 30% Middle Note: The heart of the scent (lavender, rosemary, tea tree).
- 10% Base Note: The lasting fixative (cedarwood, vanilla oleoresin, patchouli).
You don’t have to be a perfumer to nail this. If you want to dive deeper into other fragrant homemade cosmetics, check out our guide on how to make easy bath bombs without citric acid. Combining a matching soap and bath bomb set creates an incredible gift basket bundle.
| Theme | Top Note (60%) | Middle Note (30%) | Base Note (10%) |
|---|---|---|---|
| Morning Buzz | Orange | Peppermint | Cedarwood |
| Sleep Tight | Bergamot | Lavender | Frankincense |
| Forest Walk | Lemon | Pine | Patchouli |
Troubleshooting: Fixing Common Beginner Mistakes
Did your soap end up looking like a slushie or sweating puddles? Don’t toss the batch. We’ve salvaged hundreds of “ruined” soaps in our workshops, including the time we accidentally turned a batch into soap-on-a-stick concrete. Here are the top three kills and their life-saving fixes.
Issue 1: The Sticky Sweat (Glycerin Dew)
If your soap looks like it’s crying, glycerin dew is the culprit. Melt and pour soap is a humectant—it pulls moisture from the air.
- The Fix: Right after unmolding, wrap the soap tightly in saran wrap. No air, no sweat. If it’s already sweating, pat it dry with a paper towel and hit it with a cool fan for 20 minutes before wrapping.
Issue 2: The “Won’t Lather” Bar
If your recipe consisted only of base oils you added extra, you might have diluted the surfactants.
- The Fix: You can rebatch it. Chop the bar into small chunks, melt it down again (gently!), and add a tablespoon of unscented clear glycerin base per pound. This will restore the cleansing bubbles.
Issue 3: Vanilla Discoloration
You made a gorgeous white gardenia bar, and a week later it’s dark brown. Vanilla content (even in “baby powder” scents) oxidizes.
- The Fix: Embrace it, or separate the batch. Keep a small amount of uncolored base, add the vanilla scent there, and pour it as a bottom layer. The rest of your white soap on top stays pristine.
Hadi daha yakından bakalım:
The more we researched, the more we realized beginners succeed fastest when they don’t try to “fix” incompatible materials. This is very similar to choosing the right materials for crafts like polymer clay earrings—the medium dictates the result.
Packaging and Gifting Your Handcrafted Soap
You made a stunning soap. A grocery store zip-top bag will kill the vibe. Packaging isn’t just protection; it’s presentation. And if you’re gifting, unboxing matters as much as the bar itself.
The “Sweat-Free” Wrap Technique
This is the method that lets your soap double as shelf decor before its eventual use.
- Wrap it tight: Use the cling wrap method mentioned above. Seal it invisibly.
- The belly band: Cut a 2-inch wide strip of kraft paper or handmade textured paper.
- Secure with twine: Don’t use tape. A simple brown twine tightened around the band gives a rustic, minimalist aesthetic that looks straight out of a high-end farmhouse catalog.
Avoiding Packaging Disasters
Don’t use cardboard boxes directly touching the soap. Untreated cardboard leeches moisture from the soap, creating a hard, shriveled outer skin. If you want to place the wrapped bar in a box, line the bottom with glassine paper first.
Turning Your Hobby into Cash: Selling Your Creations
So, you’ve nailed the recipe and your friends are asking for more. Can a soap hobby pay the bills? A quick market look says yes. The global handmade soap market is projected to reach $7.1 billion by 2030 (Source: Grand View Research). But just knowing how to make easy homemade soap isn’t the full business.
Here’s the math that matters:
- Cost Per Bar (Goat’s Milk Base): $0.90 – $1.20
- Additives + Scent + Packaging: $0.60
- Total Cost: $1.50 – $1.80
- Market Selling Price (Local/Online): $7 – $14
Hangisi daha mantıklı? Selling 50 bars a month on Etsy could net you $250–$500 in clear profit.
If you’re serious about selling, you must know where to set up shop. The platform you choose changes everything. We did a deep analysis of the two biggest players in the DIY marketplace space. For a side-by-side look, read our Etsy vs Shopify comparison. It will save you hours of signing up for the wrong site.
We also know that soap is just the entry point. Once you build trust with a skin-loving product, customers crave variety. Consider expanding into the broader beauty niche. Items like resin jewelry or friendship bracelets can double your product line and your per-customer transaction value.
Conclusion: Your First Lathering Masterpiece
You started this guide maybe intimidated by chemicals, or worried you’d ruin a kitchen. Now you see that all it takes is a microwave, a block of base, and a little courage.
I’ve walked hundreds of beginners through these exact steps. The ones who succeed aren’t the “crafty” ones; they’re the ones willing to melt, pour, and make a mistake or two. Soap making is science plus self-care. You’re not just saving $10 a bar—you’re controlling what touches your family’s skin. You’re swapping synthetic detergents for glycerin-packed moisture.
The only difference between you and the seller at the farmer’s market is one batch. If you’re looking for your next project to dive into, the creative satisfaction of making scented candles is a perfect companion to your new soap skills.
Go buy that first block. Melt it, breathe in your chosen lavender, and pour your heart out. You’ve got this.
Frequently Asked Questions About How to Make Easy Homemade Soap
Is melt and pour soap considered “real” handmade soap?
Absolutely. It’s still made from glycerin and raw oils that have been saponified. You are taking a pure soap base and enhancing it with high-quality additives. Most commercial “soap” bars are actually synthetic detergents, so your melt-and-pour creation is chemically closer to true soap than a grocery-store body wash.
Why is my soap sweating when I take it out of the mold?
This is glycerin dew, a sign that your soap is high-quality and drawing moisture from the air. To prevent this, wrap your bar in plastic wrap immediately after it fully cools (usually about 4 hours after unmolding). Do not skip this step in humid climates.
Can I put actual flower petals into my soap?
You absolutely can, but be selective. Fresh flowers will immediately rot and turn brown inside the soap. Dried flowers like lavender, calendula, and rose petals work, but they can sometimes bleed brown onto the soap over time. Our recommended alternative is dried cornflowers or blue malva flowers, which hold their color beautifully for months.
How long does homemade melt and pour soap last?
If wrapped tightly in plastic to prevent glycerin dew and kept out of direct sunlight, your bar will last 12 months without any decline in scent or quality. Unwrapped, it will start to dry out and “shrink” (losing weight) in about 2 weeks.
What if I want to add oatmeal or coffee grounds for scrubbing?
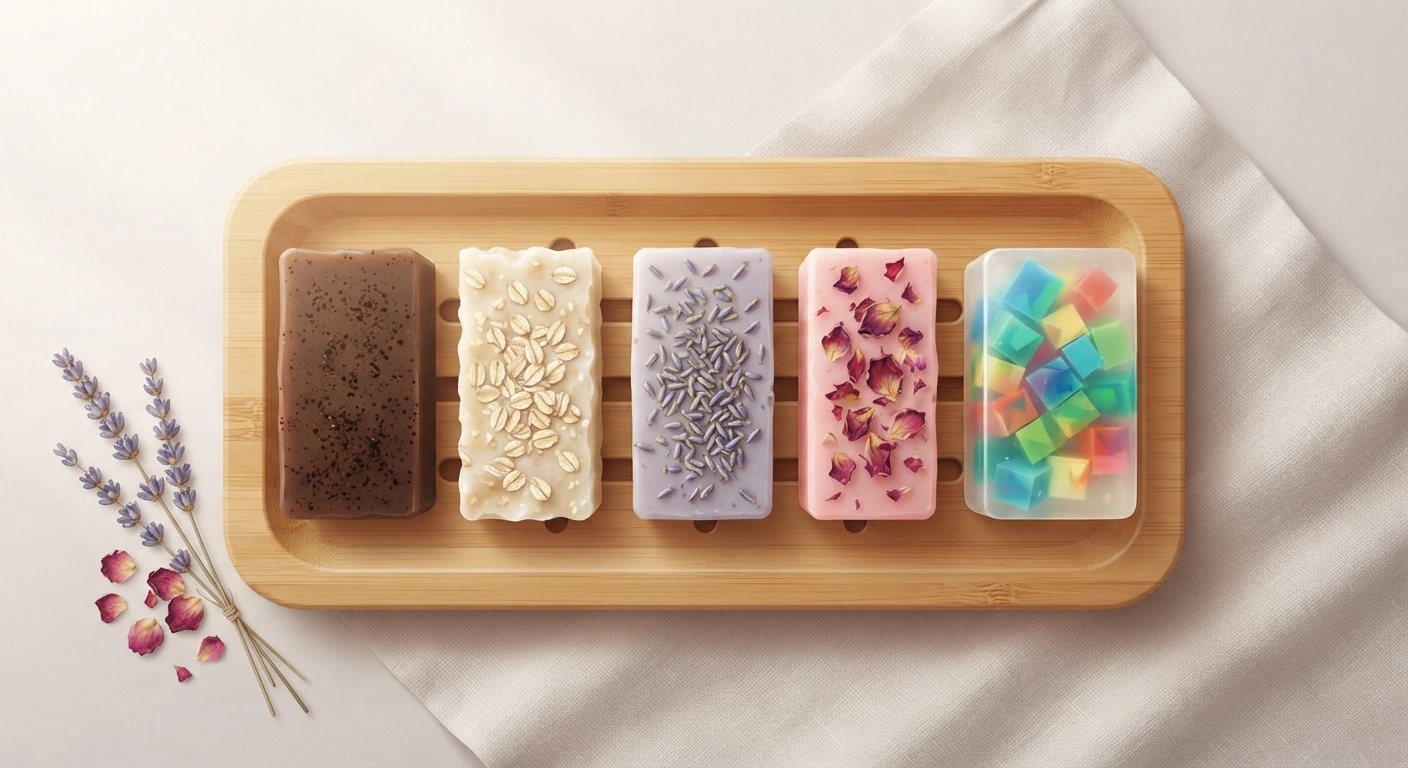
These are excellent natural exfoliants. The trick is “how much.” Too much, and your bar crumbles; too little, and you feel nothing. Add 1 teaspoon of finely ground oats or coffee per pound of base. It’s also wise to pour a thin “plain” bottom layer first, so one side of the bar has a smooth finish for sensitive skin.
Can I sell soap I make using this beginner method?
Yes, and many successful Etsy sellers do exactly that. However, ensure you label correctly. It’s a “glycerin soap” or “melt and pour soap,” not a “cold process” soap. Check local cottage laws, but since you aren’t handling lye, the safety certification process is generally much simpler to navigate.
My essential oil scent disappeared overnight. What happened?
Likely, your base was too hot when you stirred the oil in. Essential oils have flash points (often around 120°F). If you add them to a base that’s 160°F+, the scent molecules literally burn off. Always let your melted base cool down to 125–135°F before adding fragrances.